How do I prepare the iron?
Firstly, check the plate of the iron is clean; make sure it doesn’t have any burn marks or specks of dirt from previous use – it is important these are not transferred on to the cotton, especially if it’s white!
Turn the iron on to the ‘cotton’ setting. This should be a medium to high heat. Select the steam option as well. Wait for it to heat up.
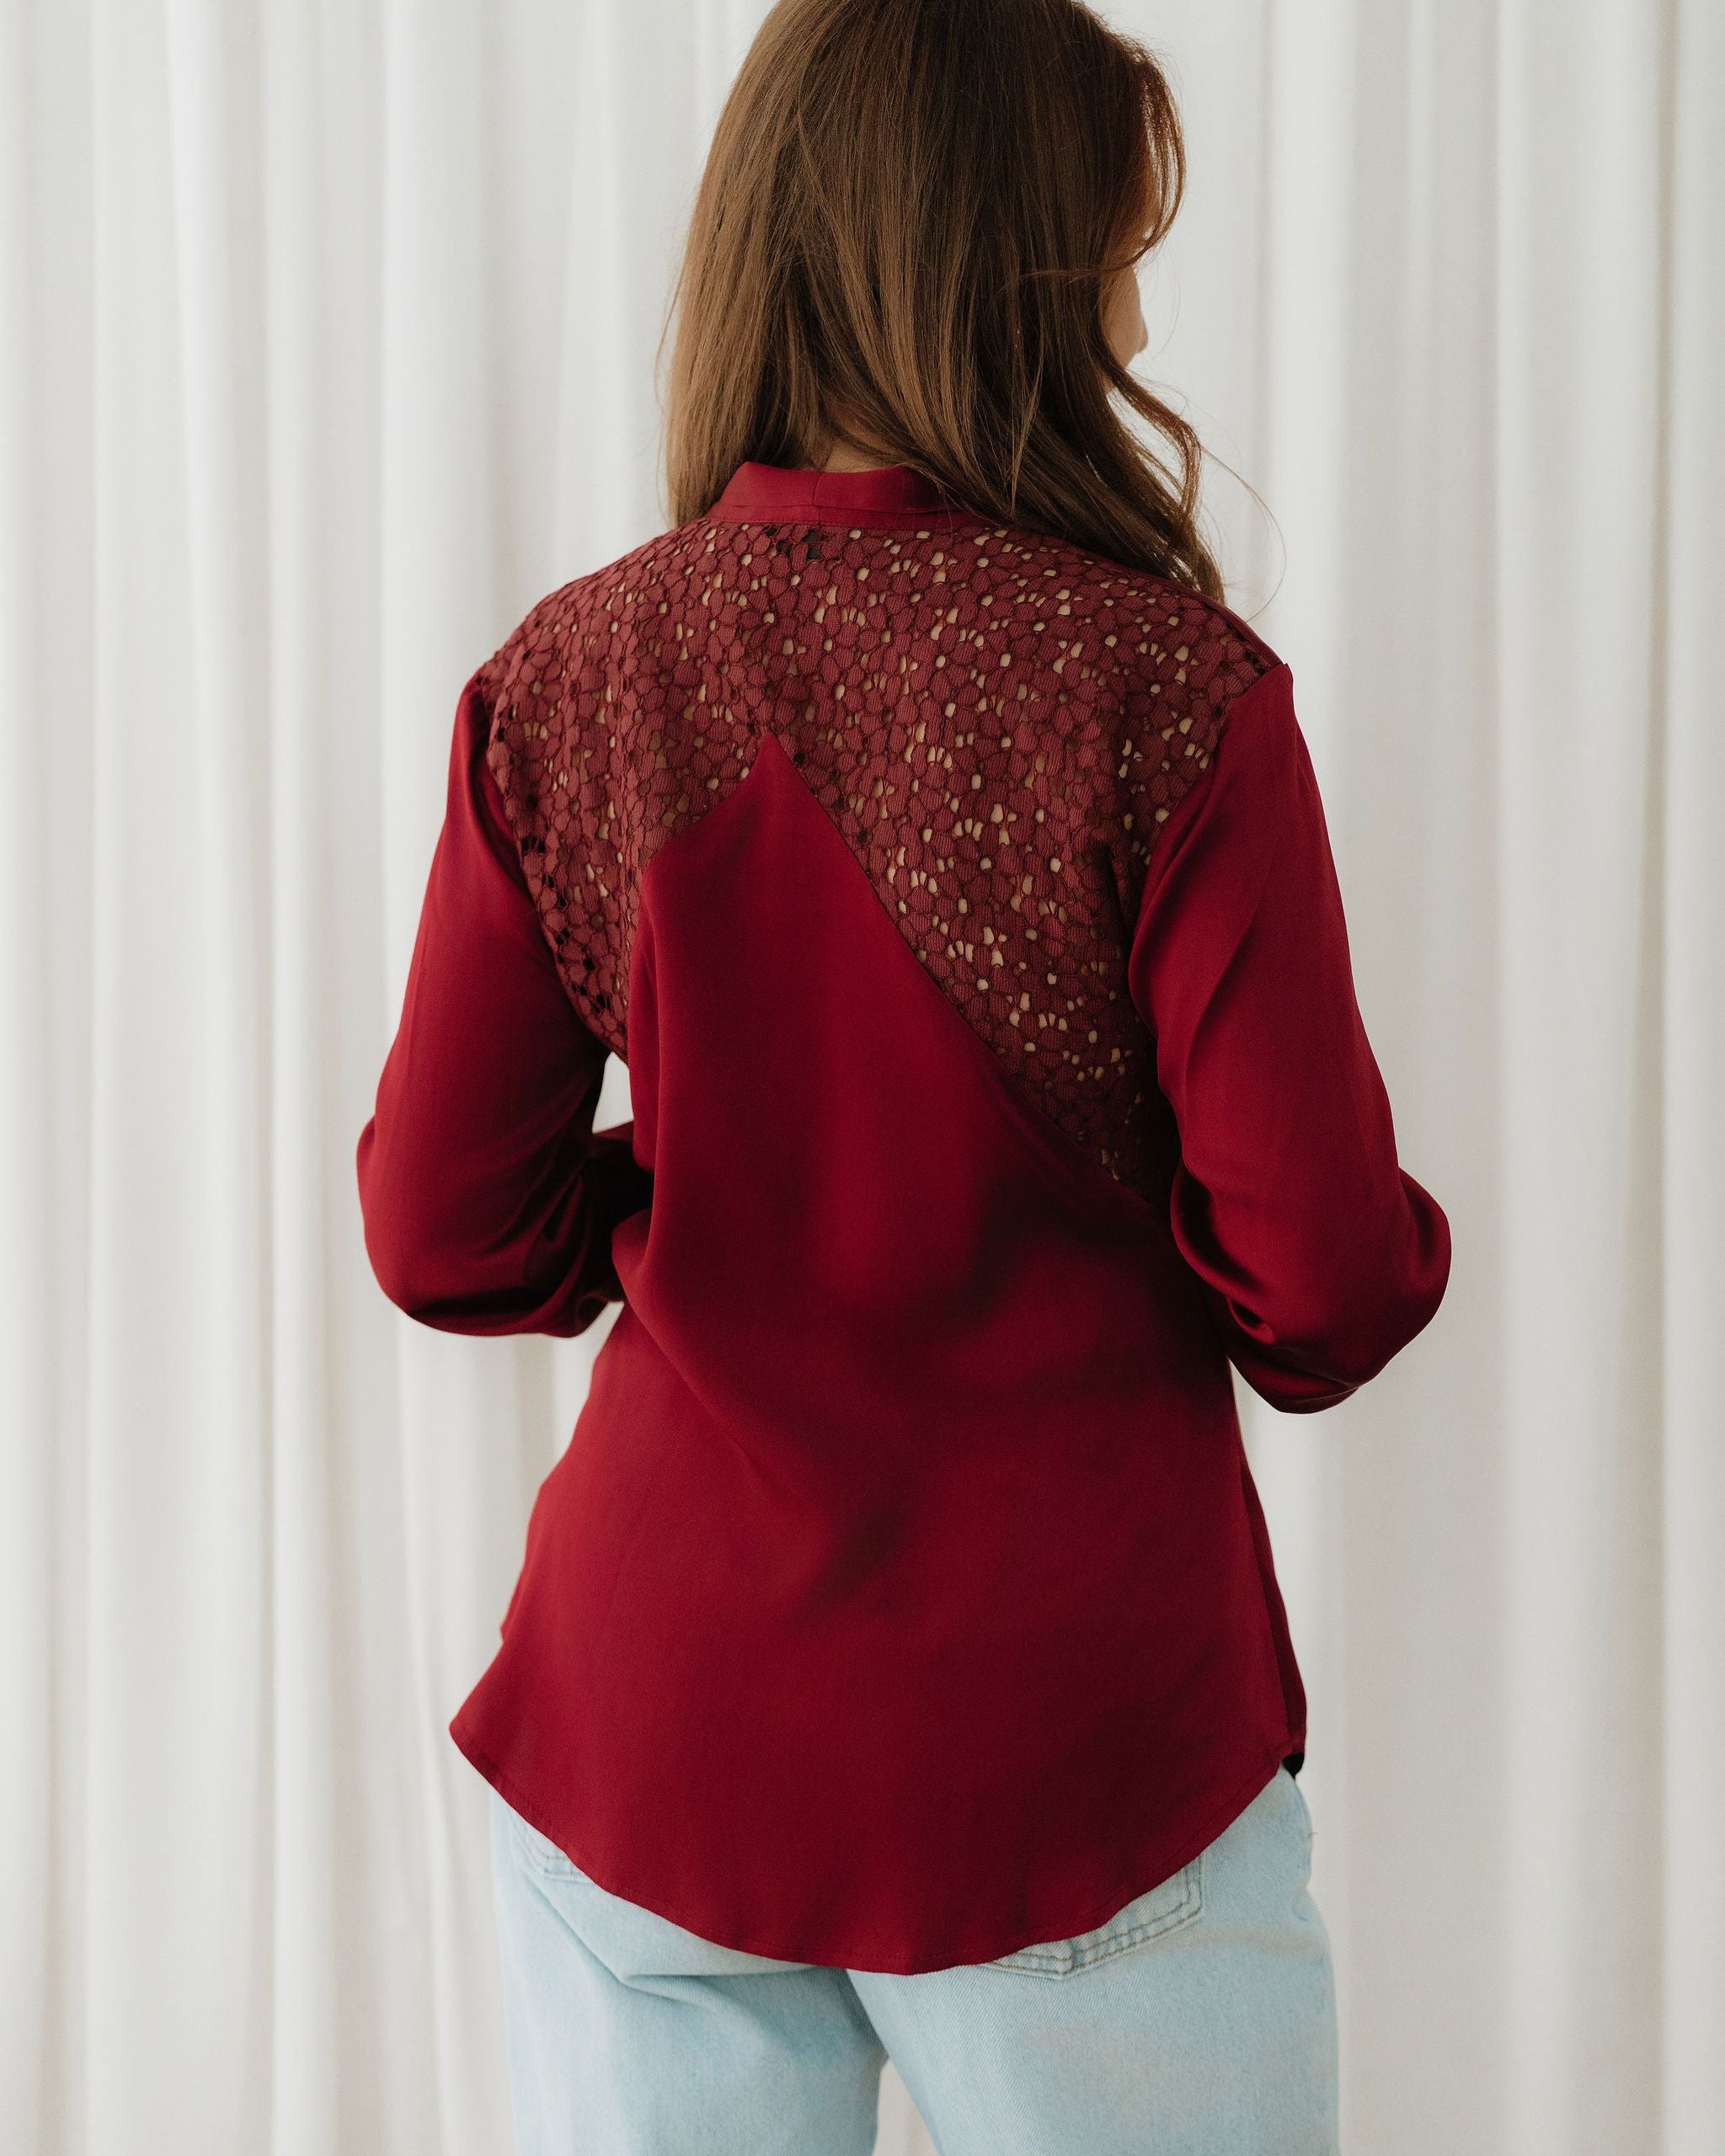
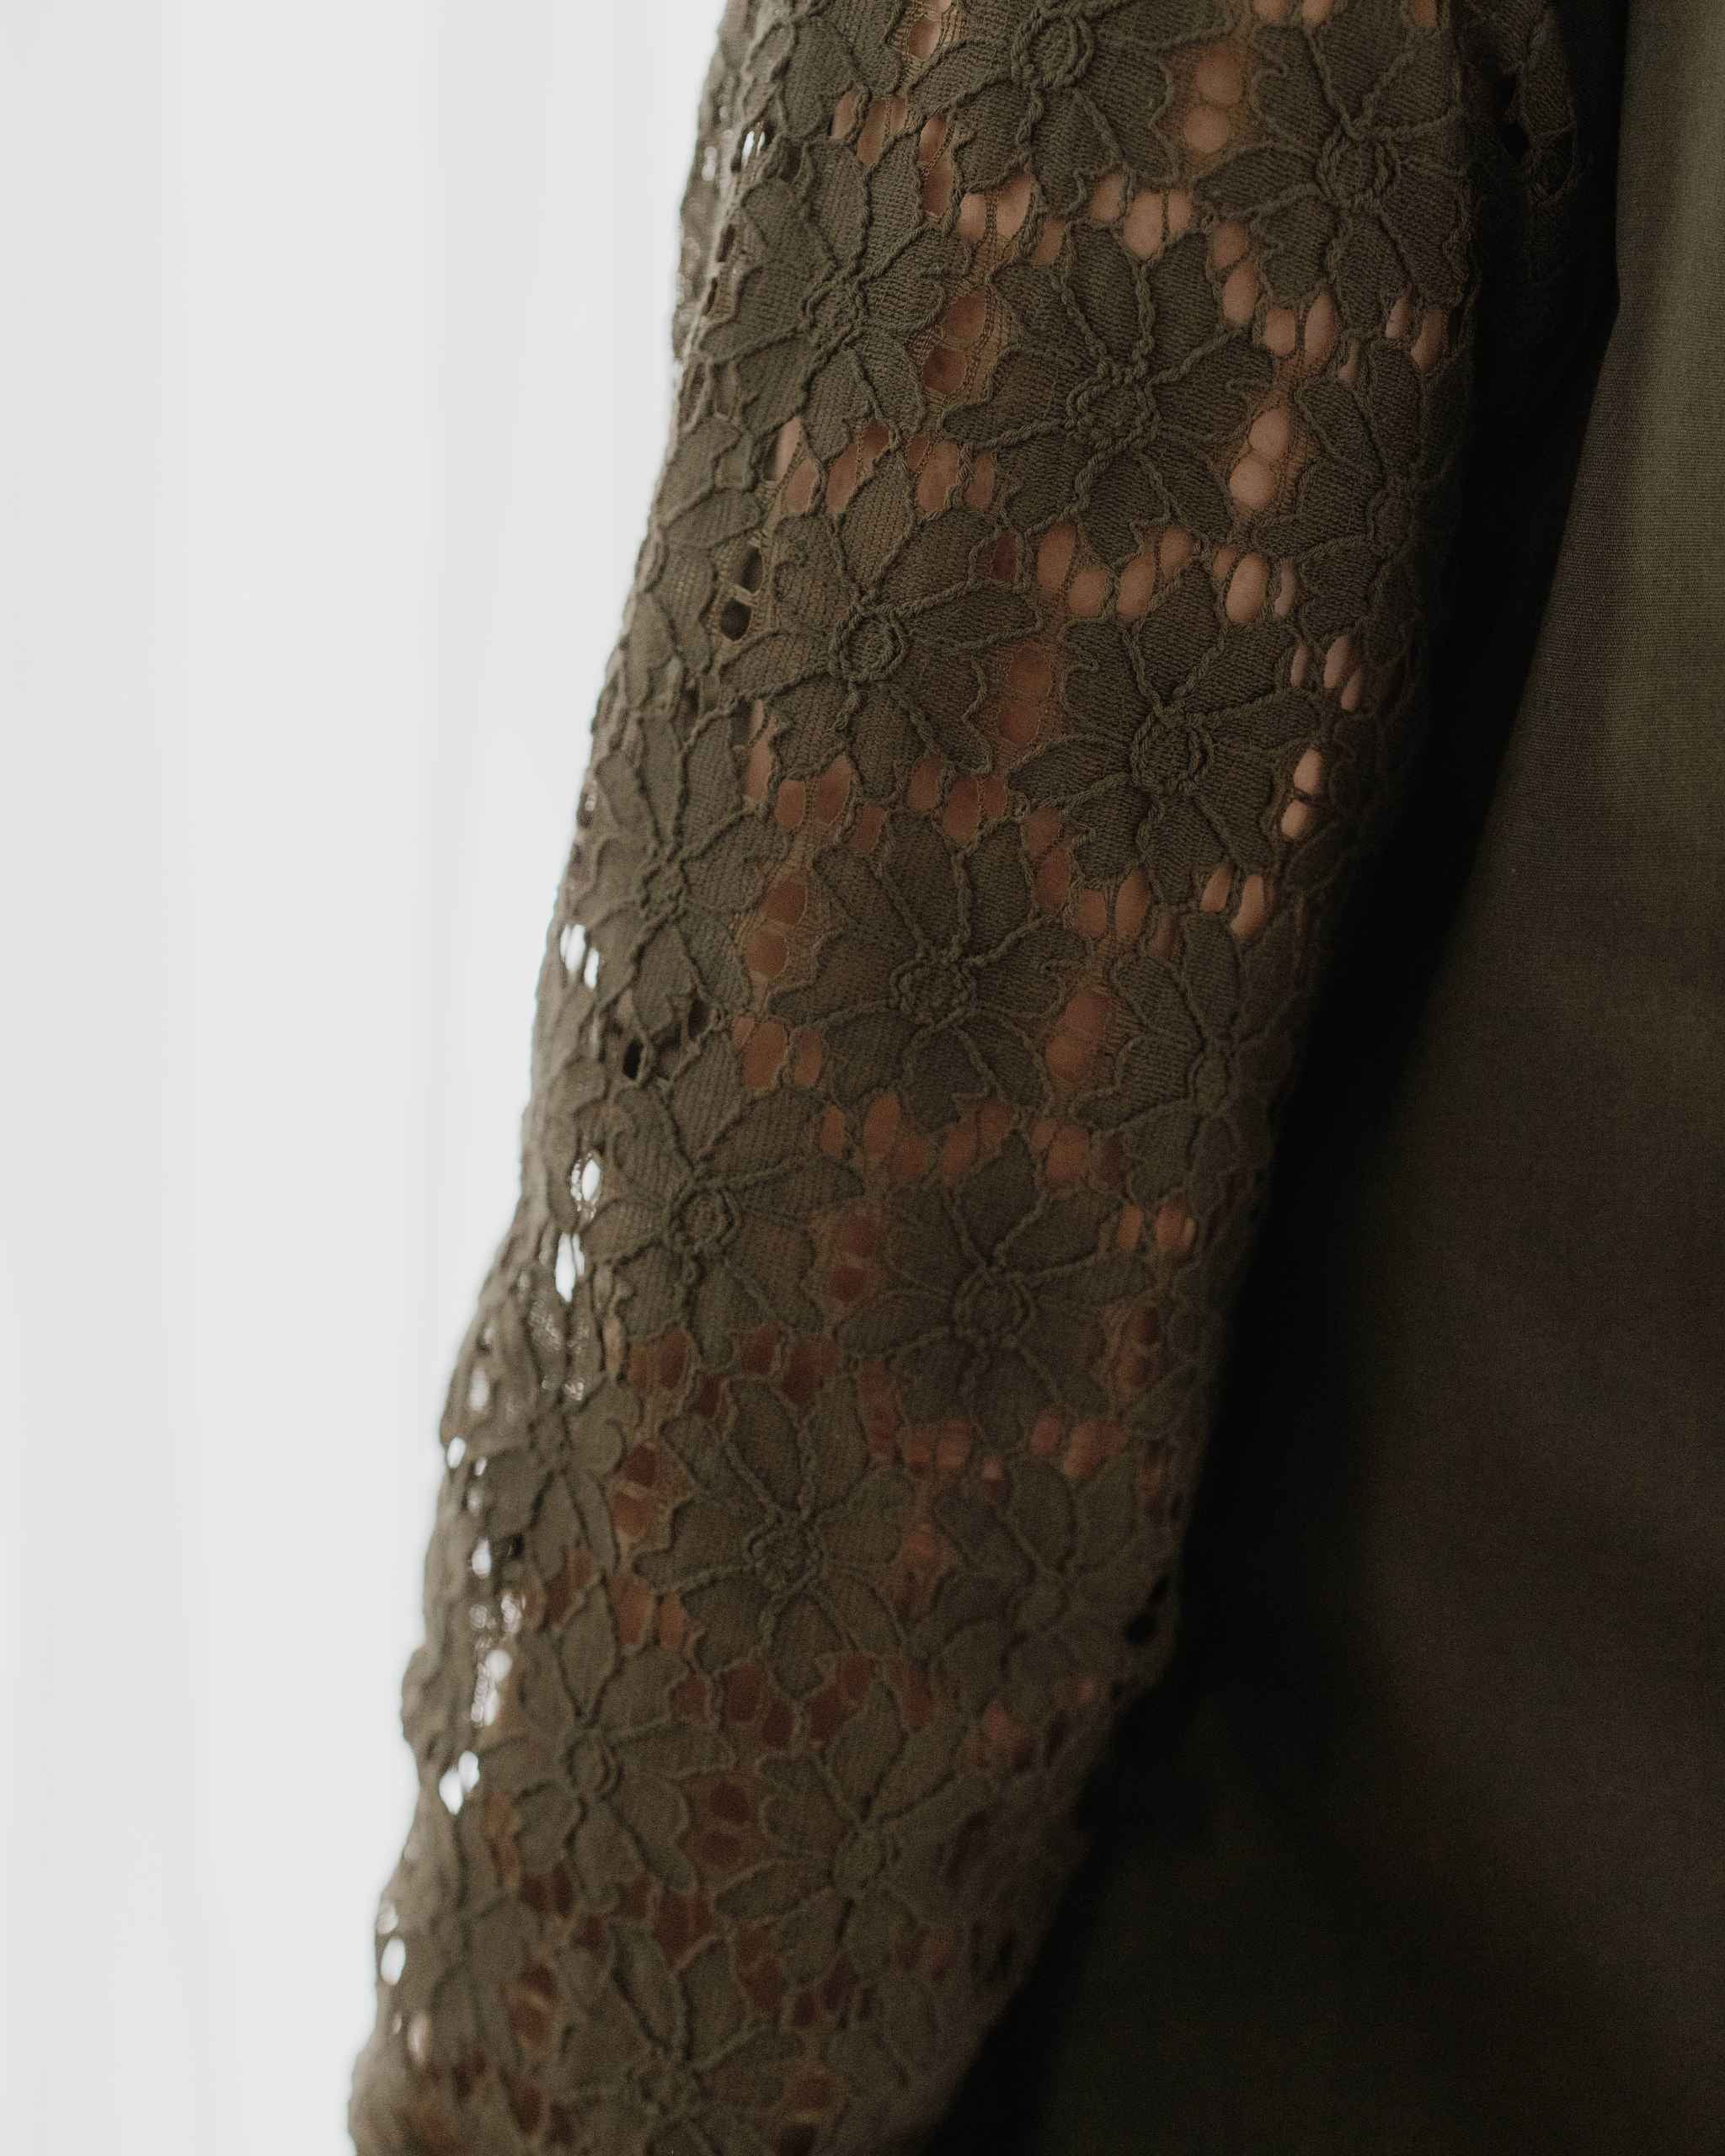
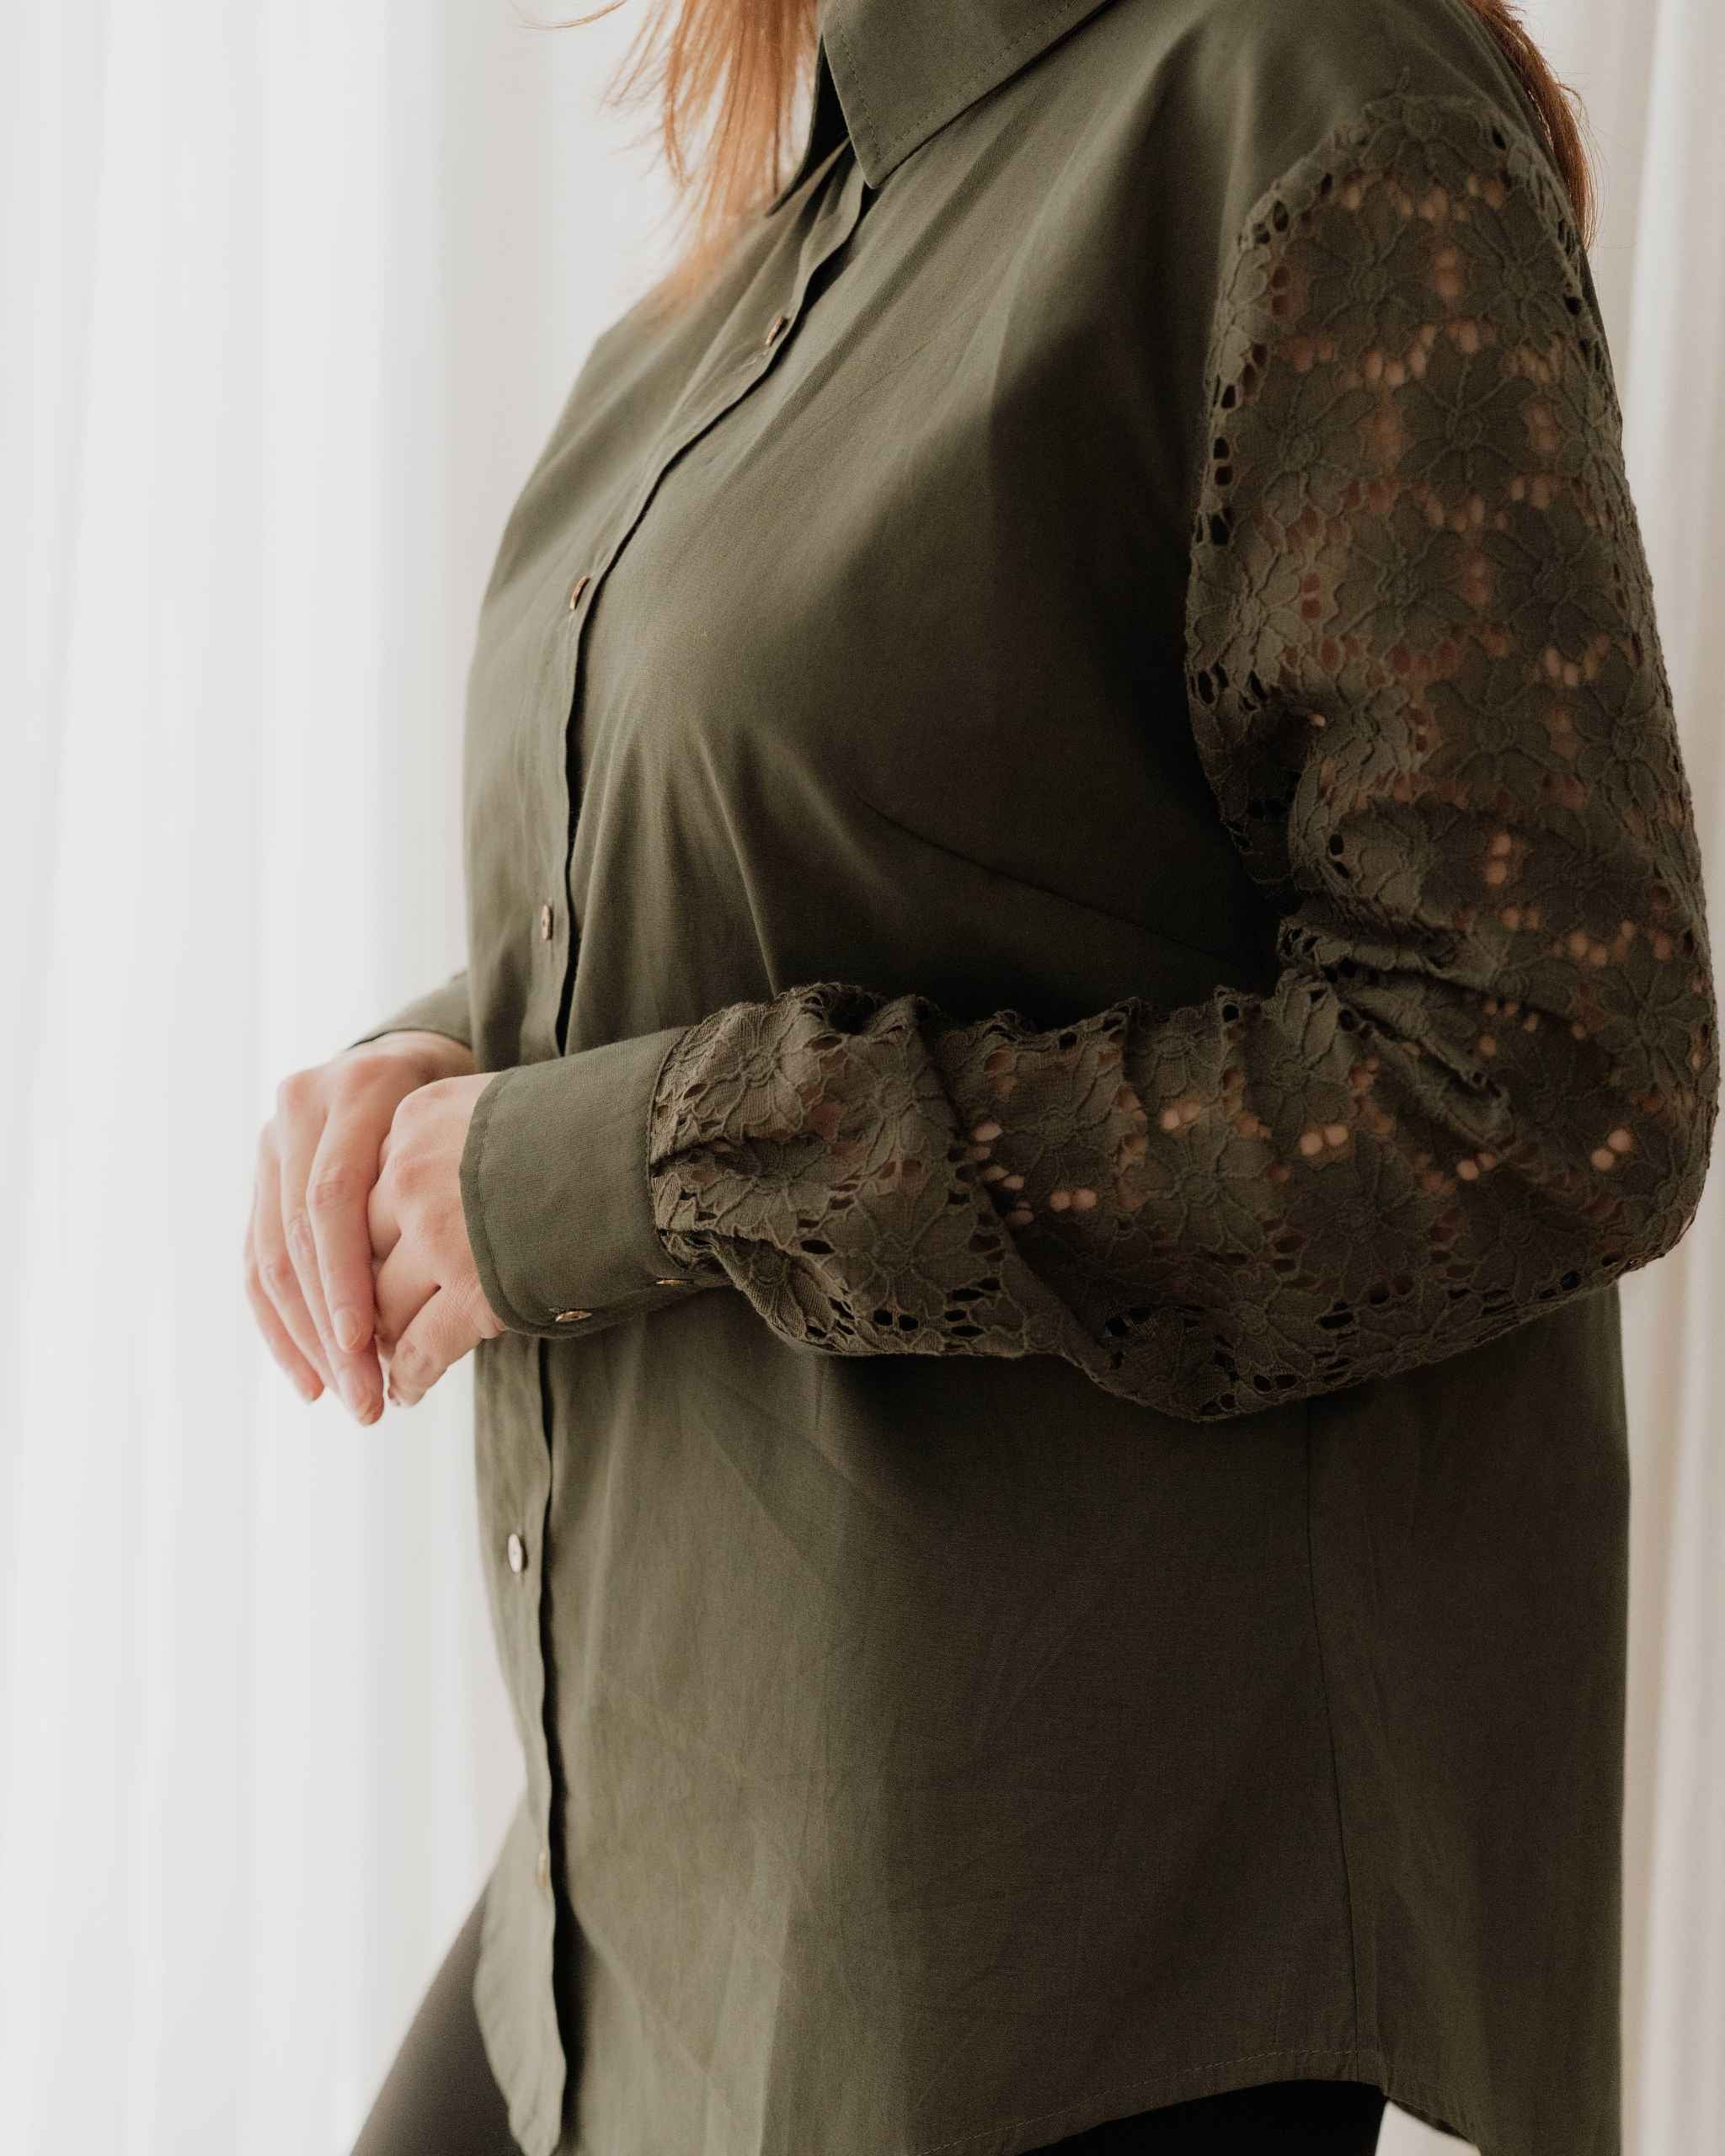
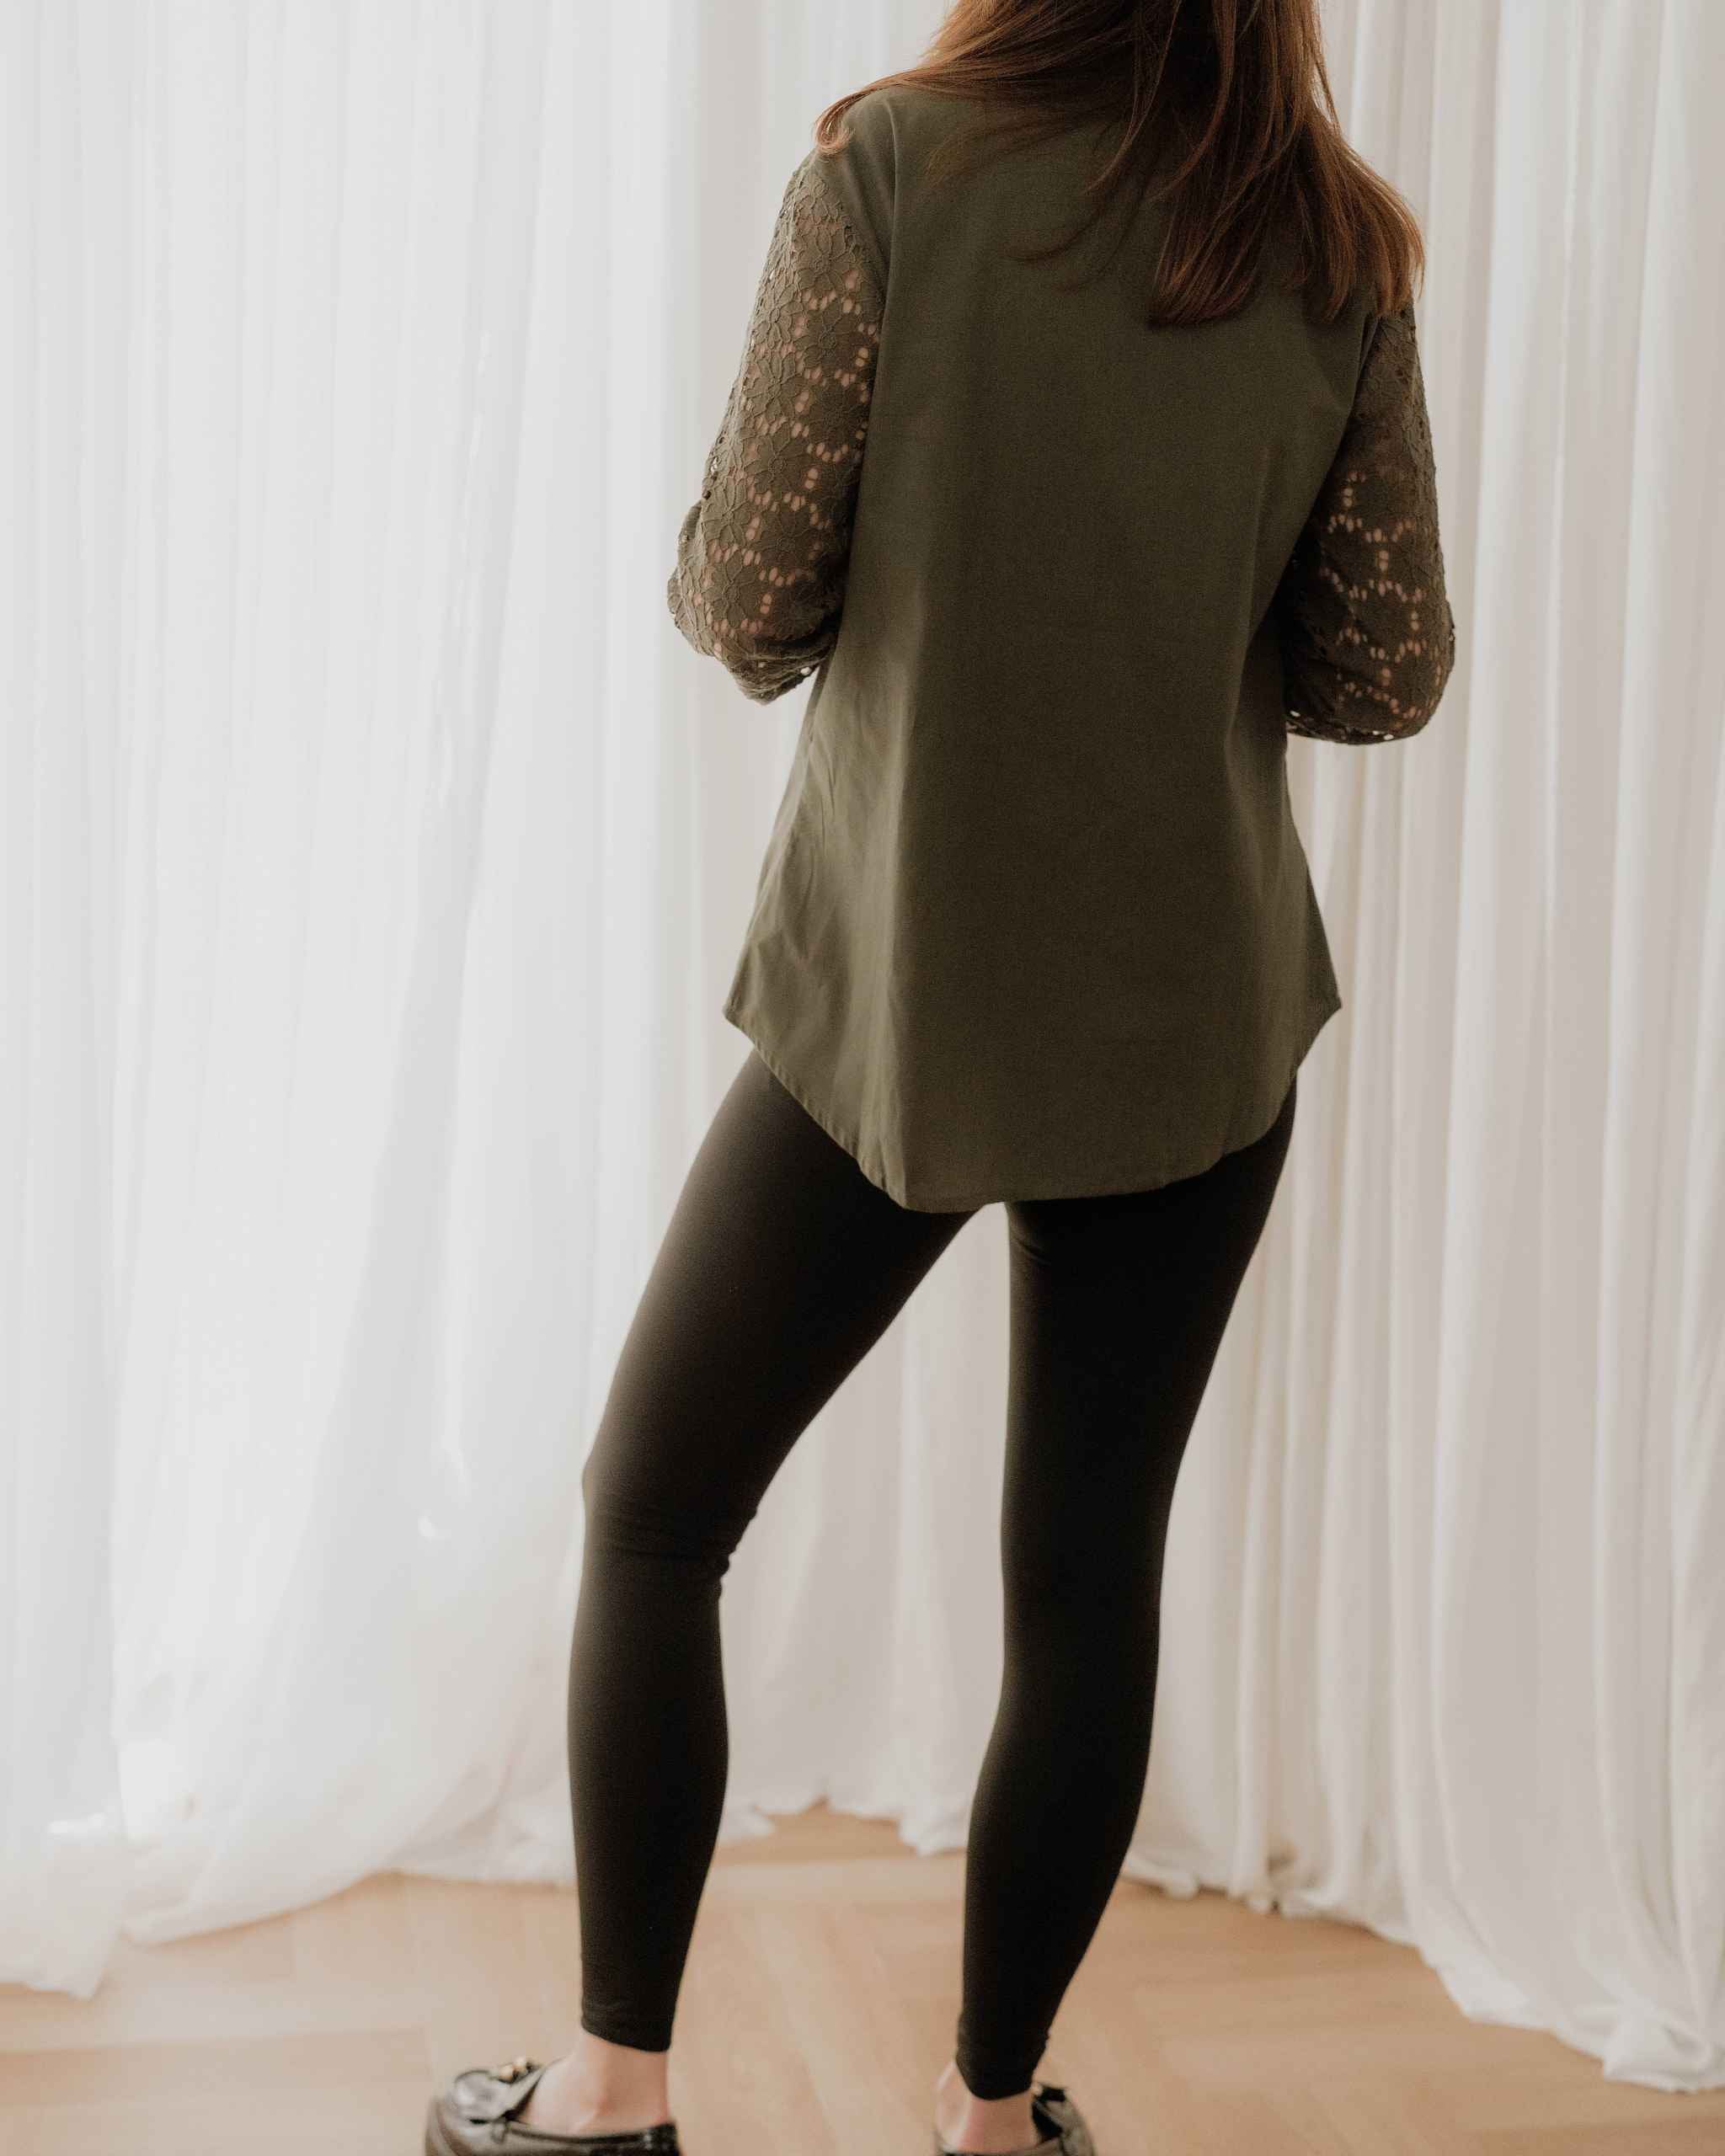
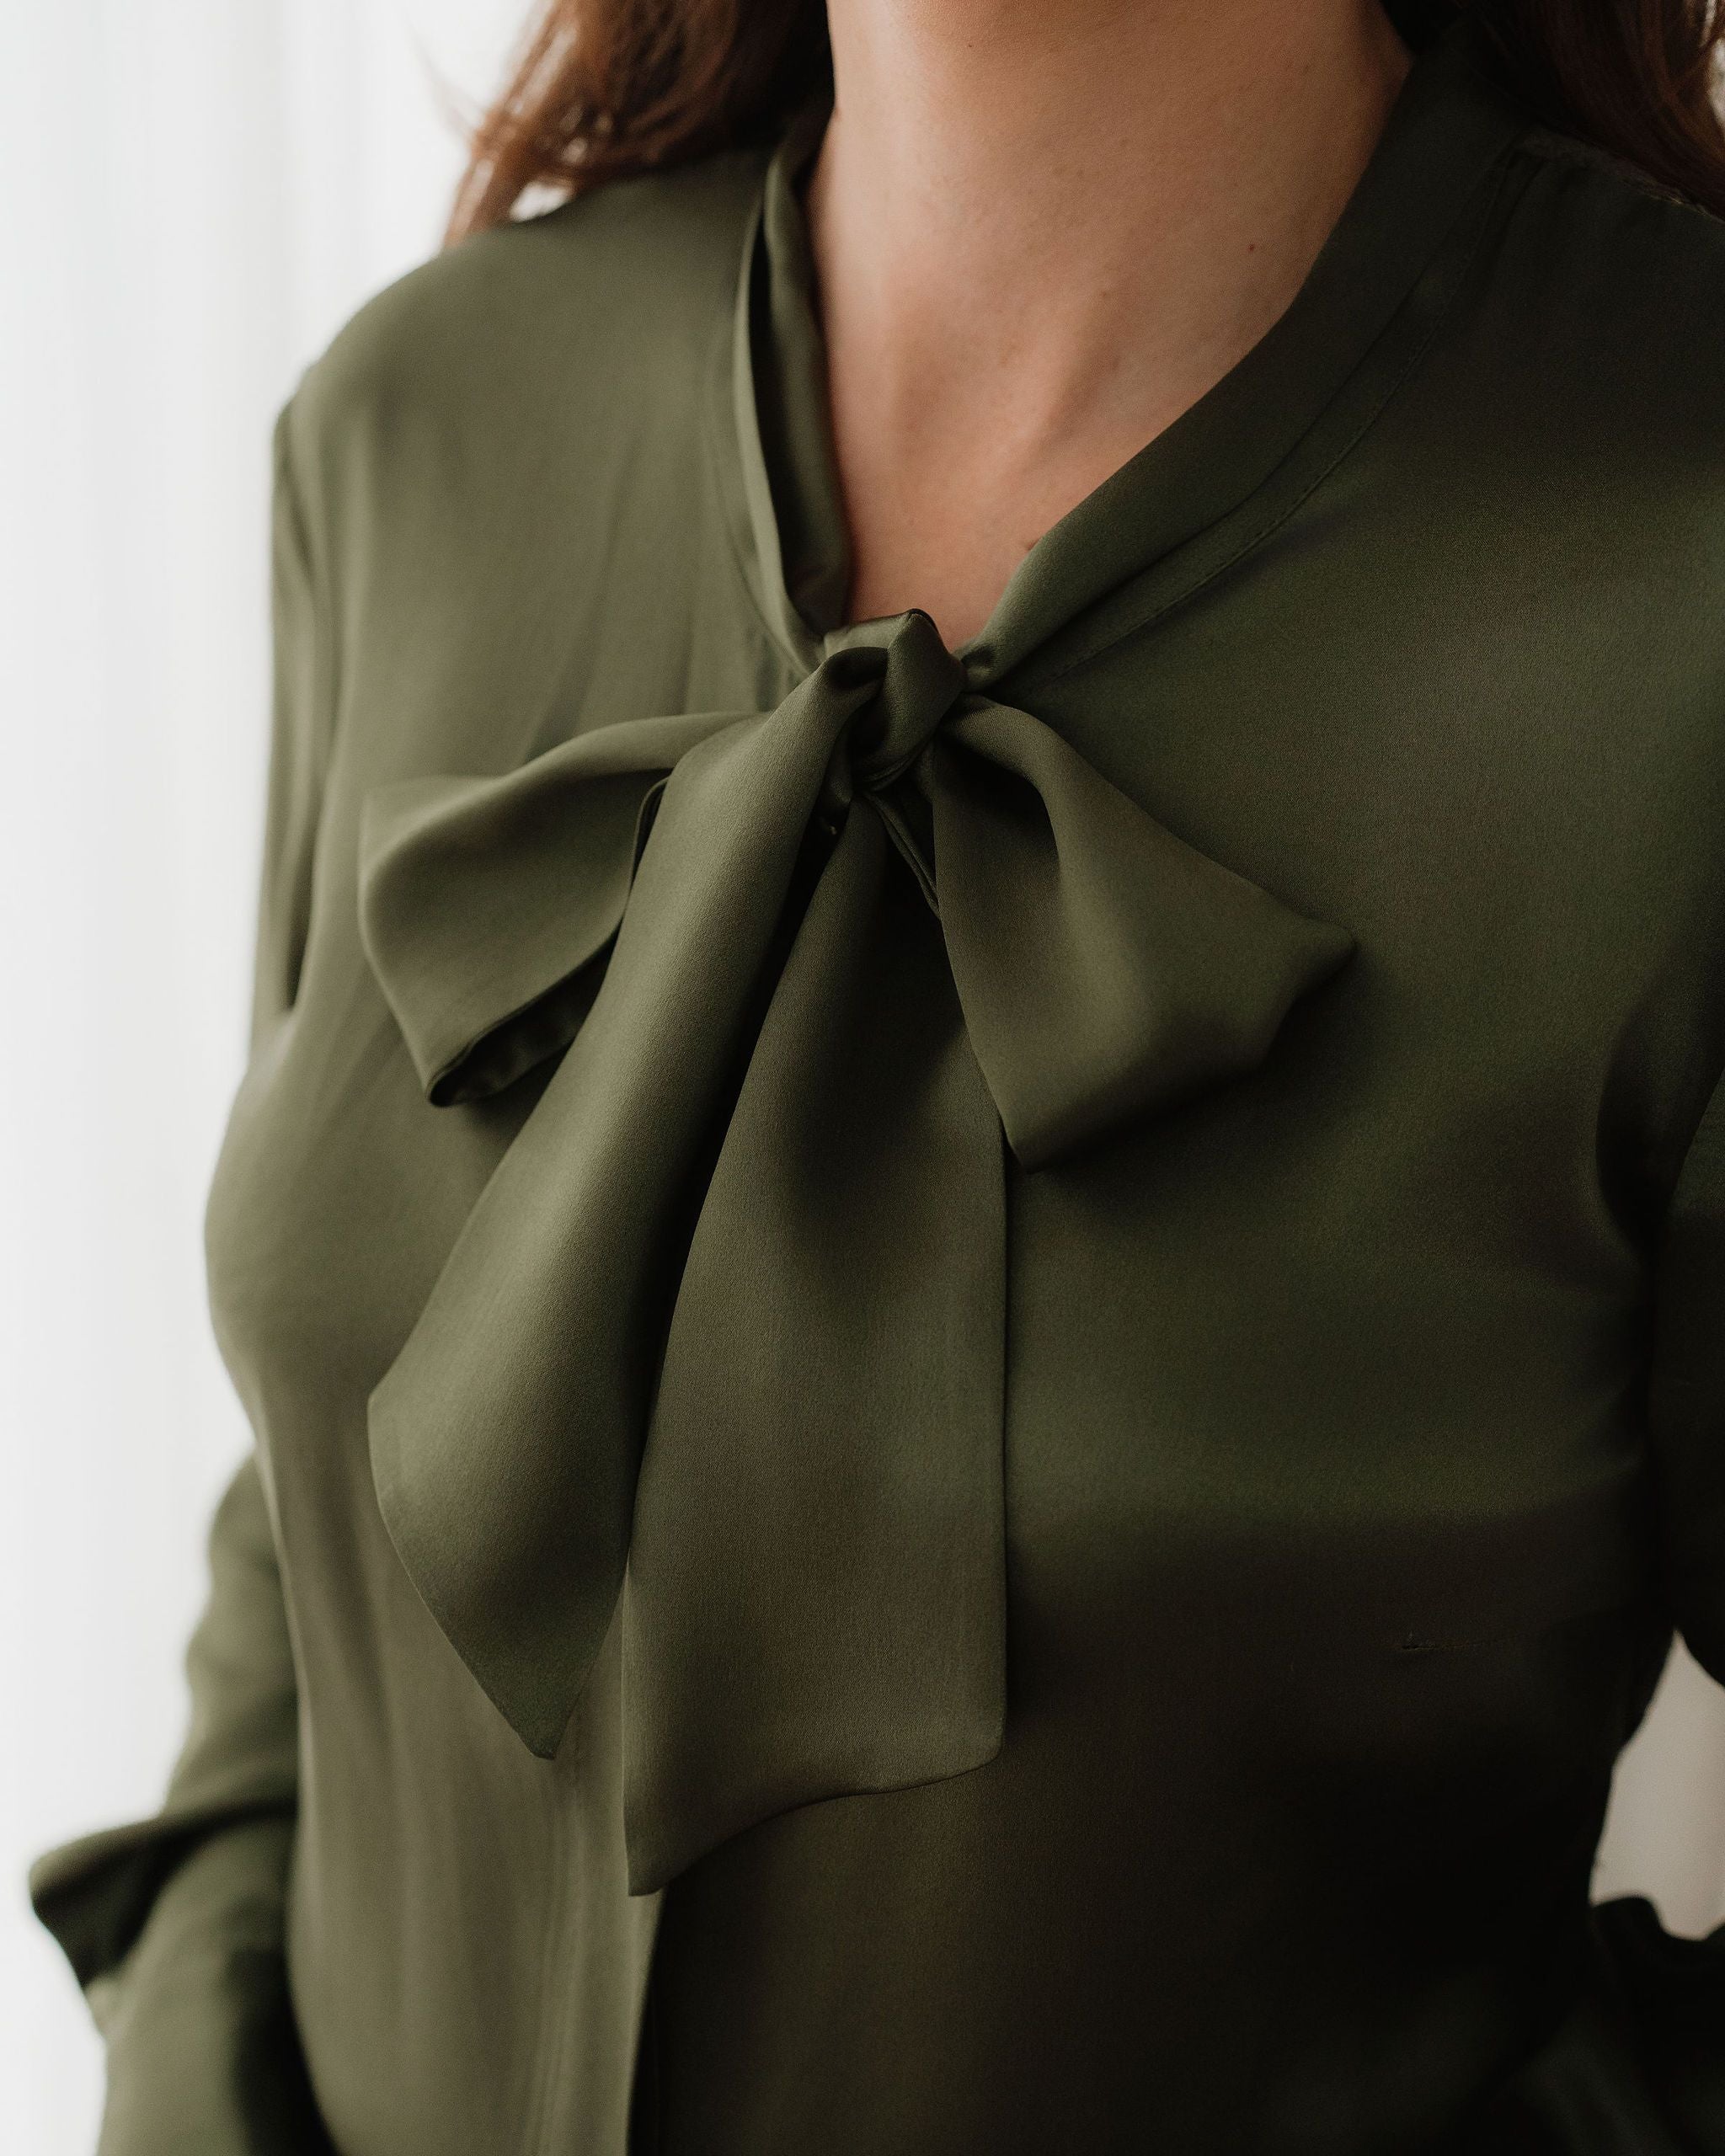
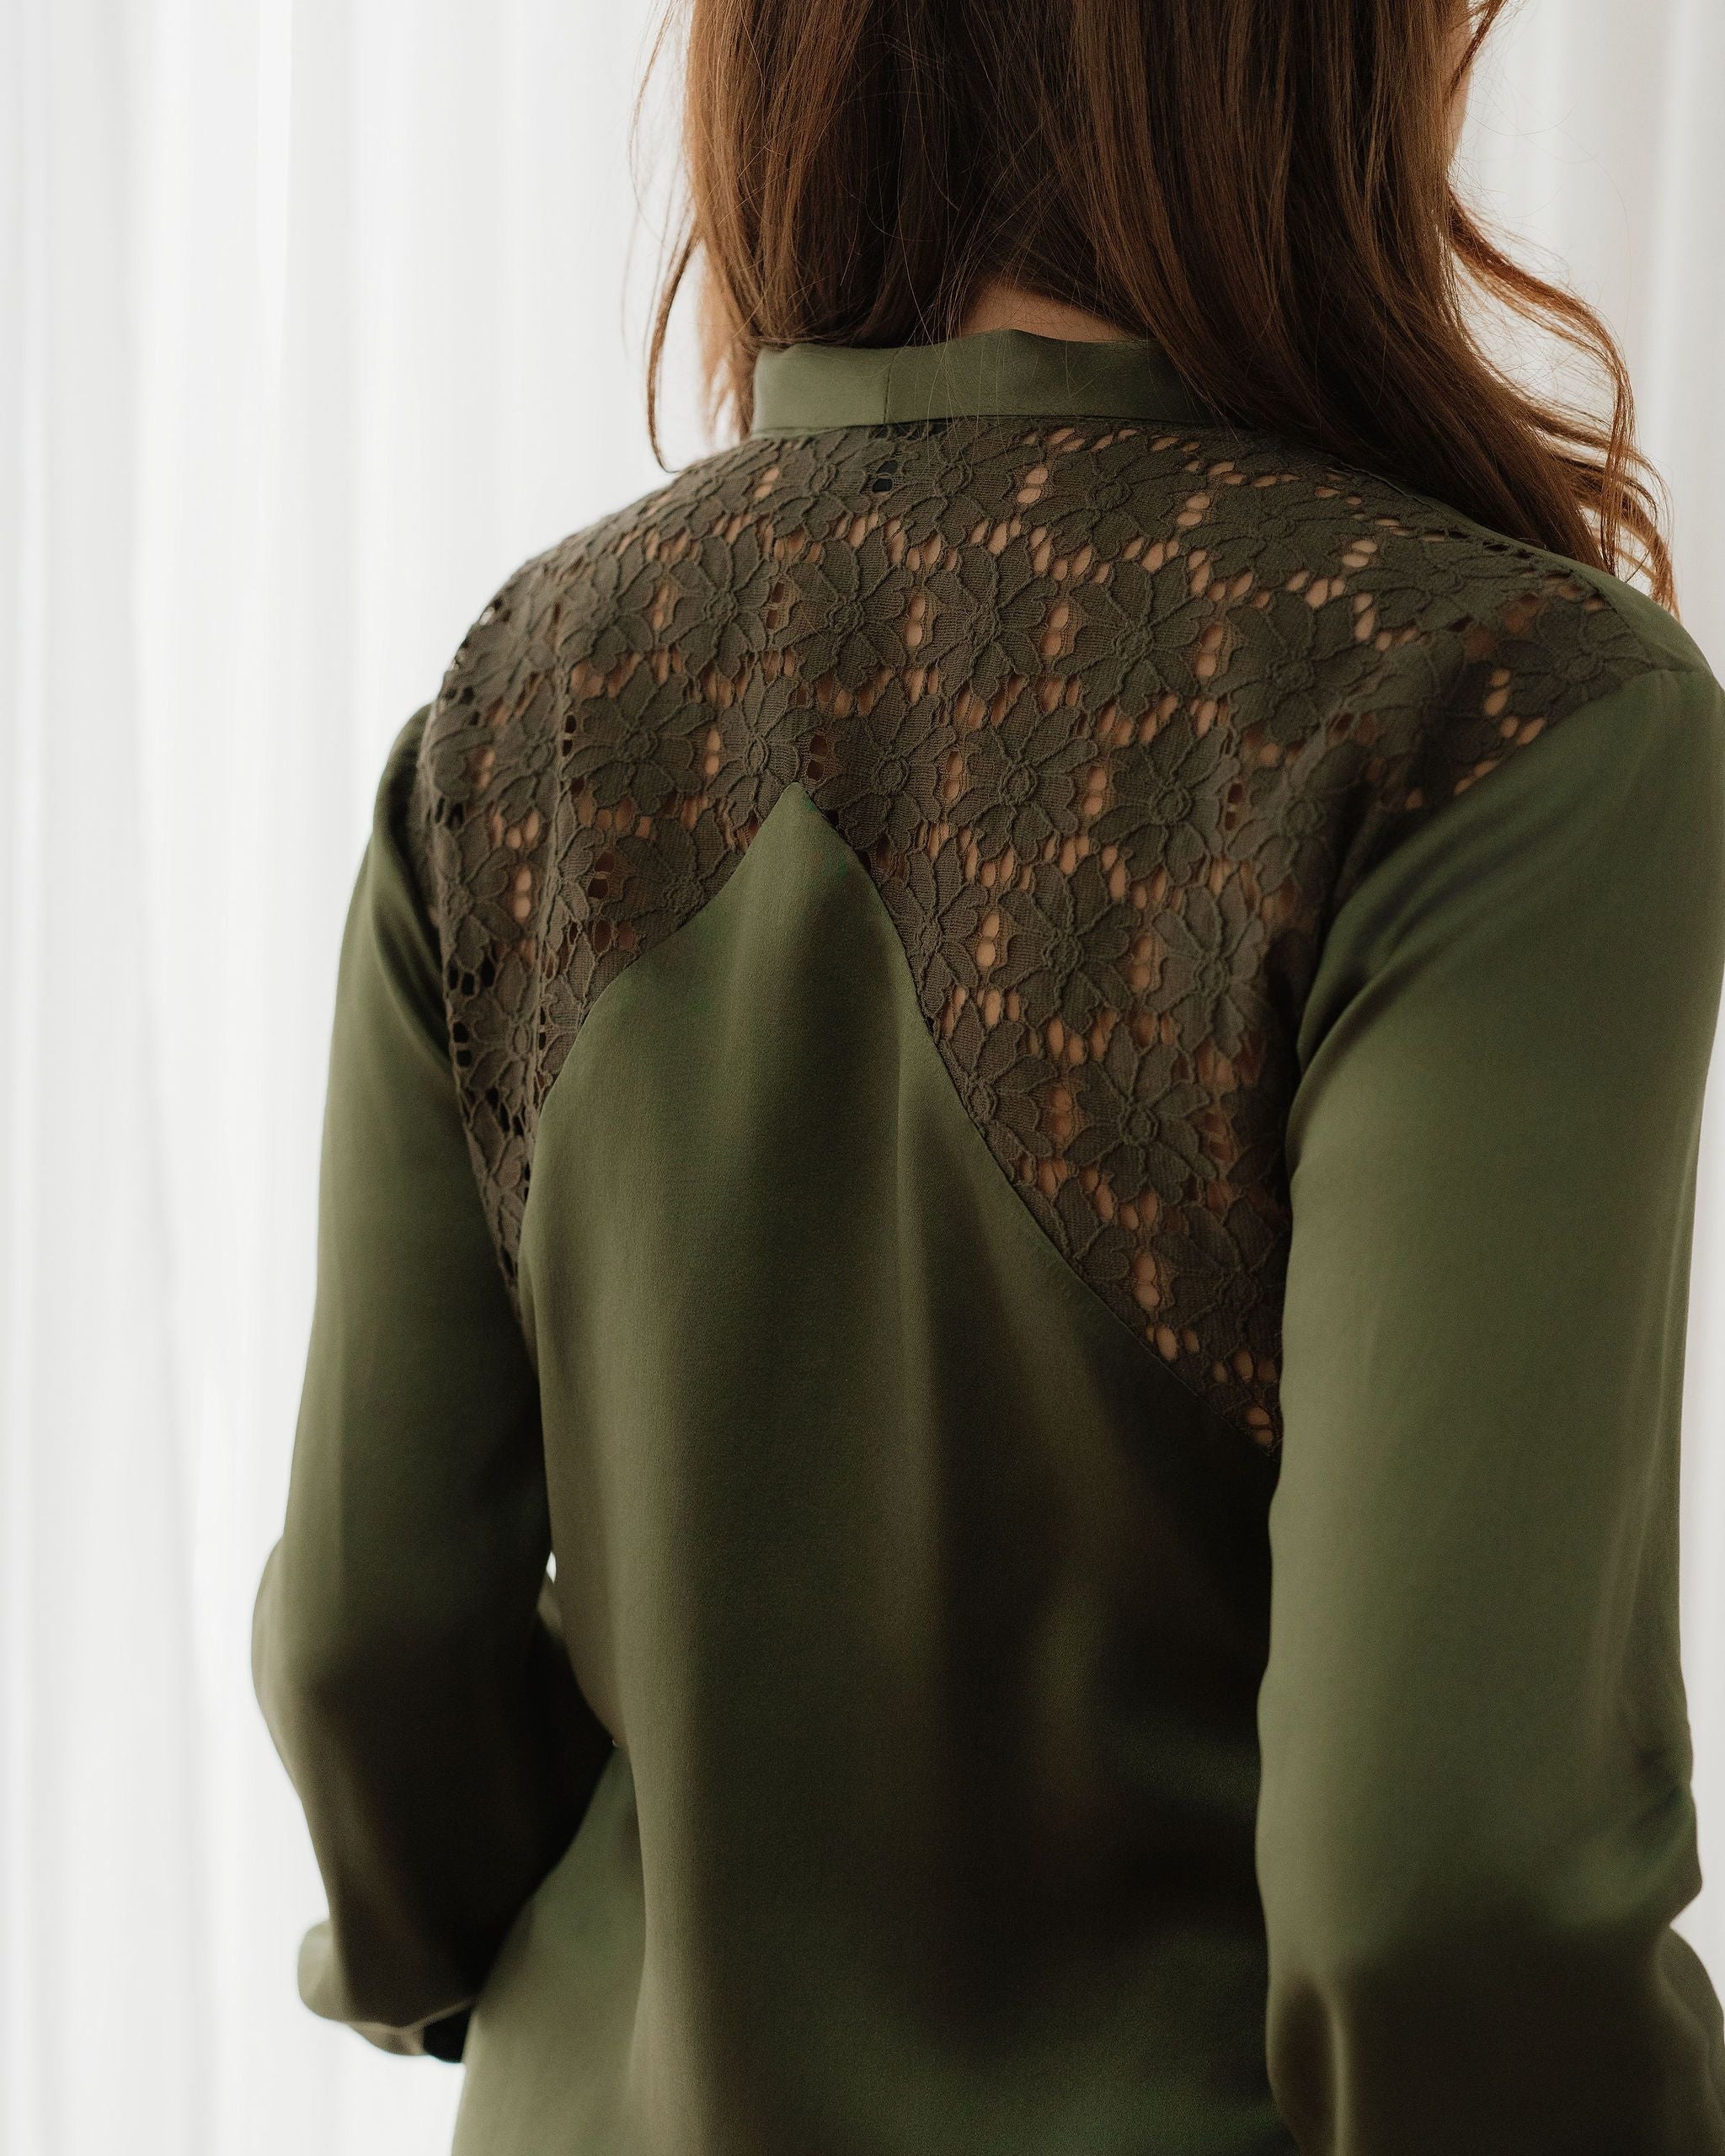
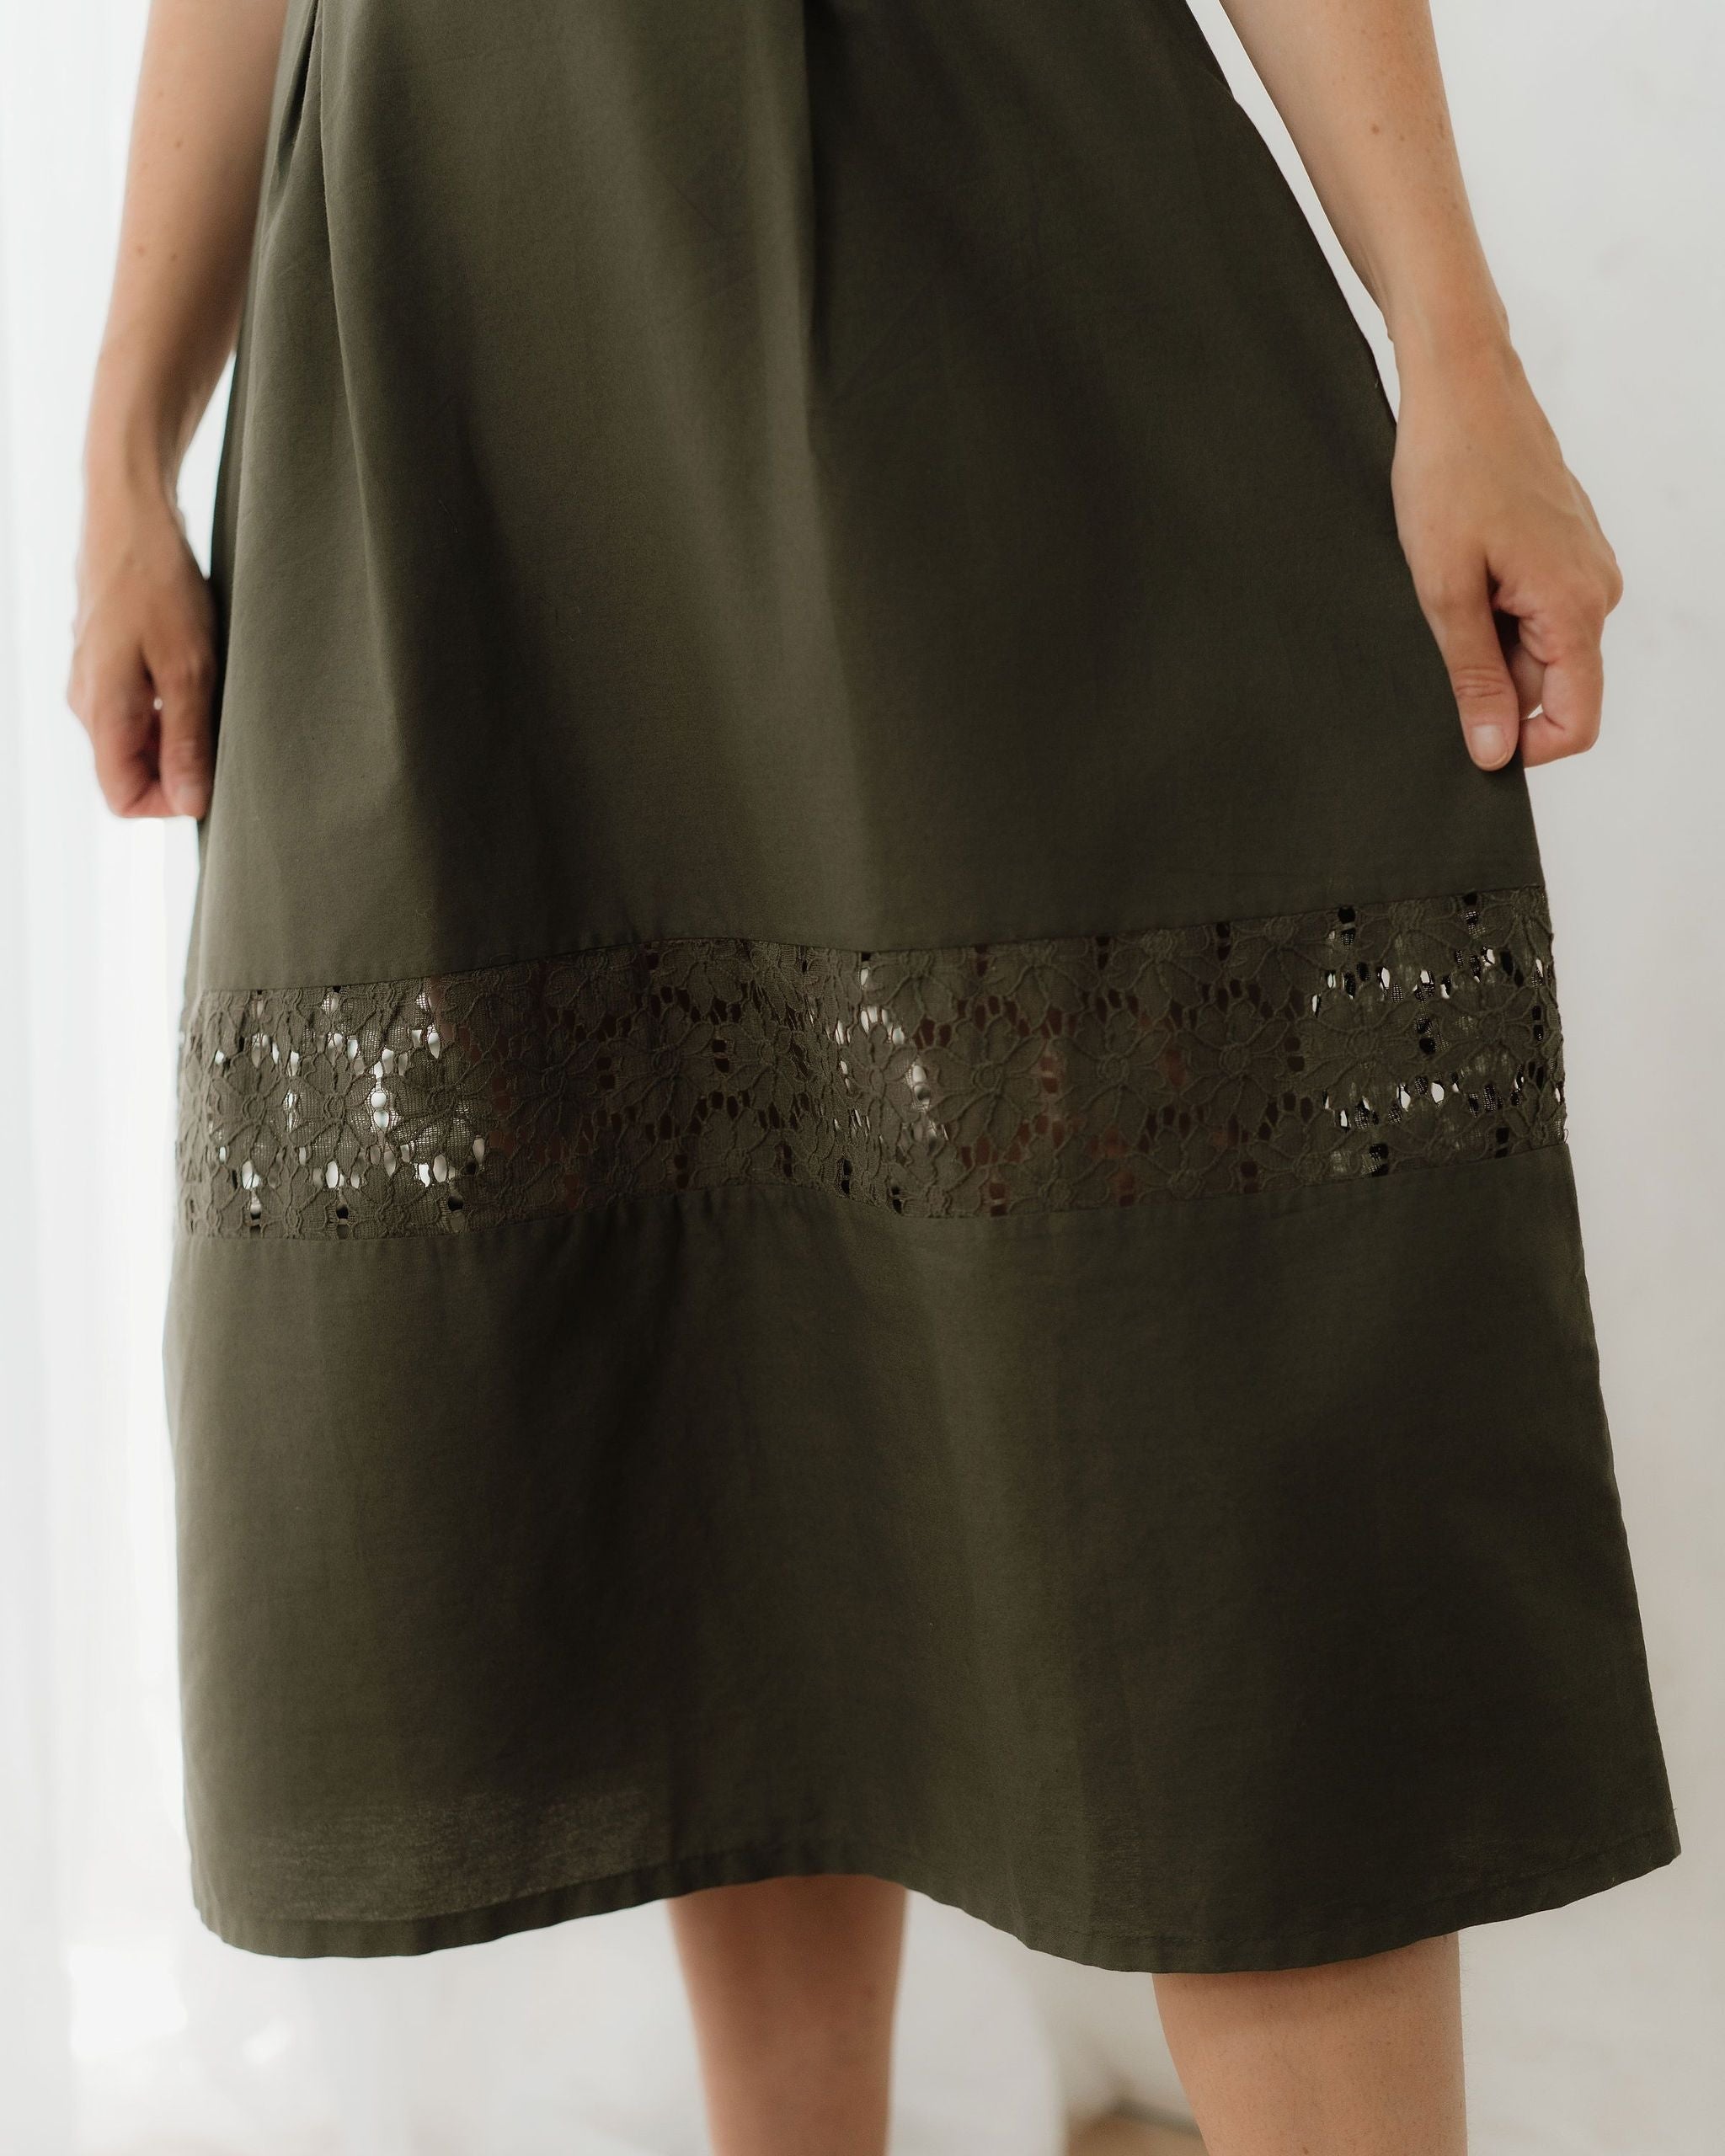
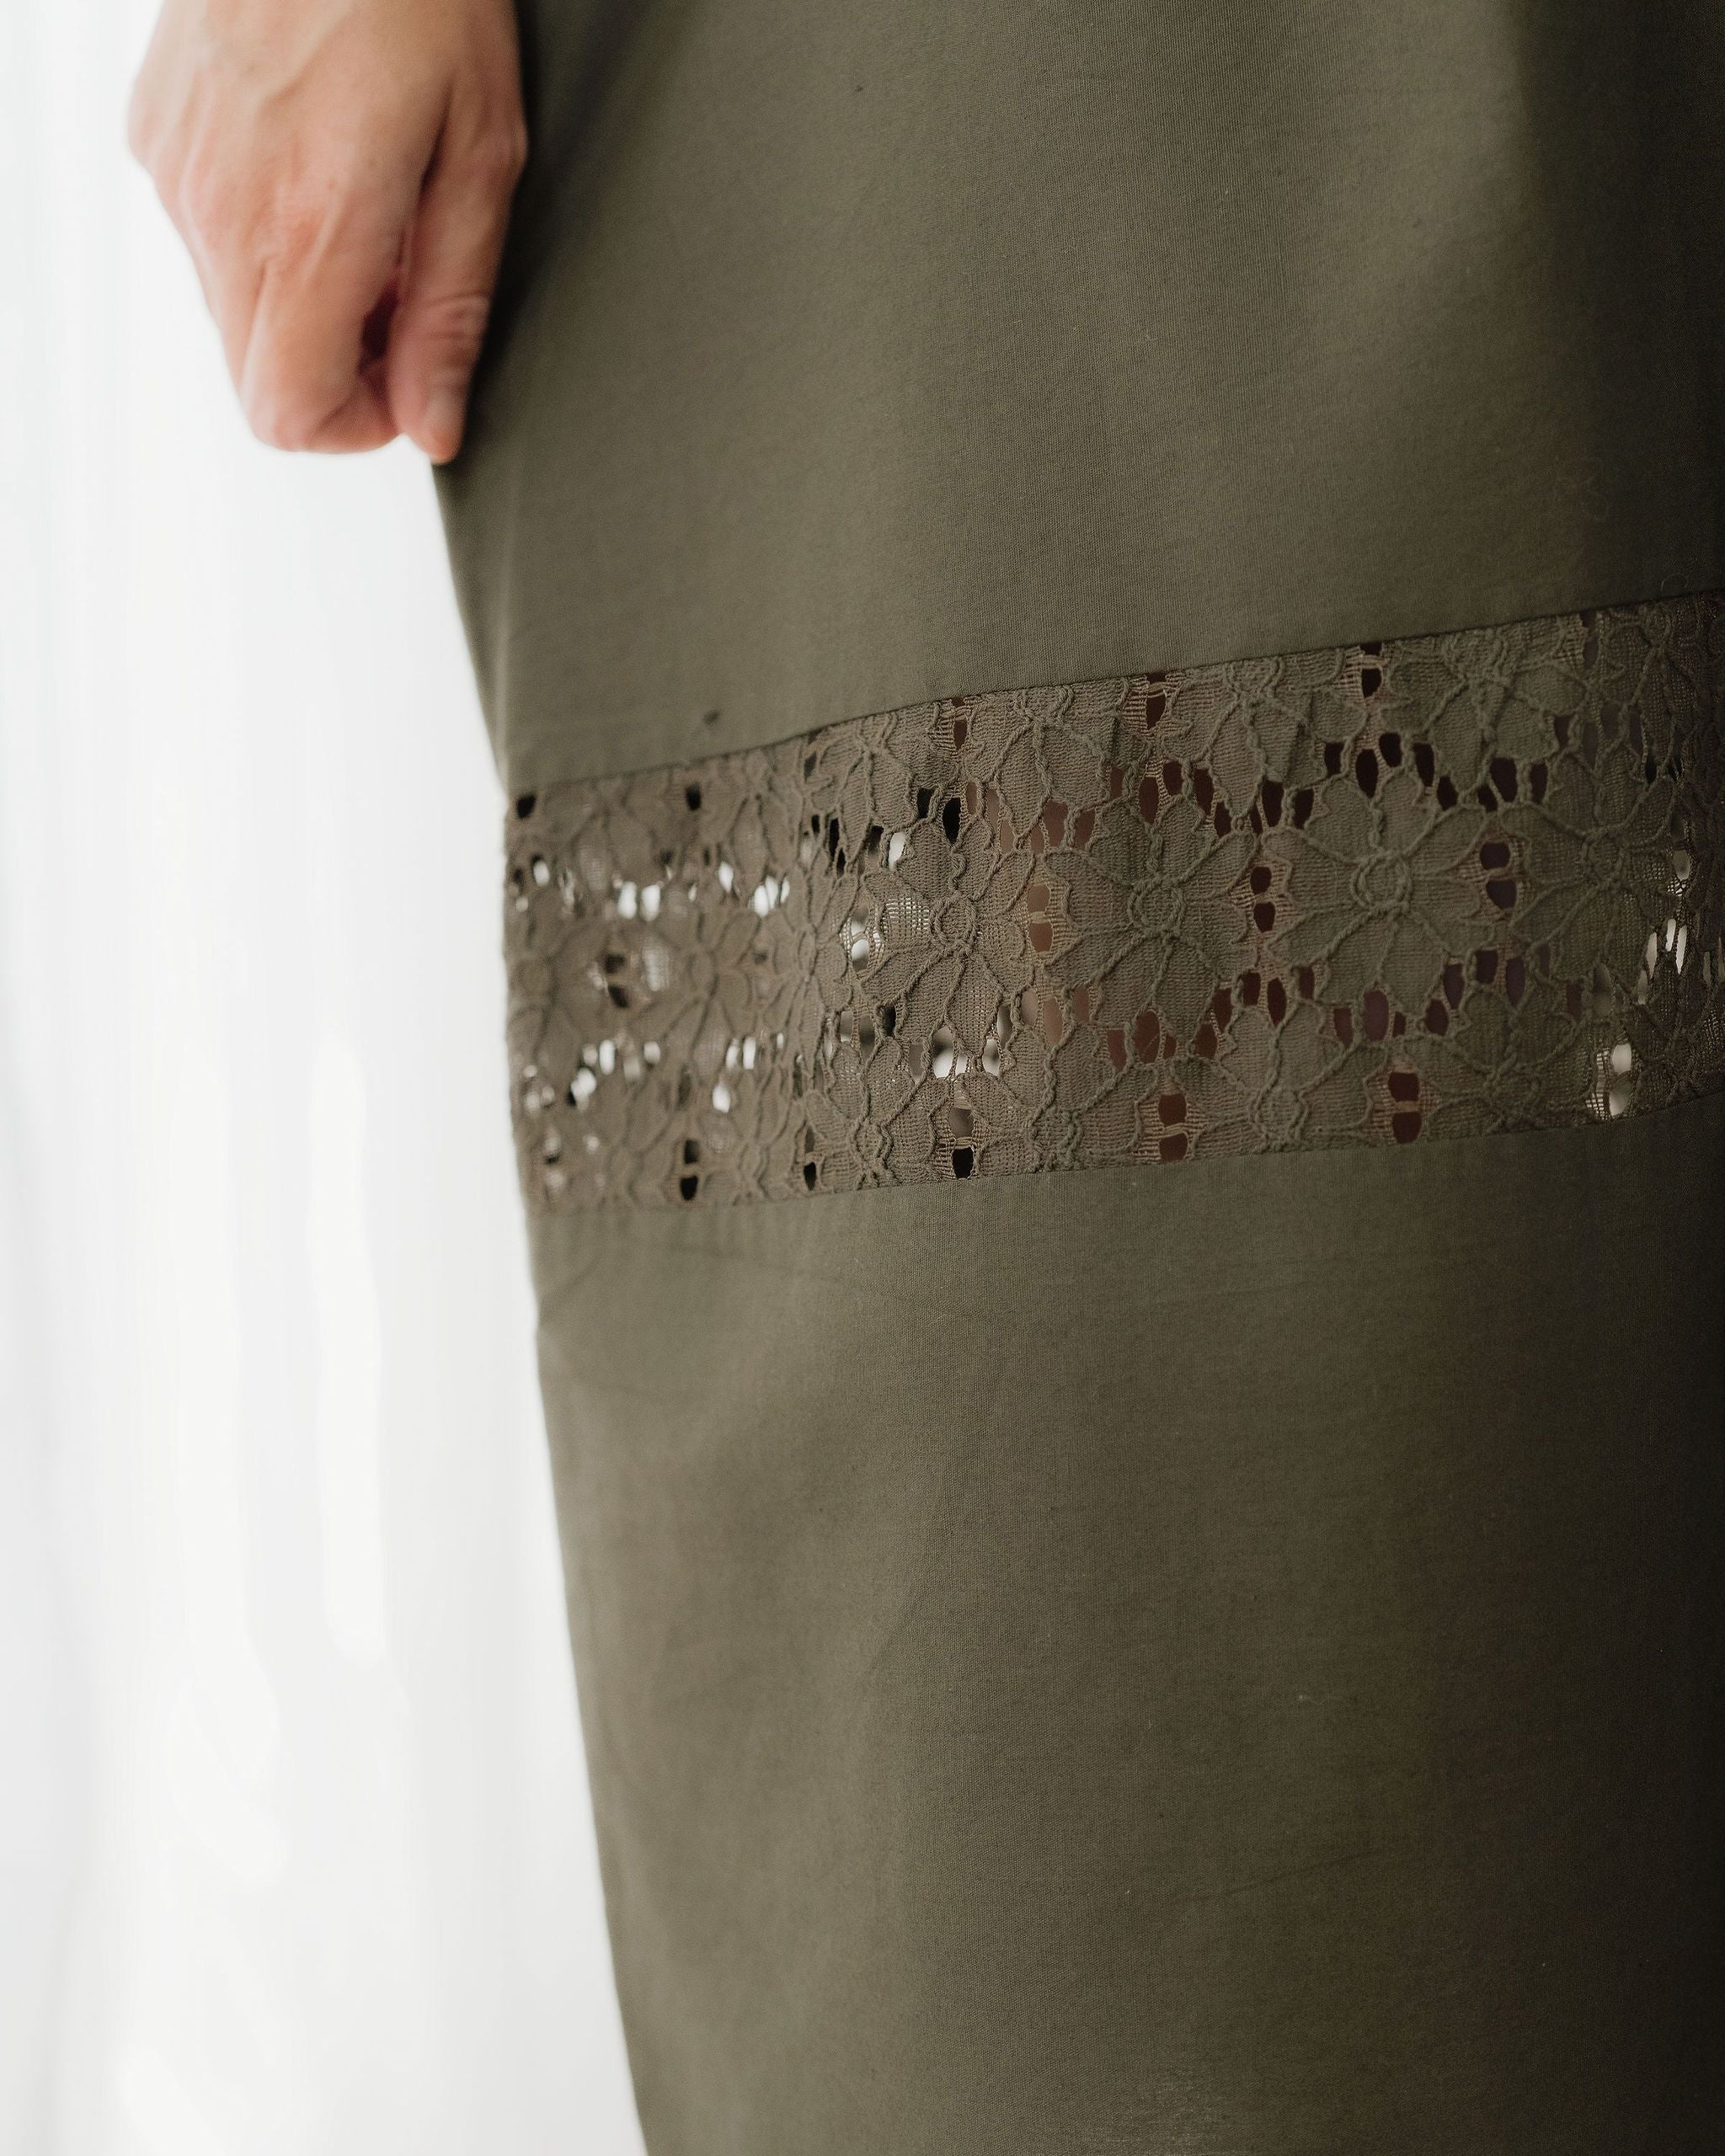
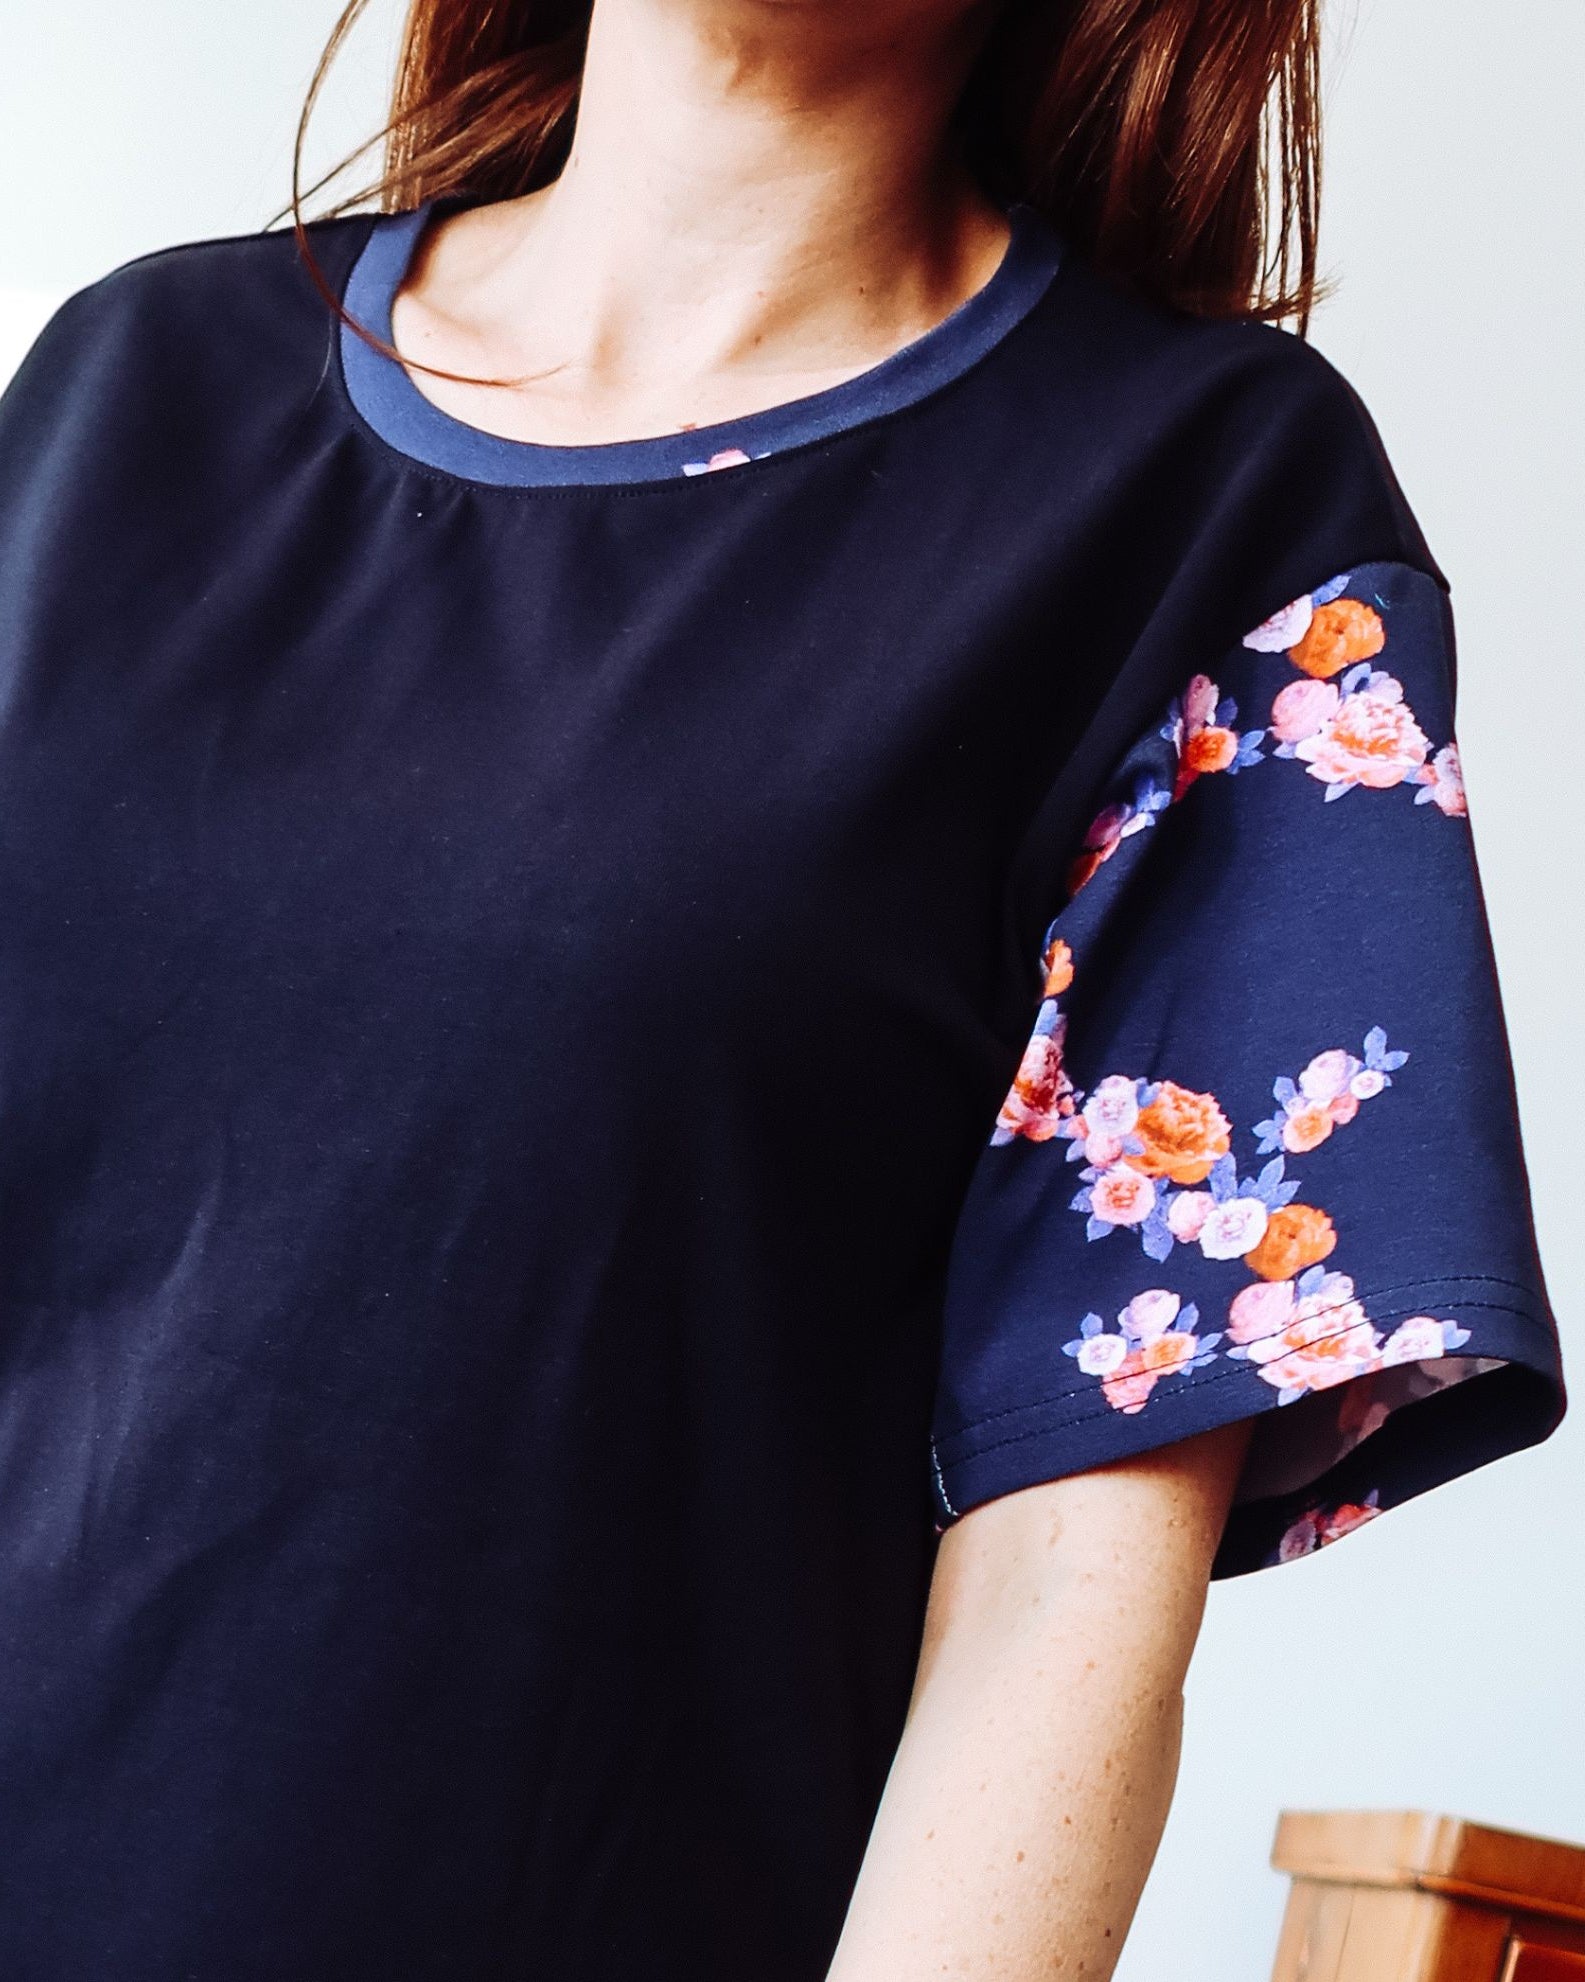
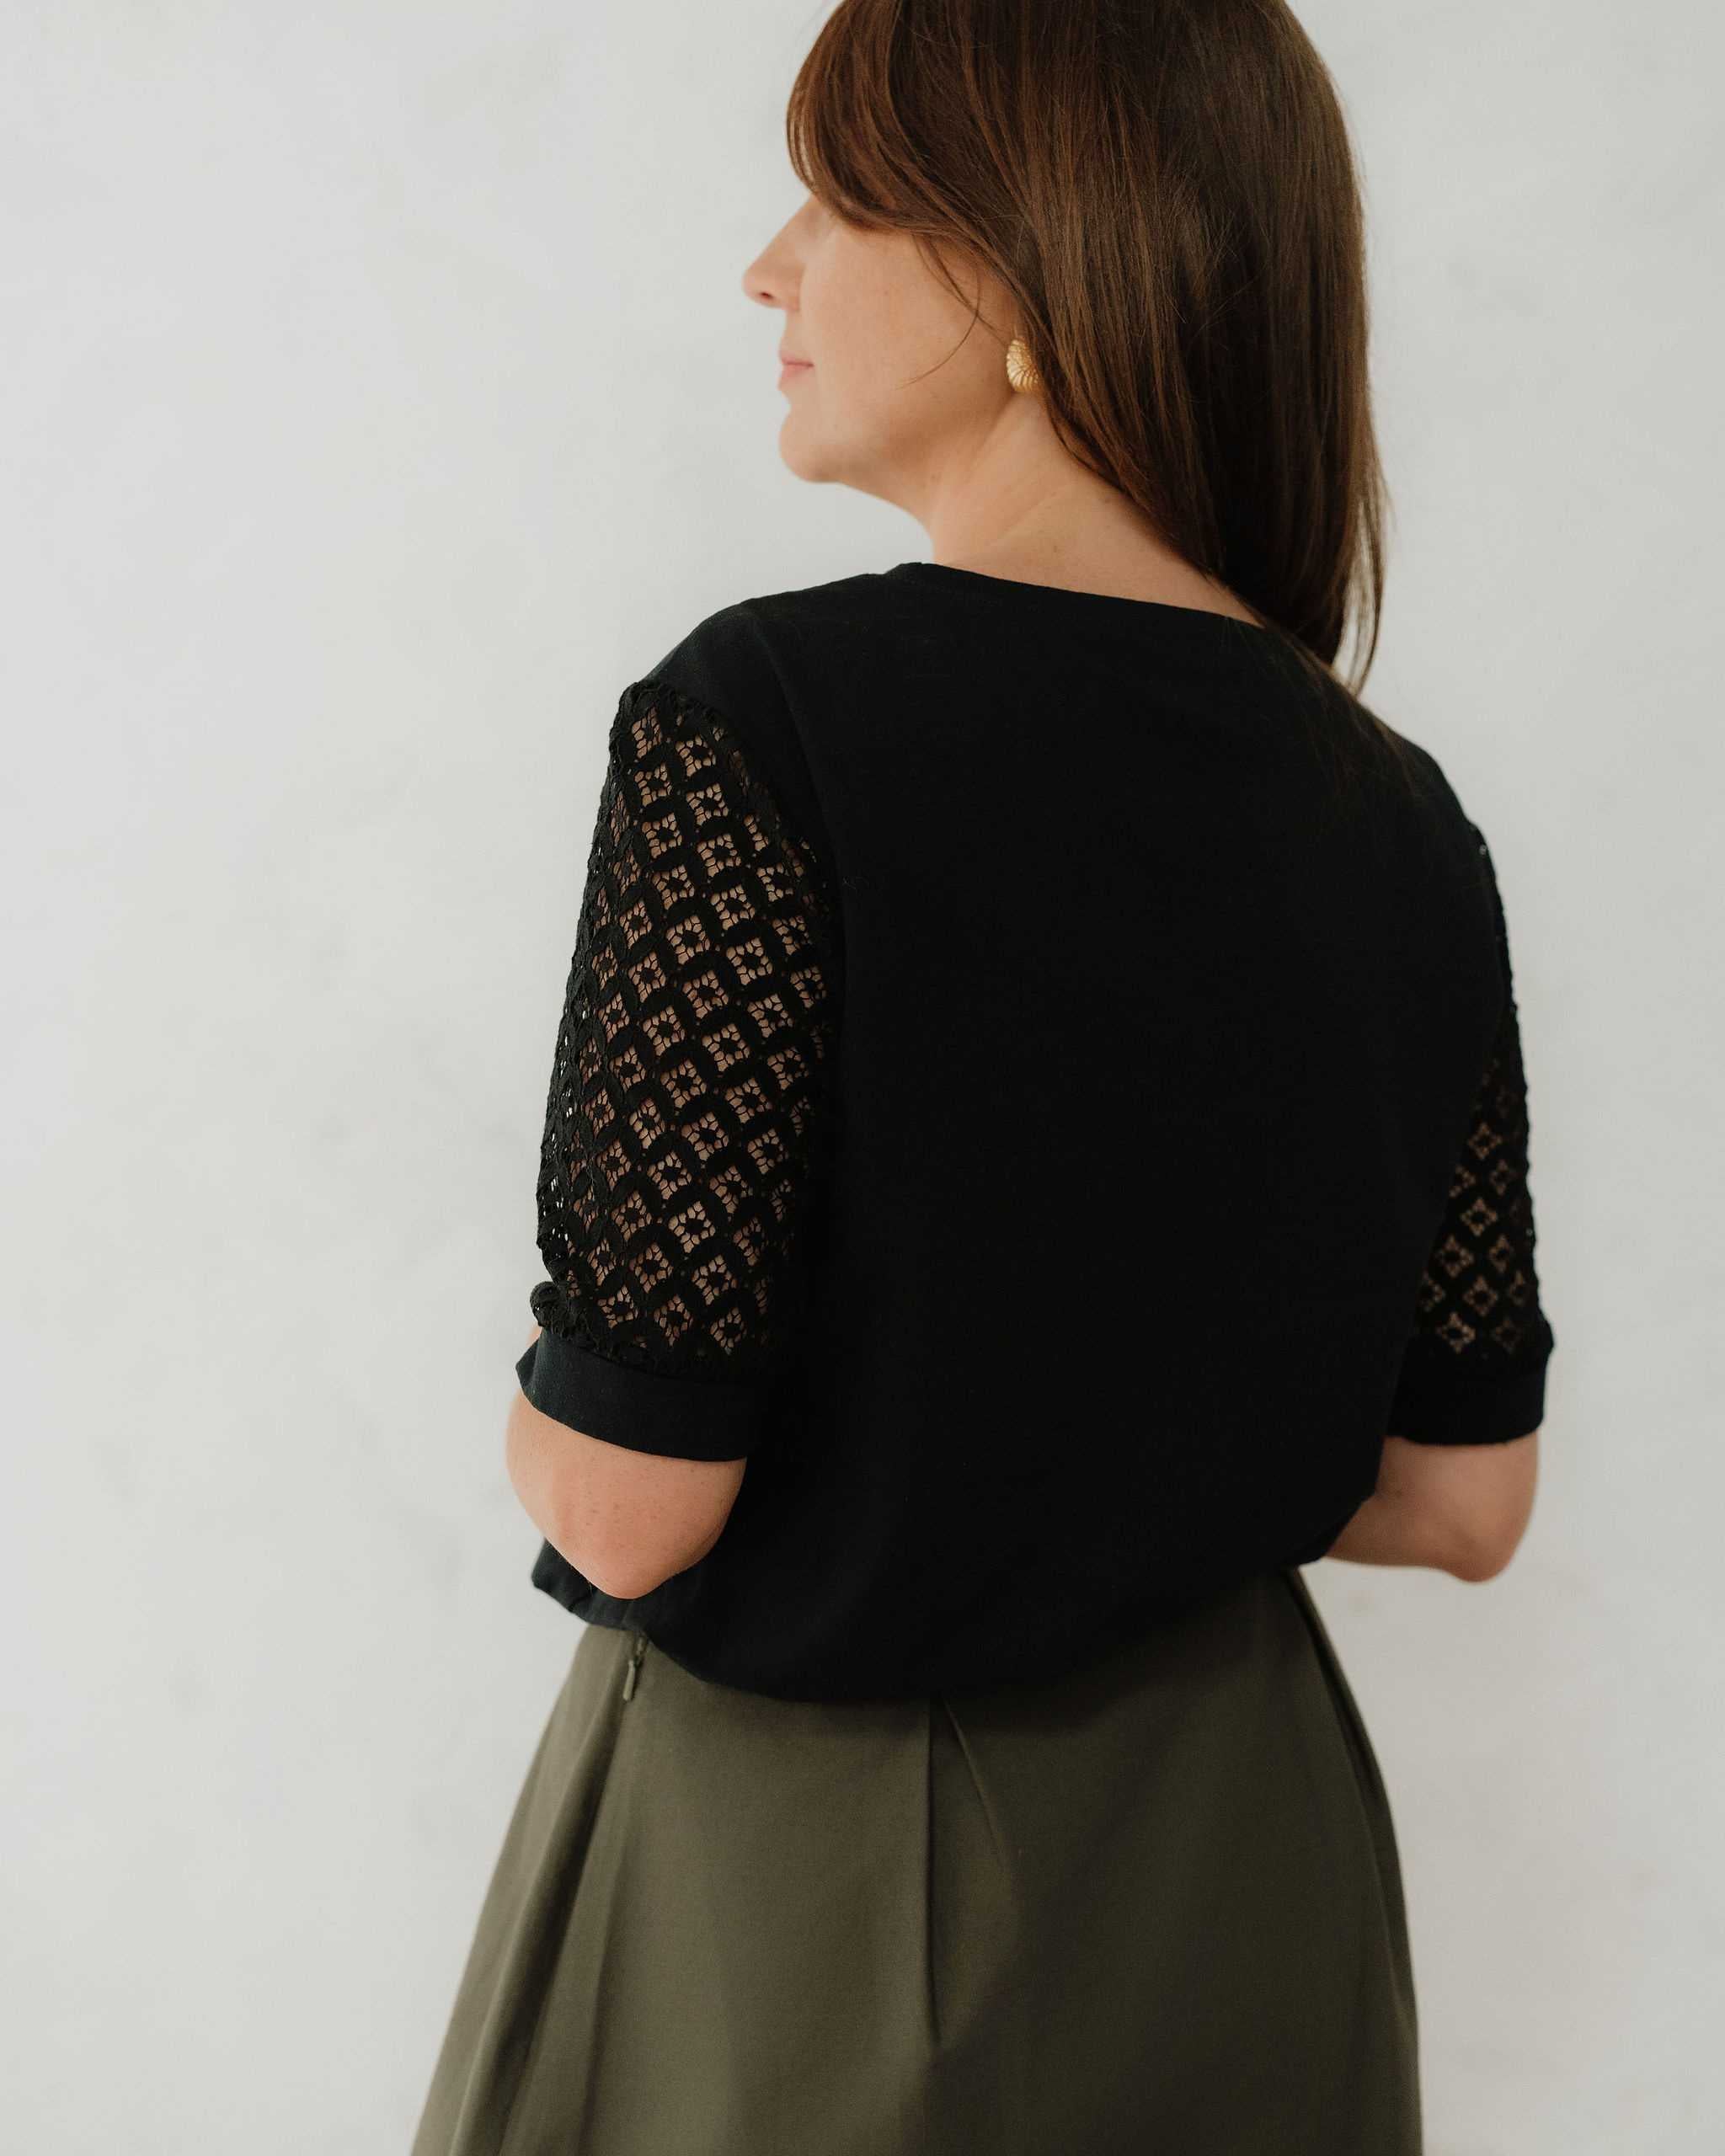
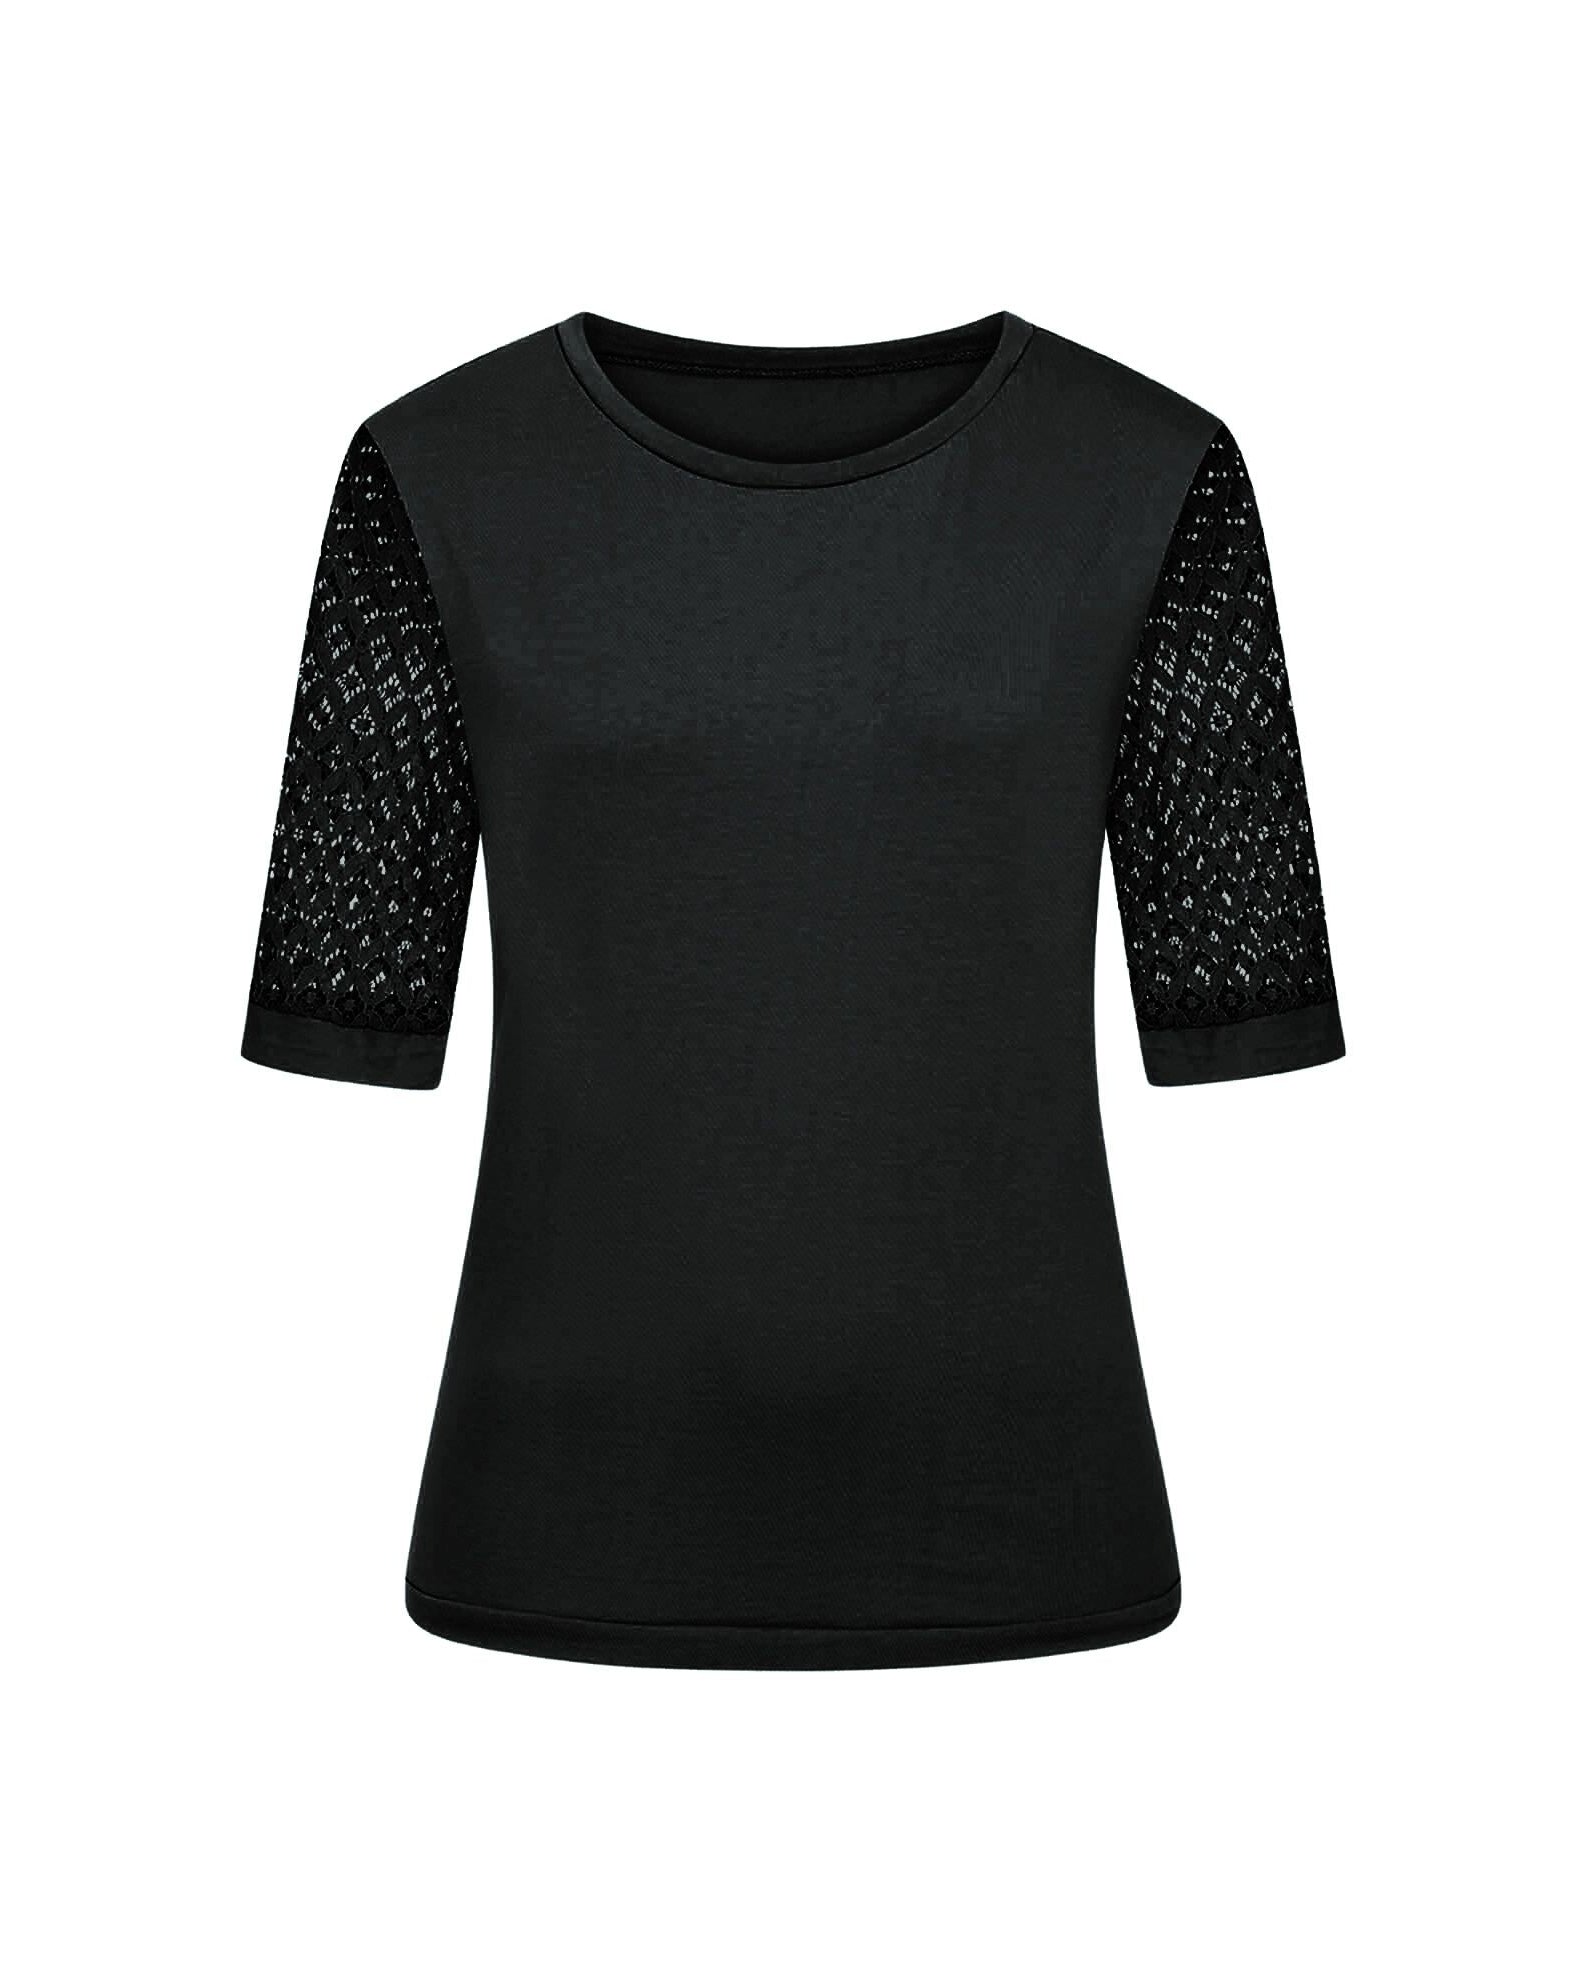
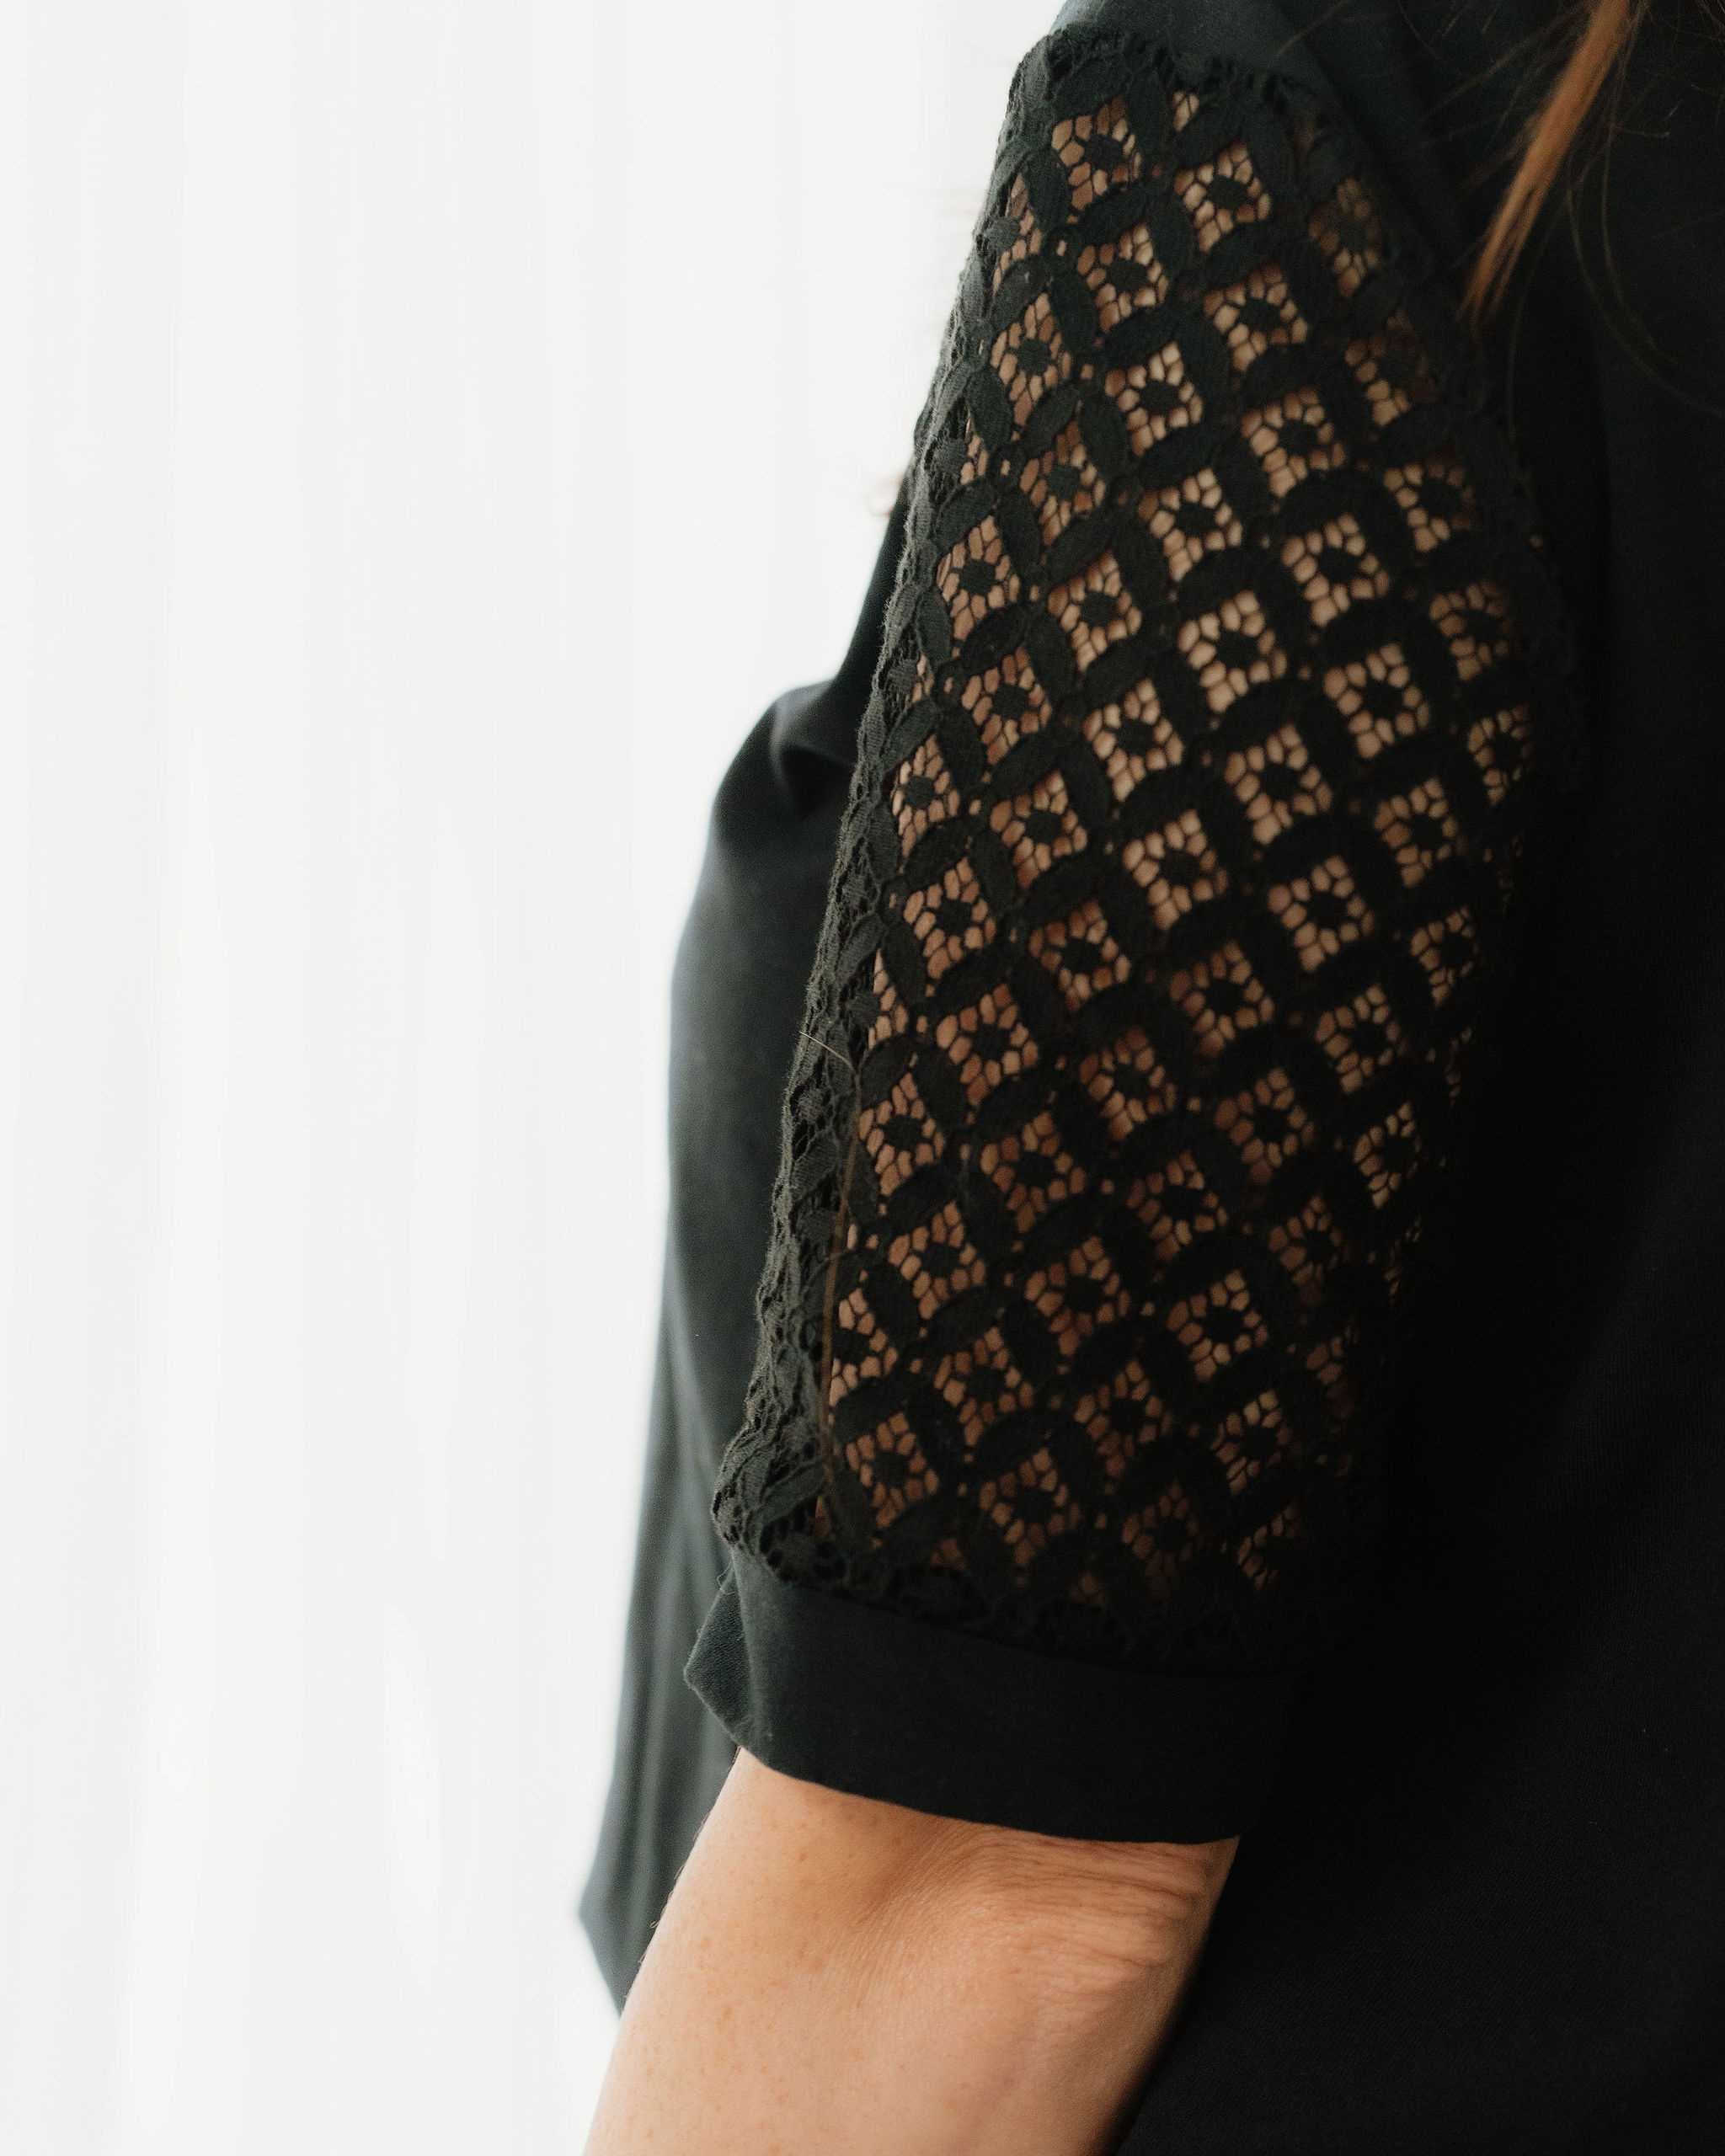
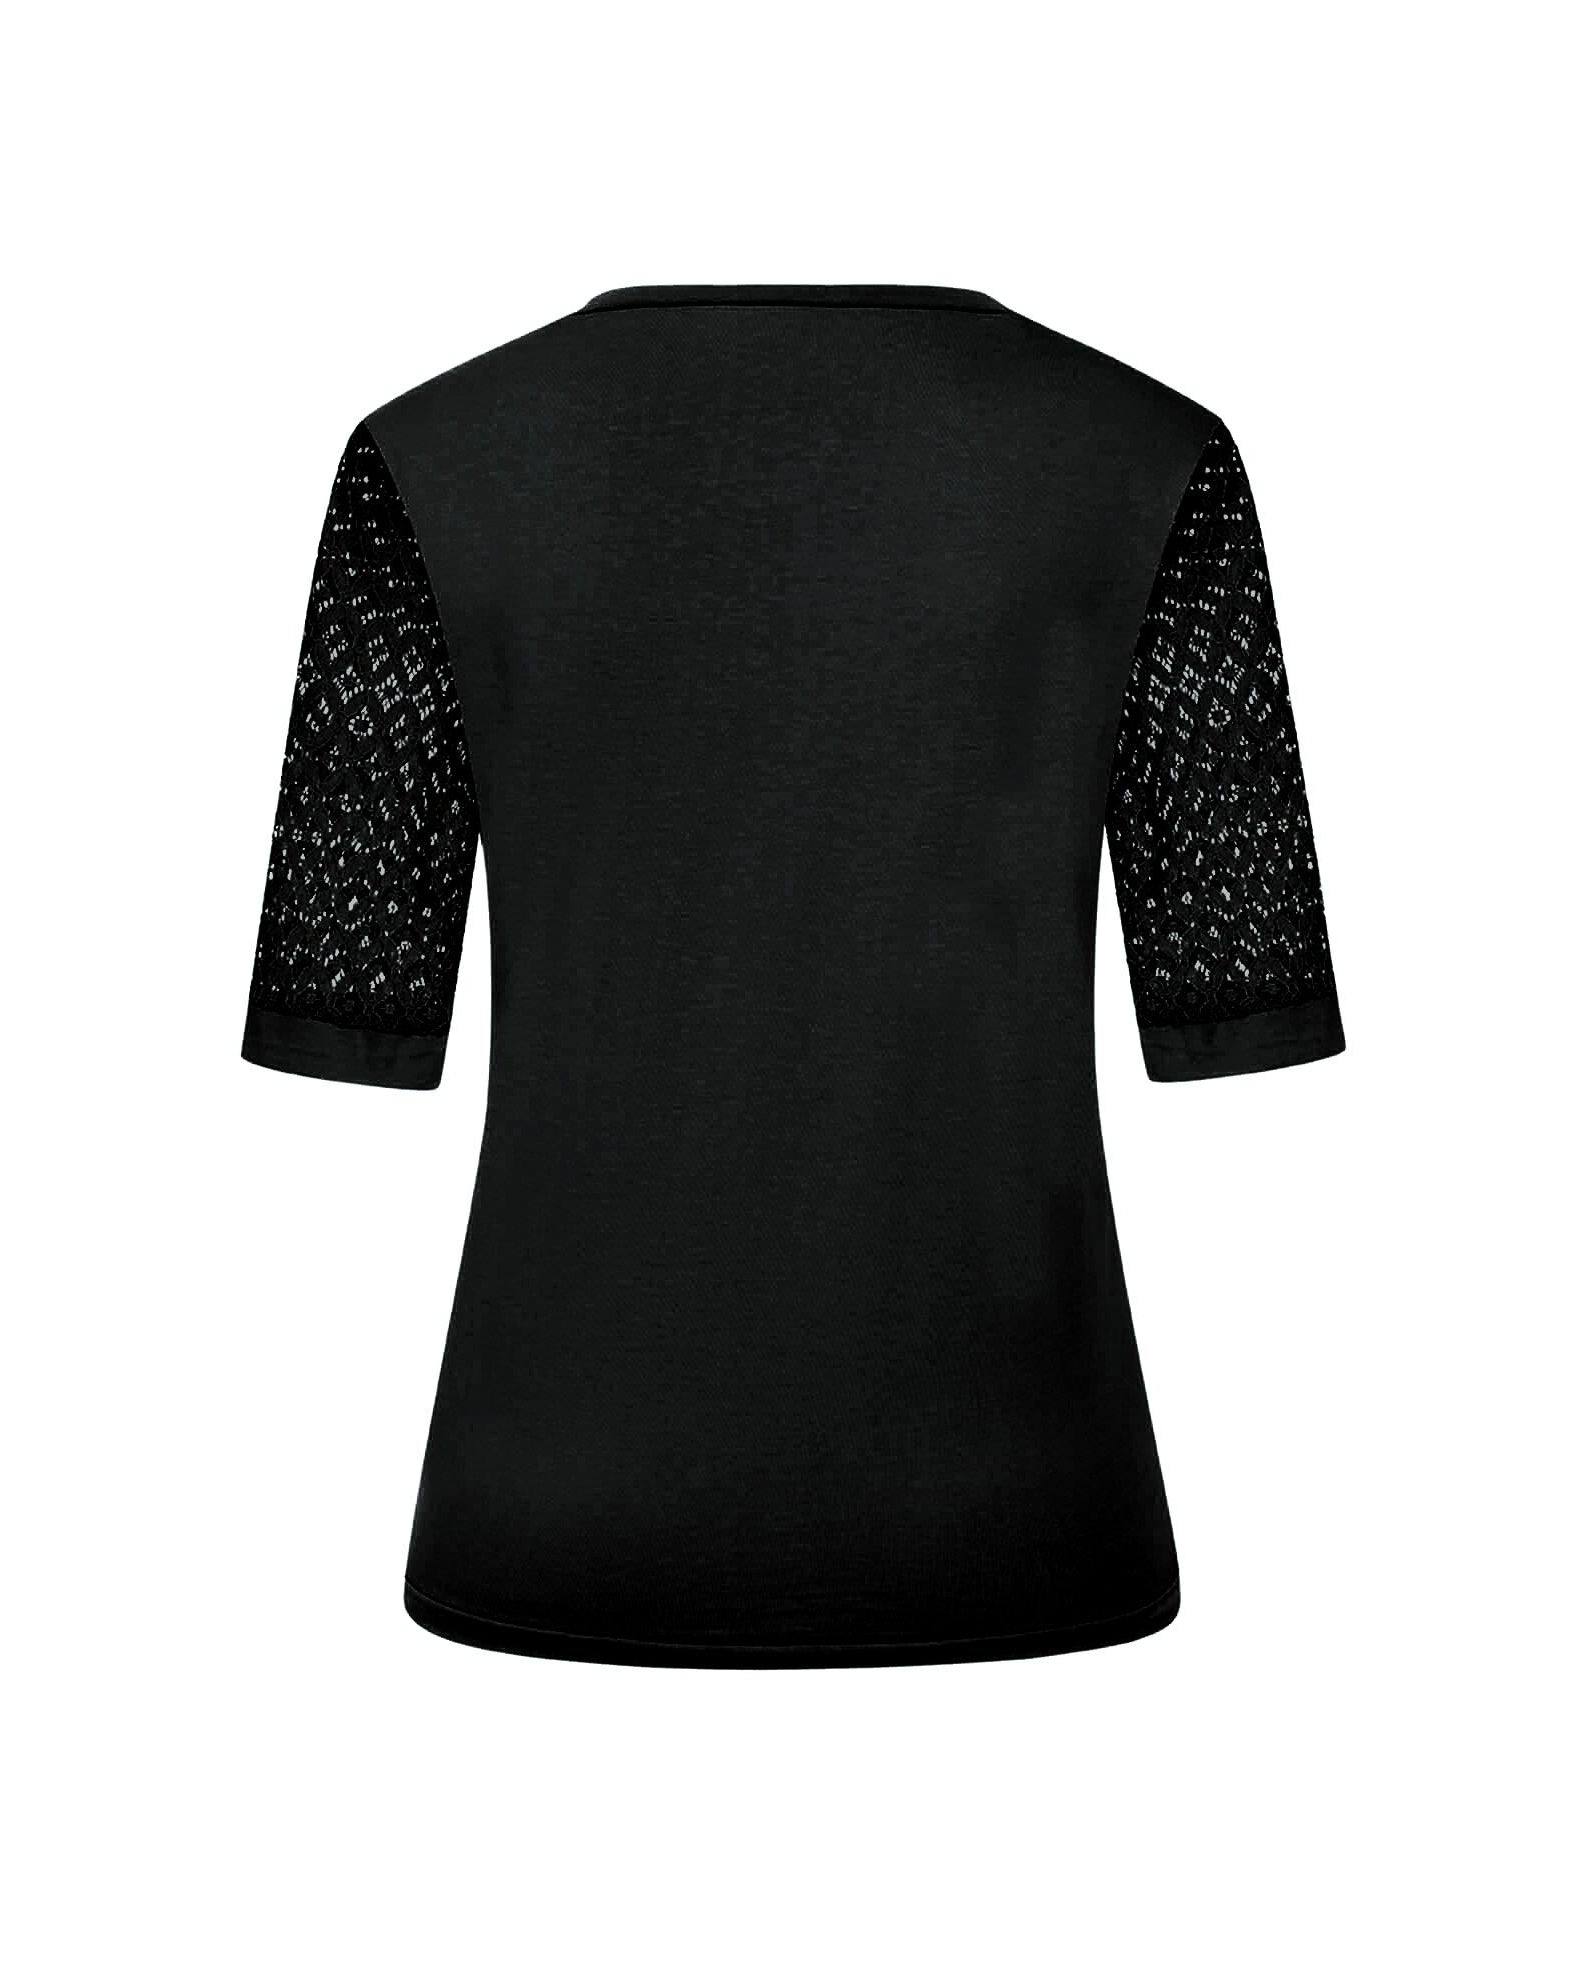
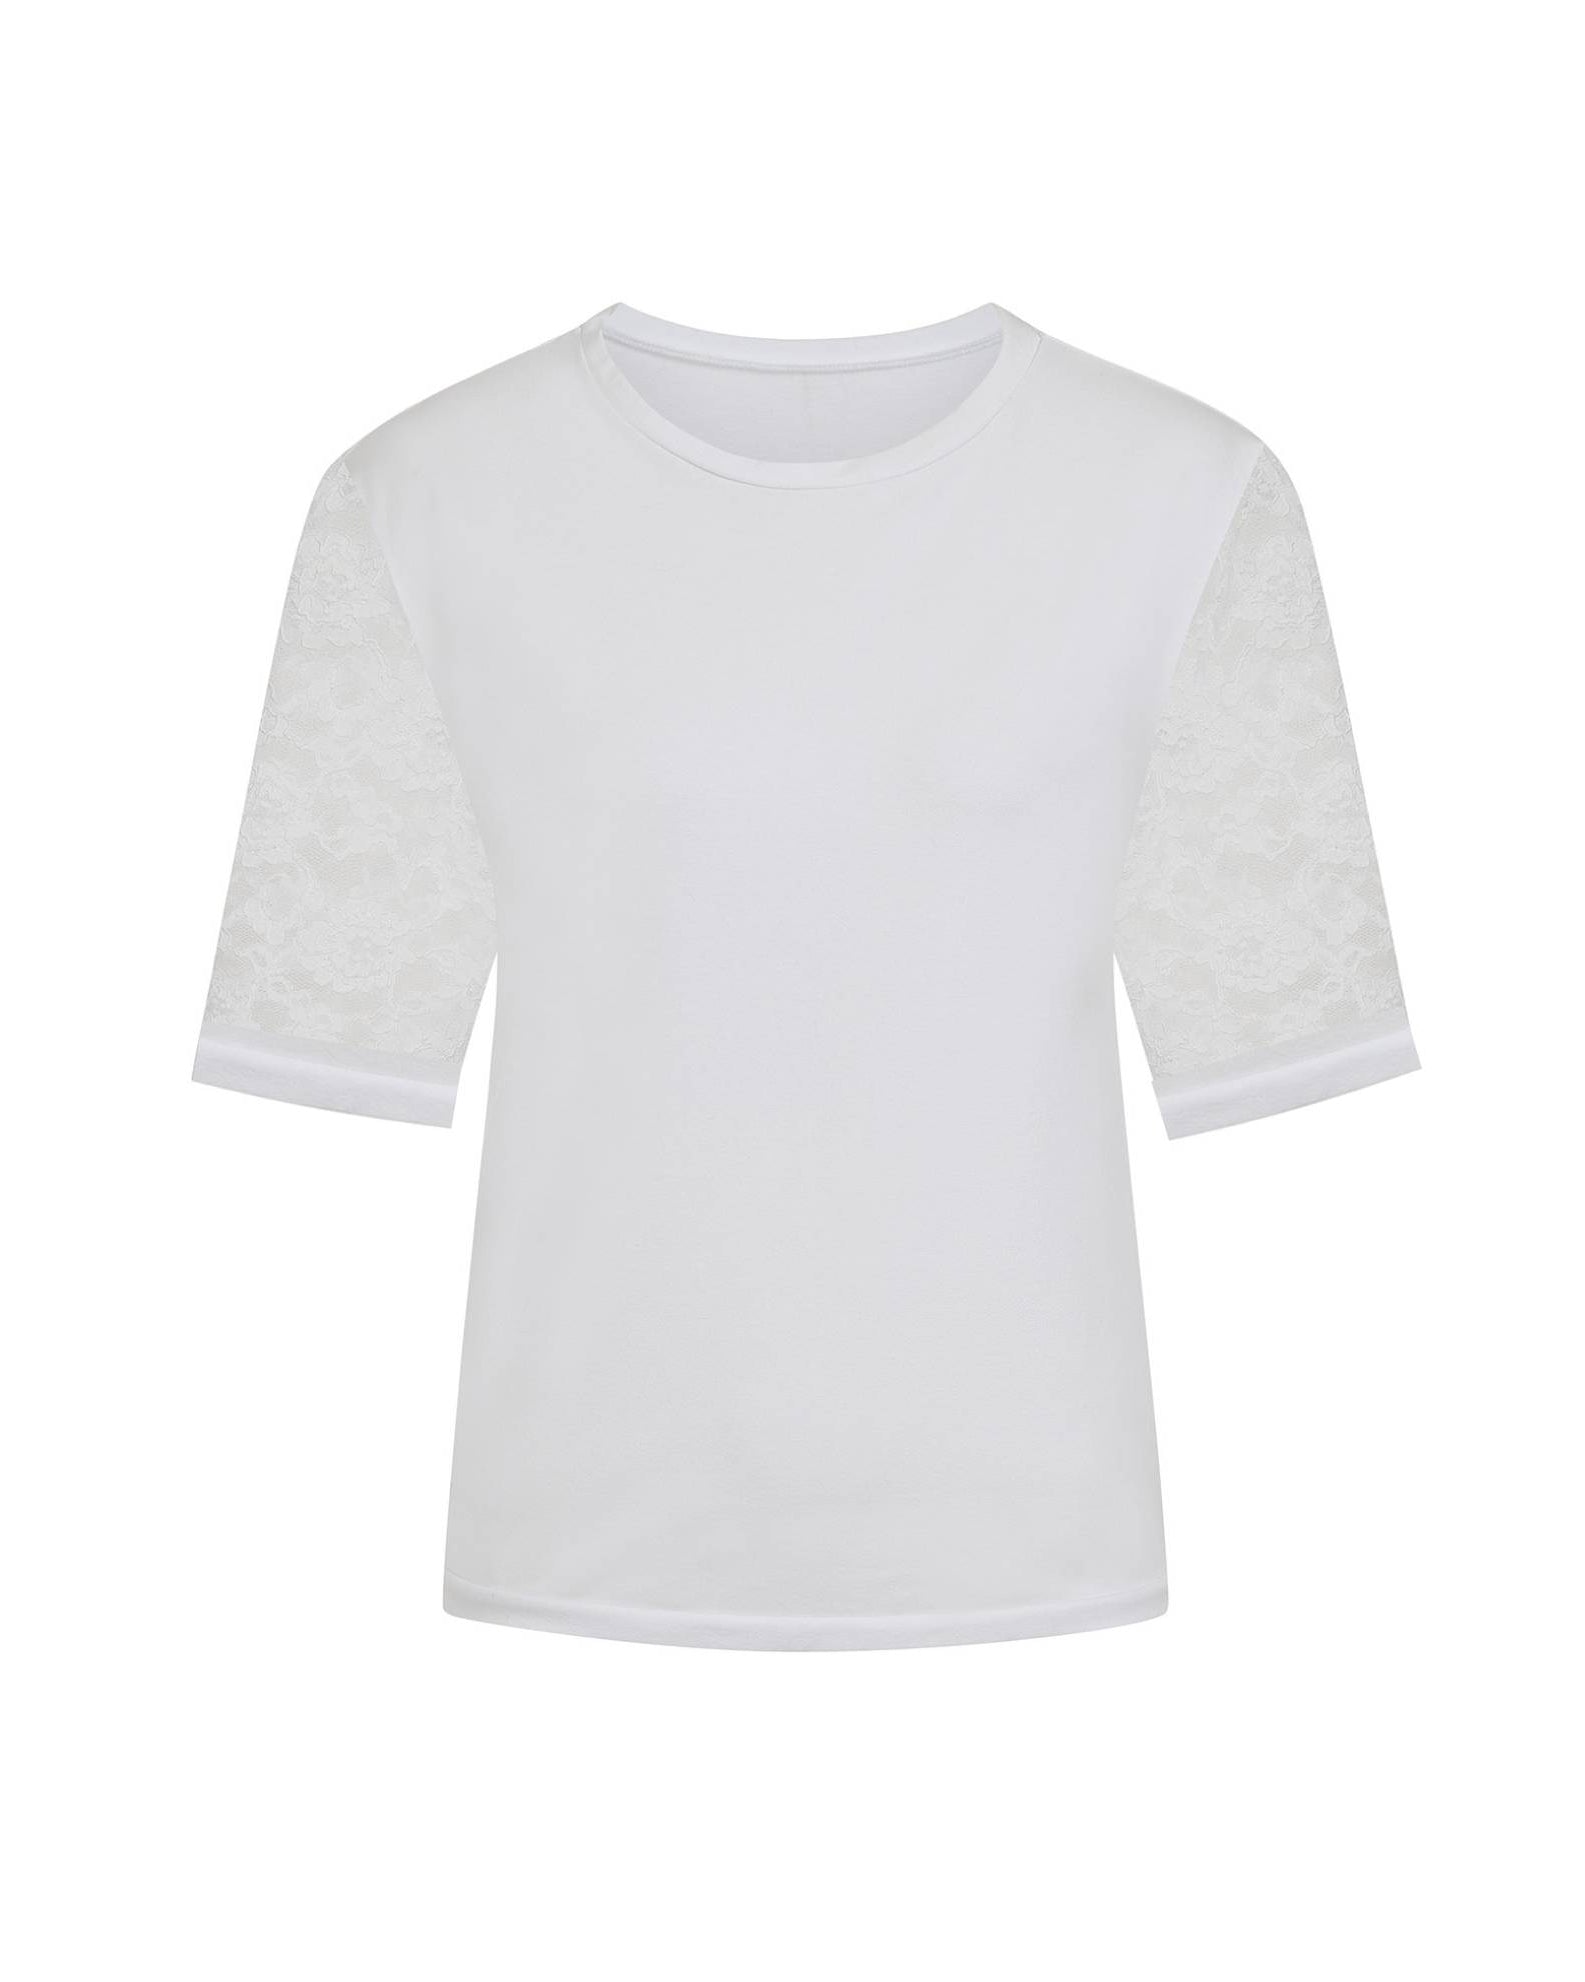
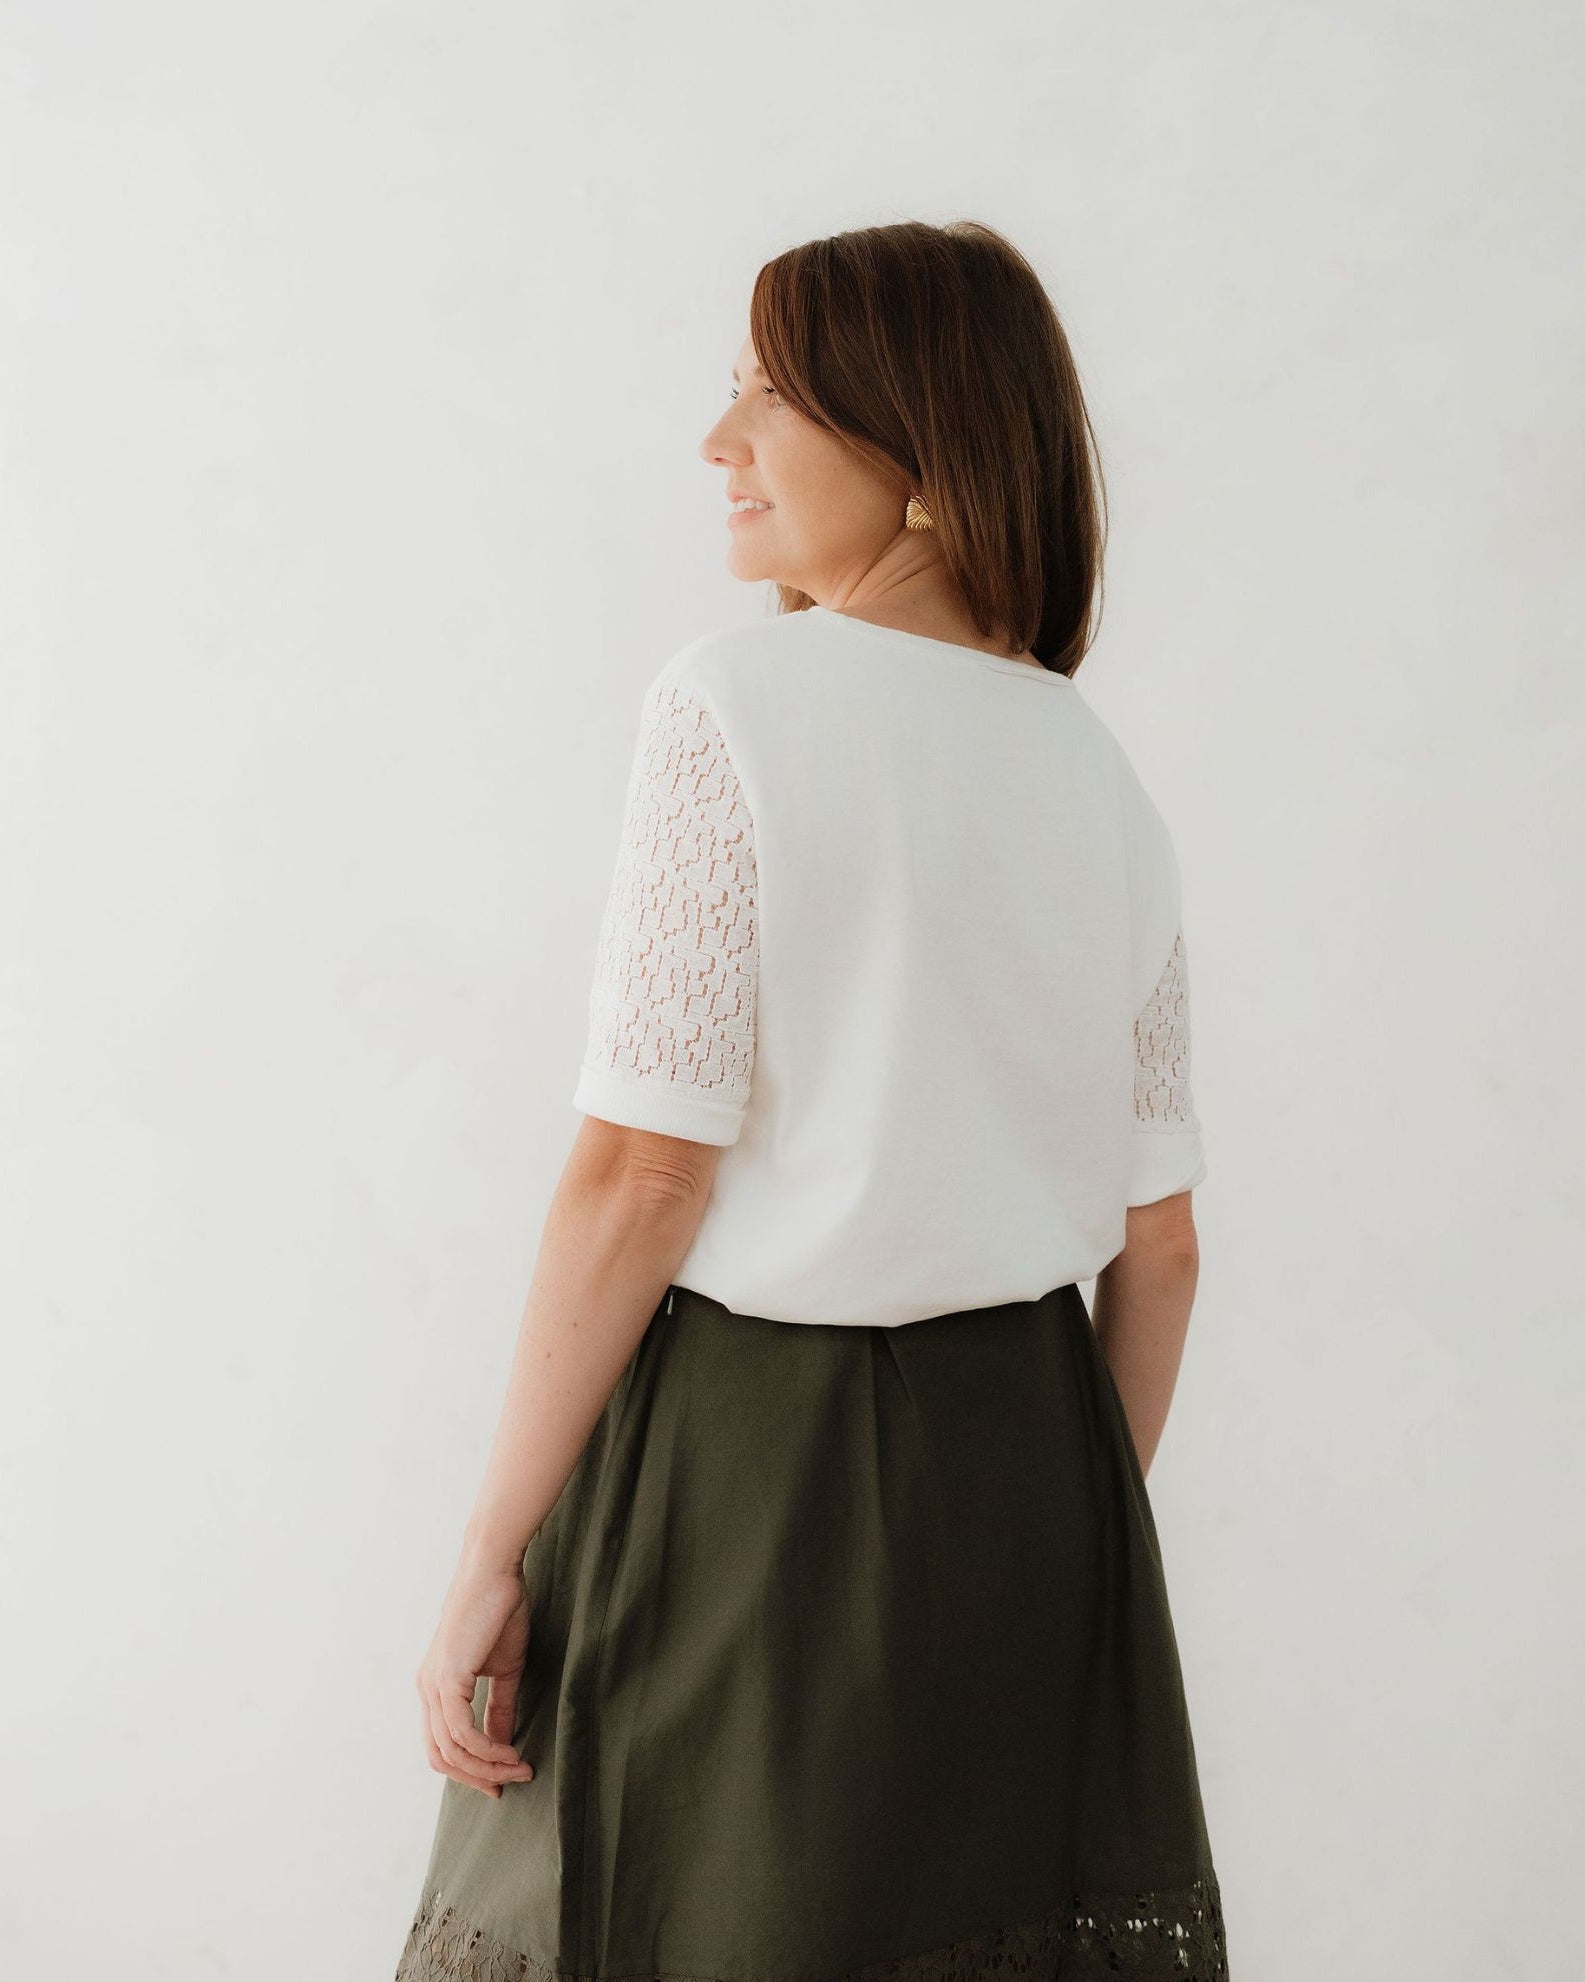
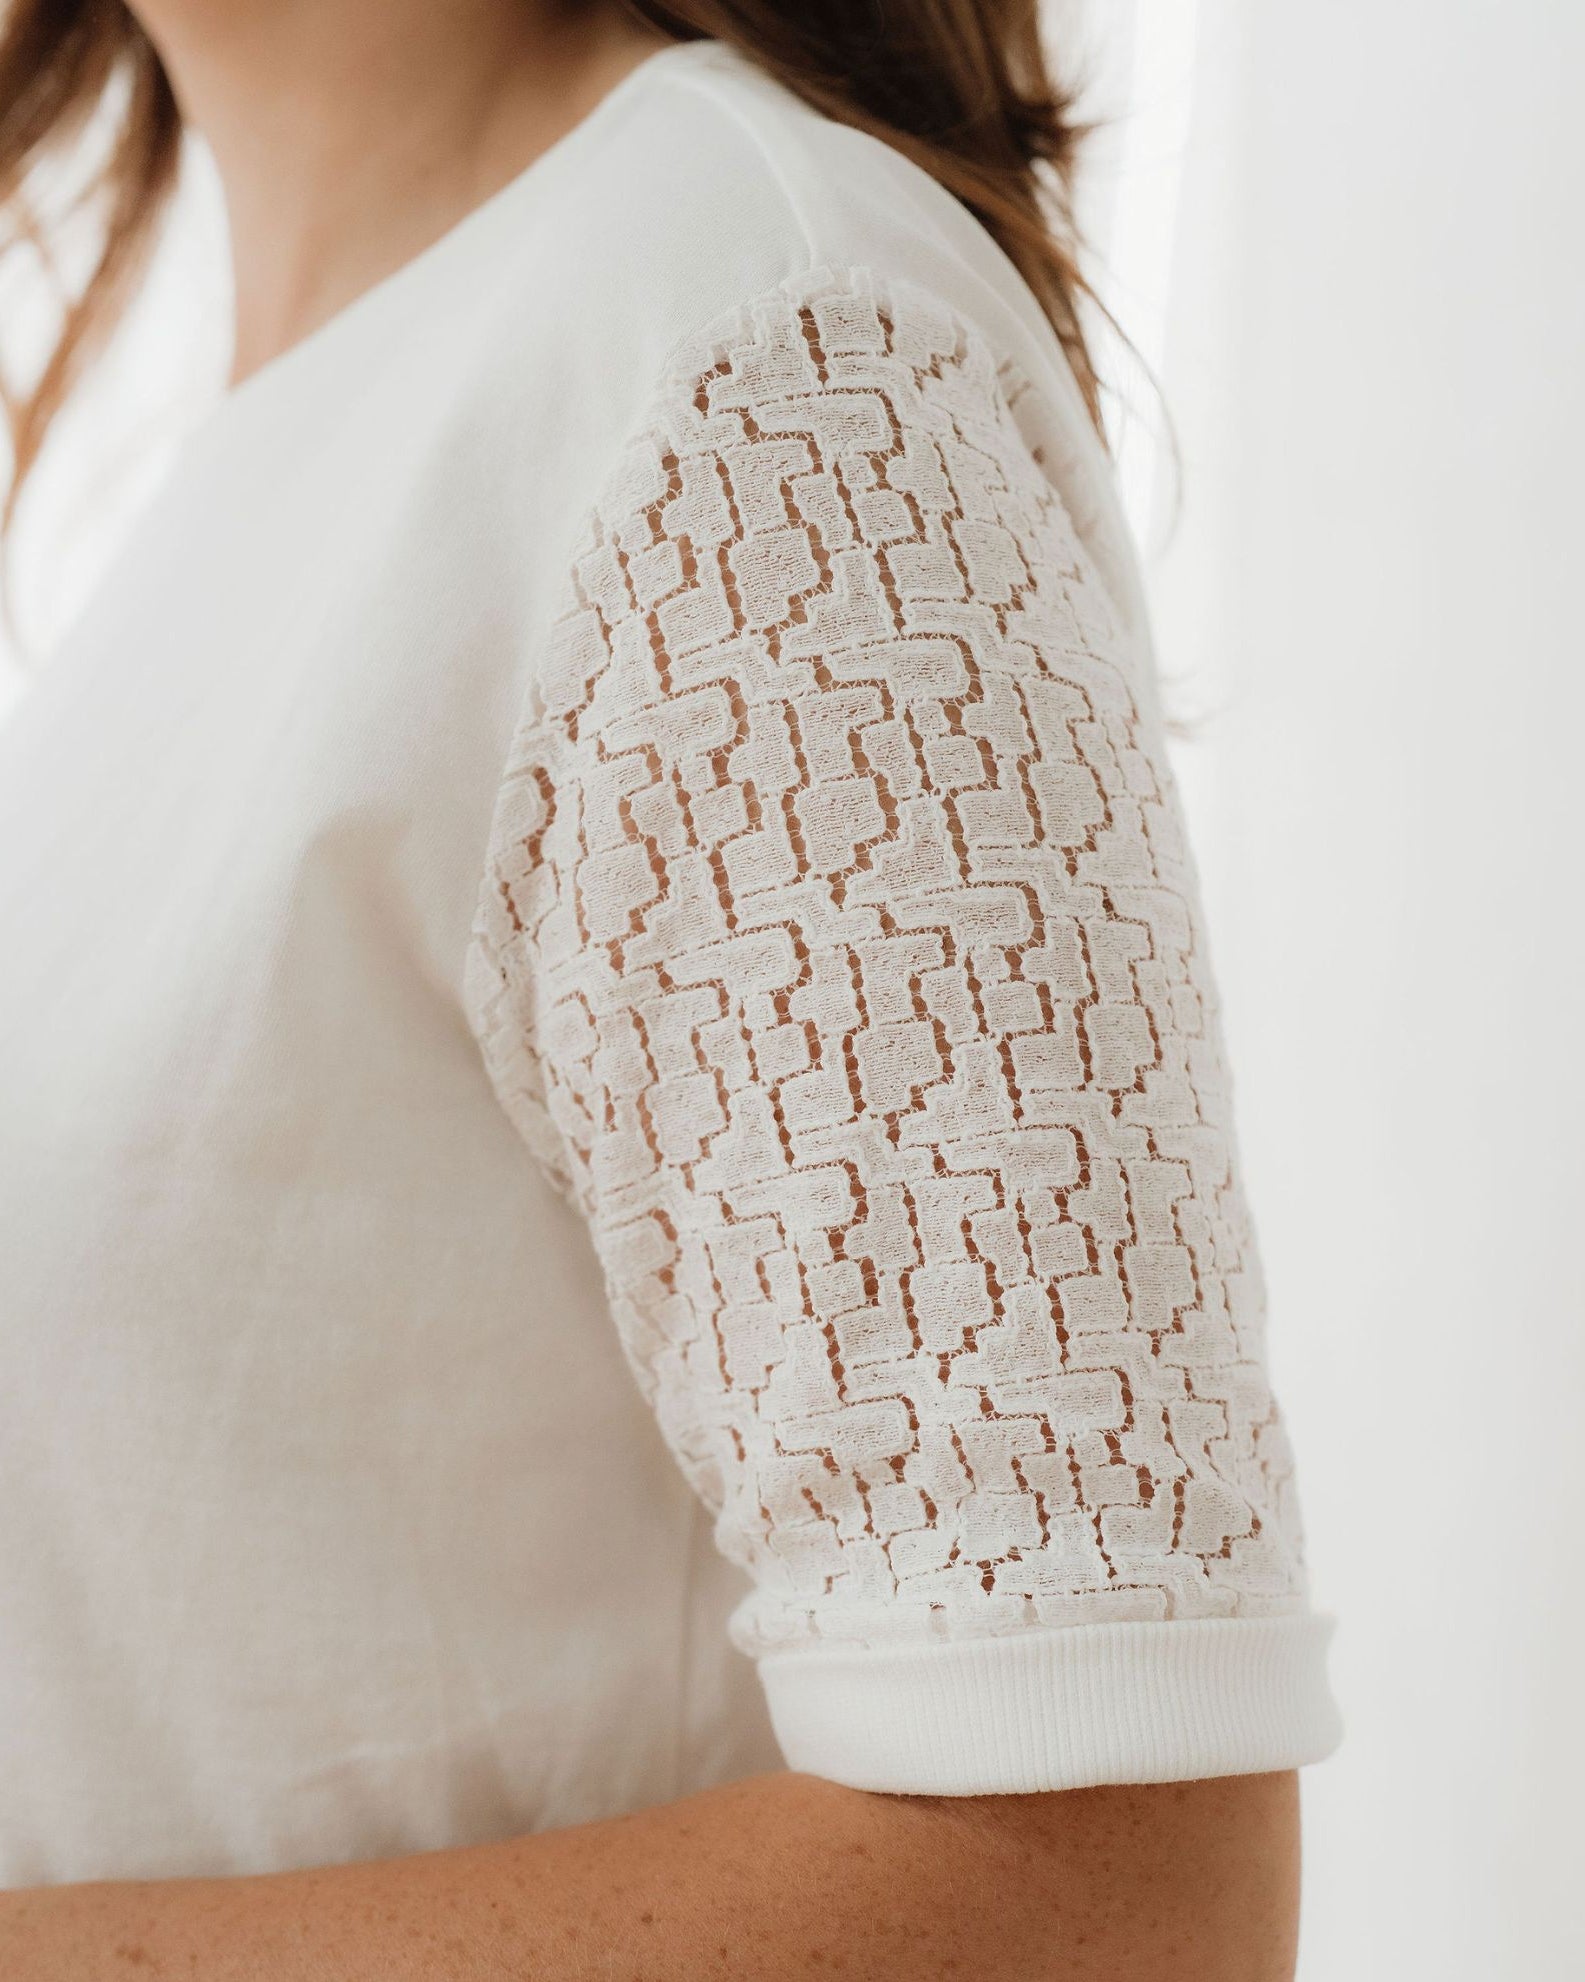
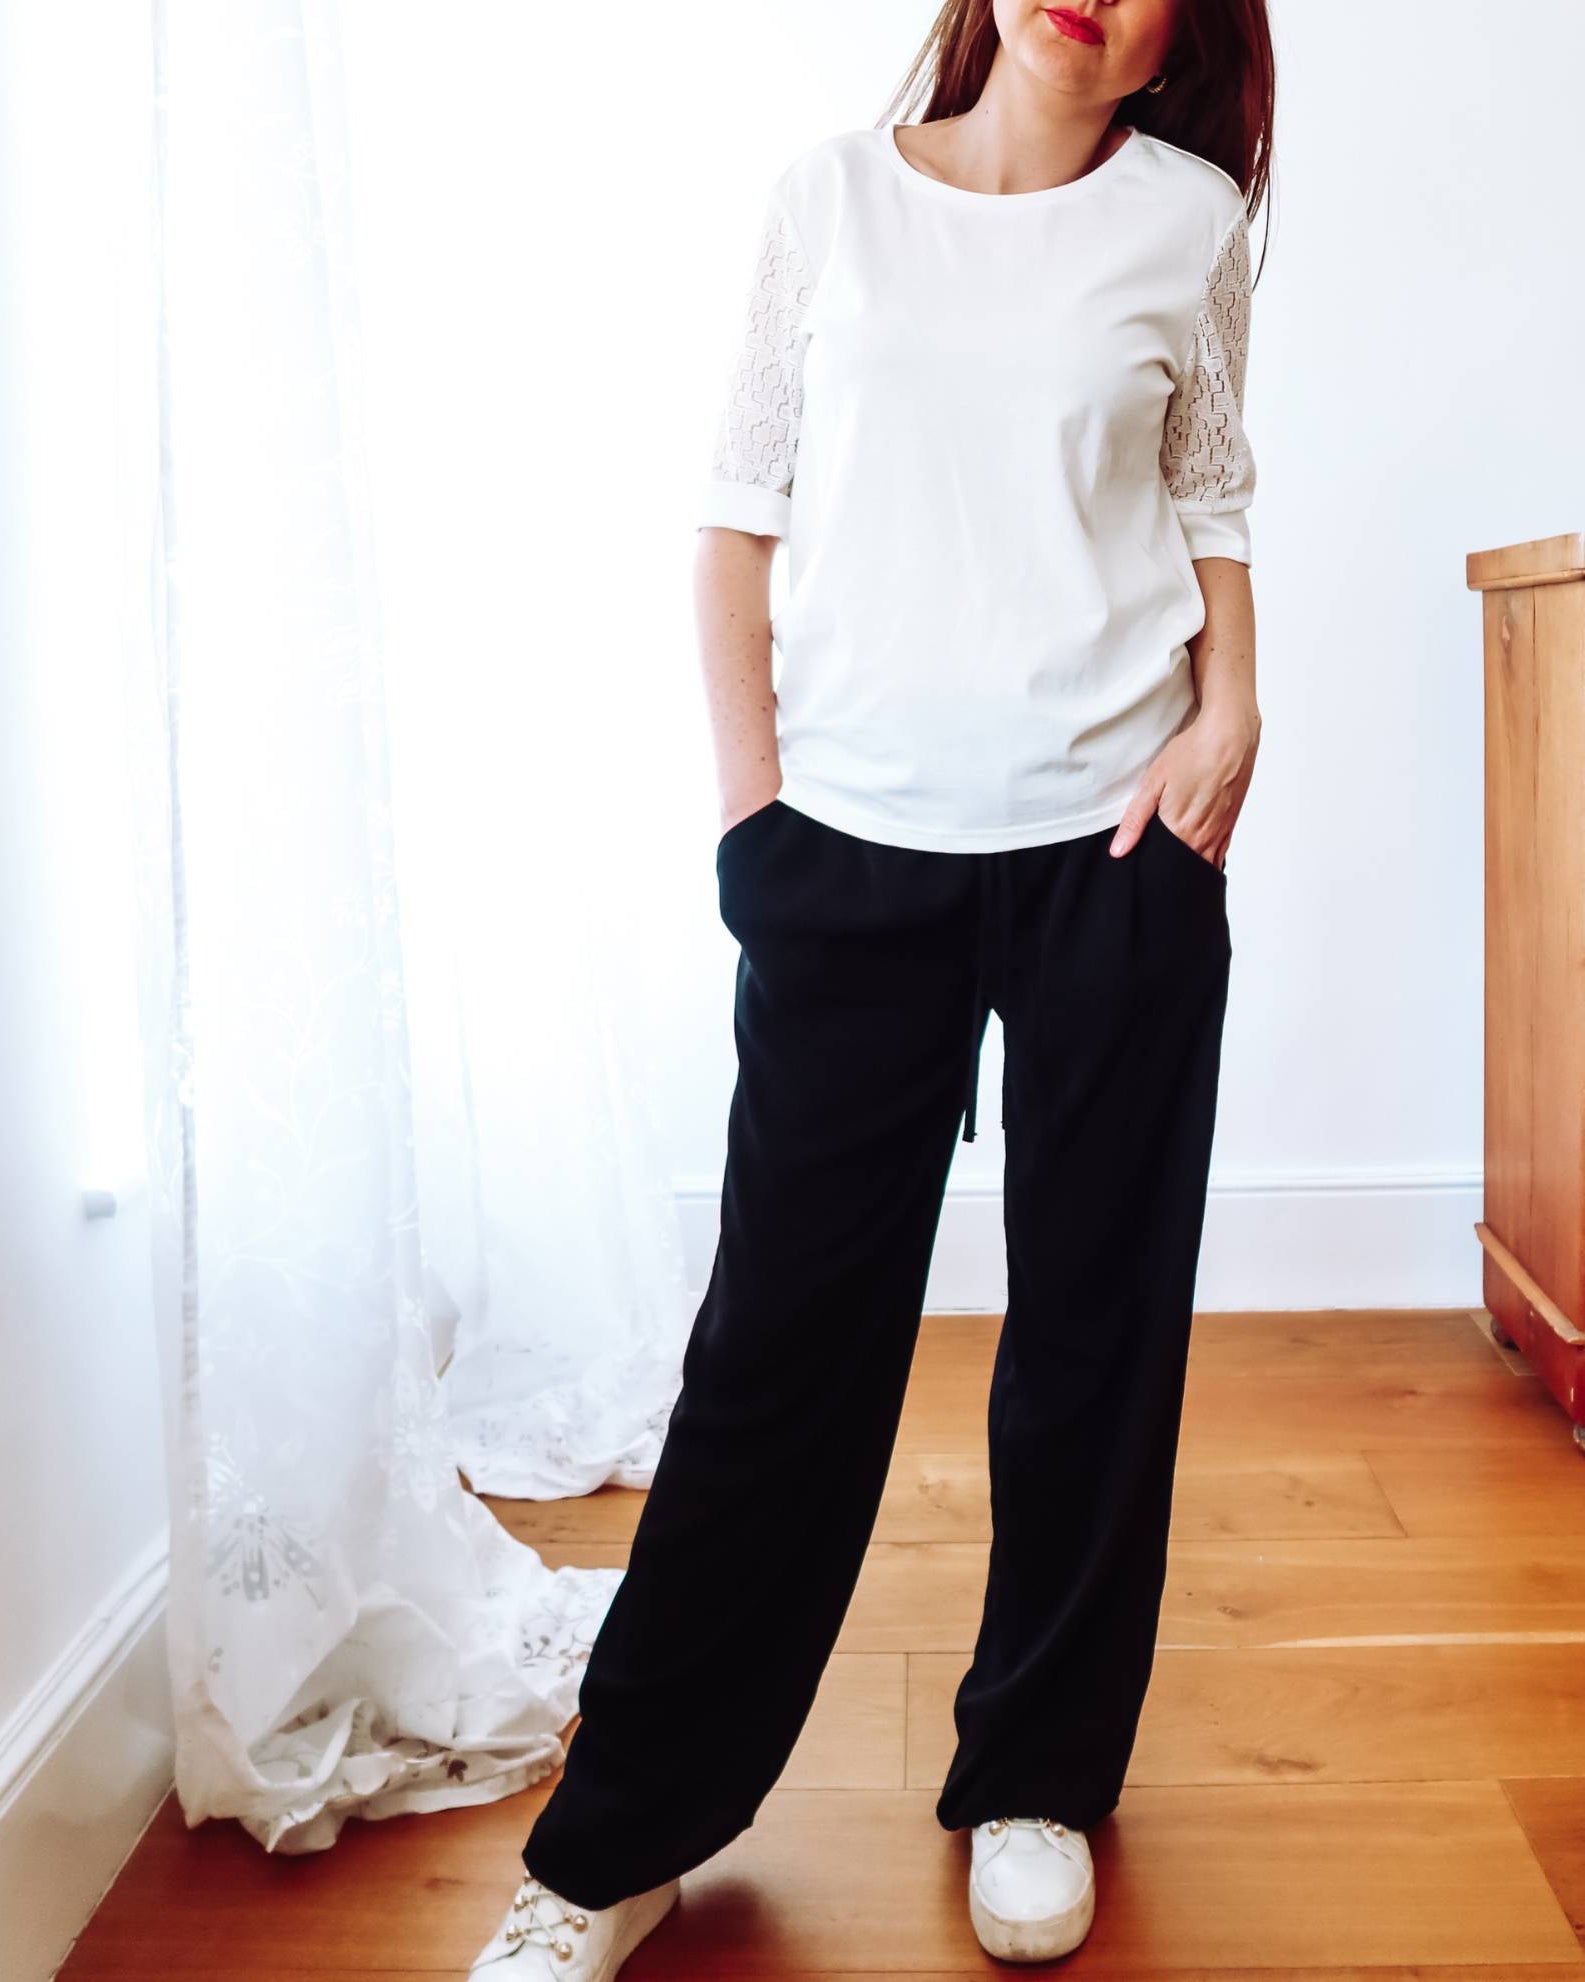
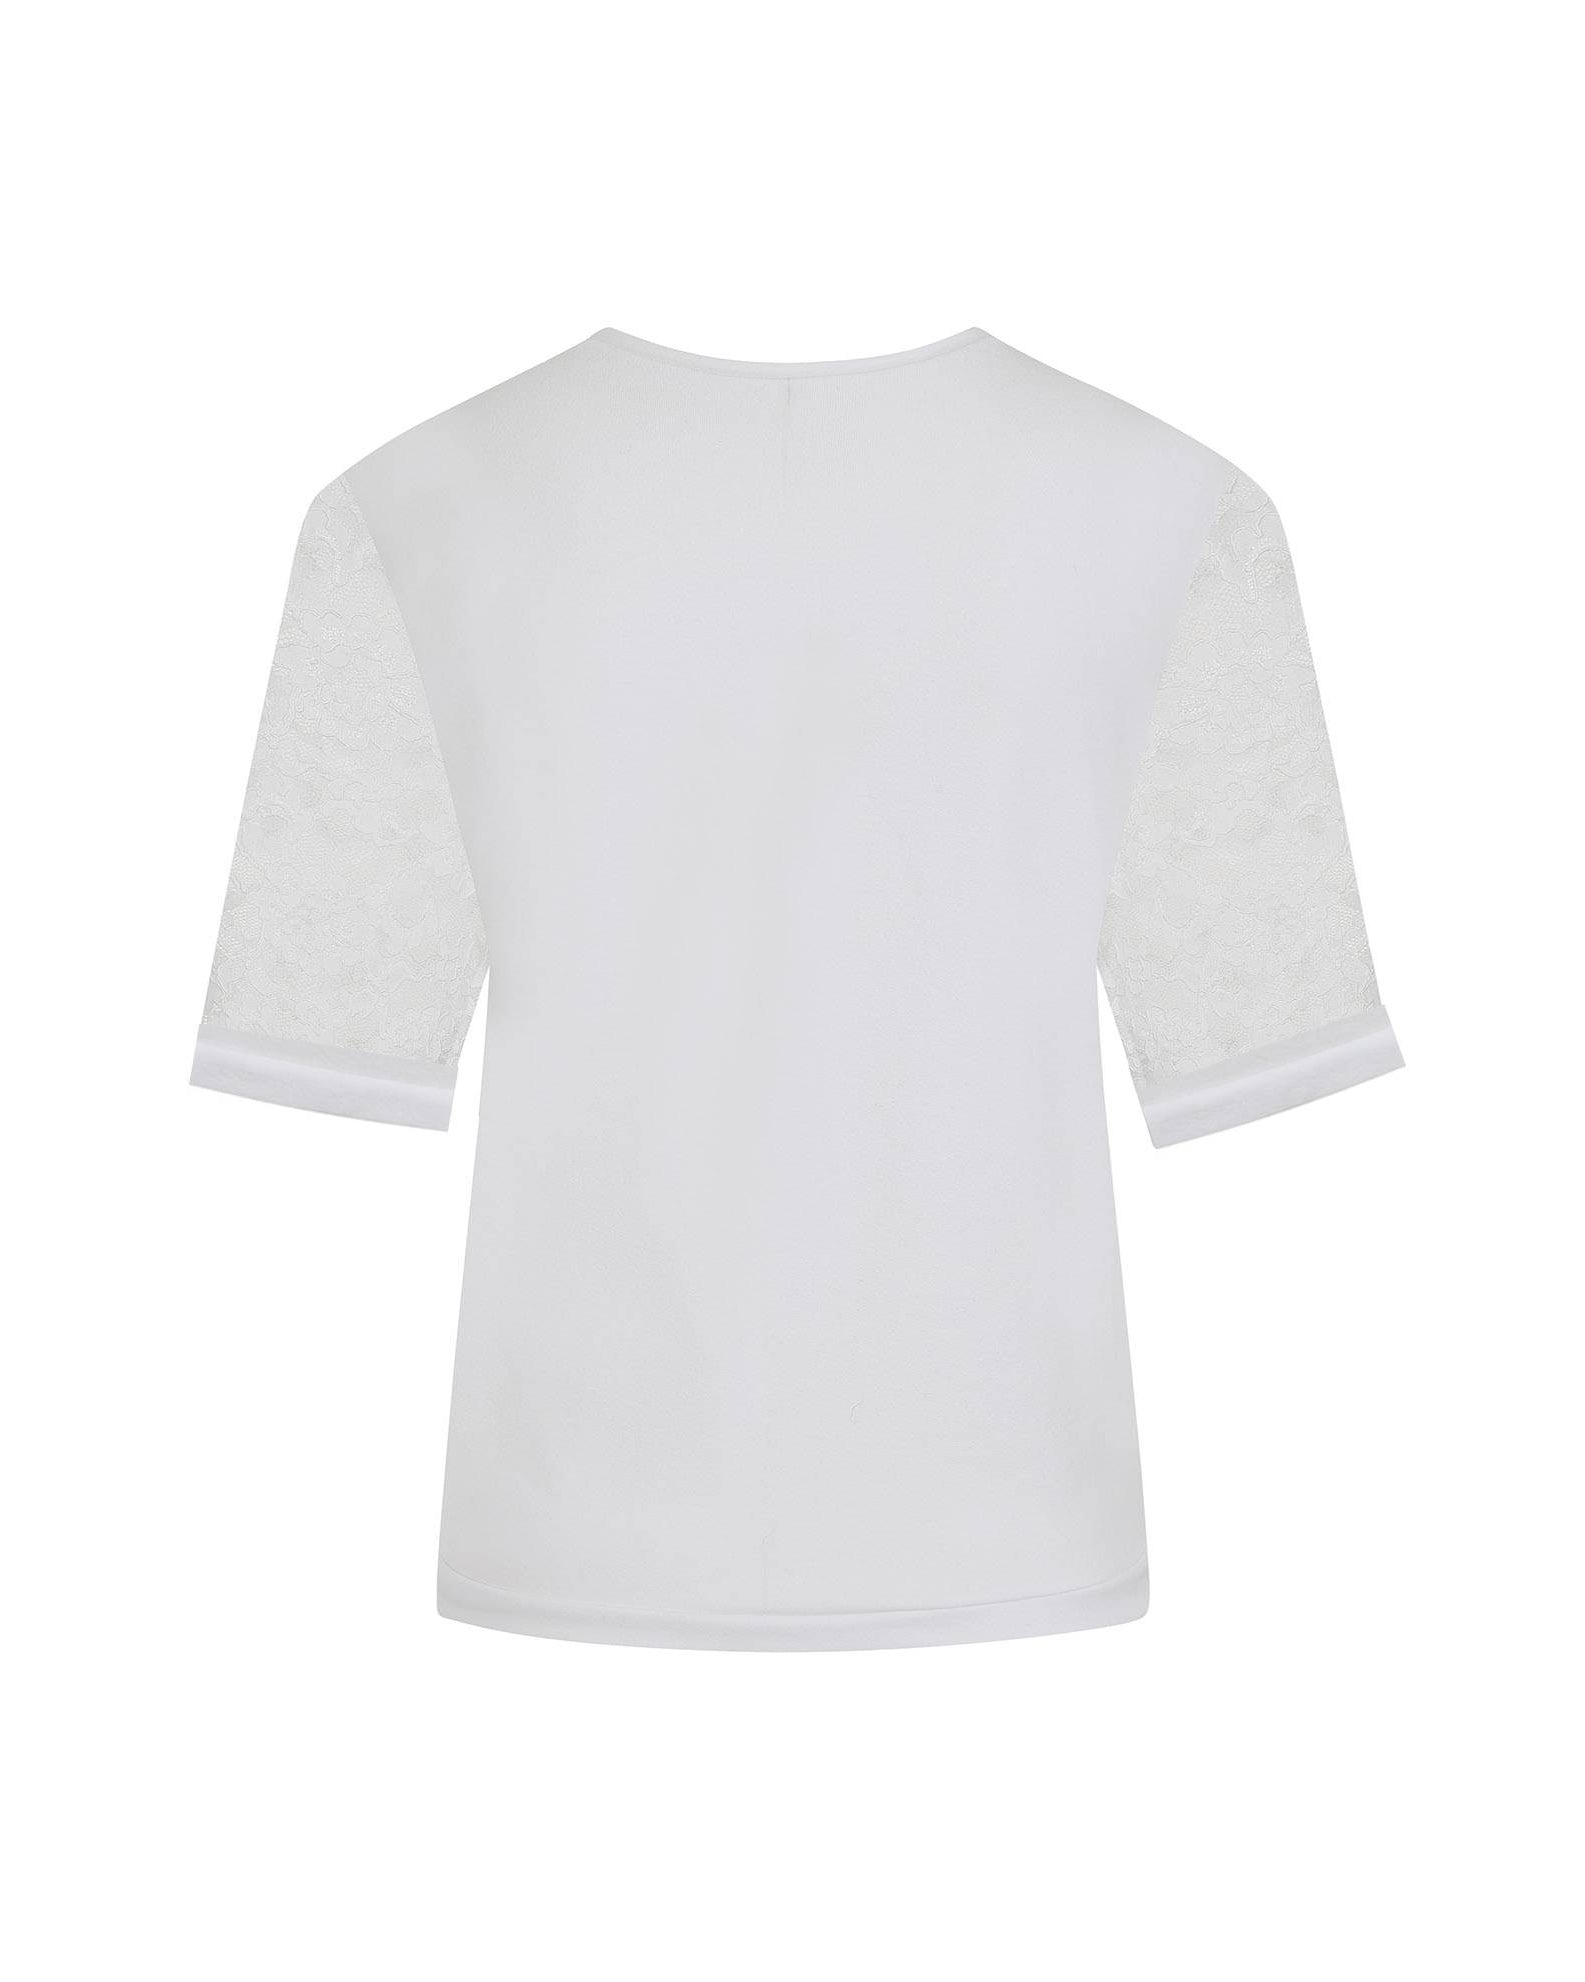
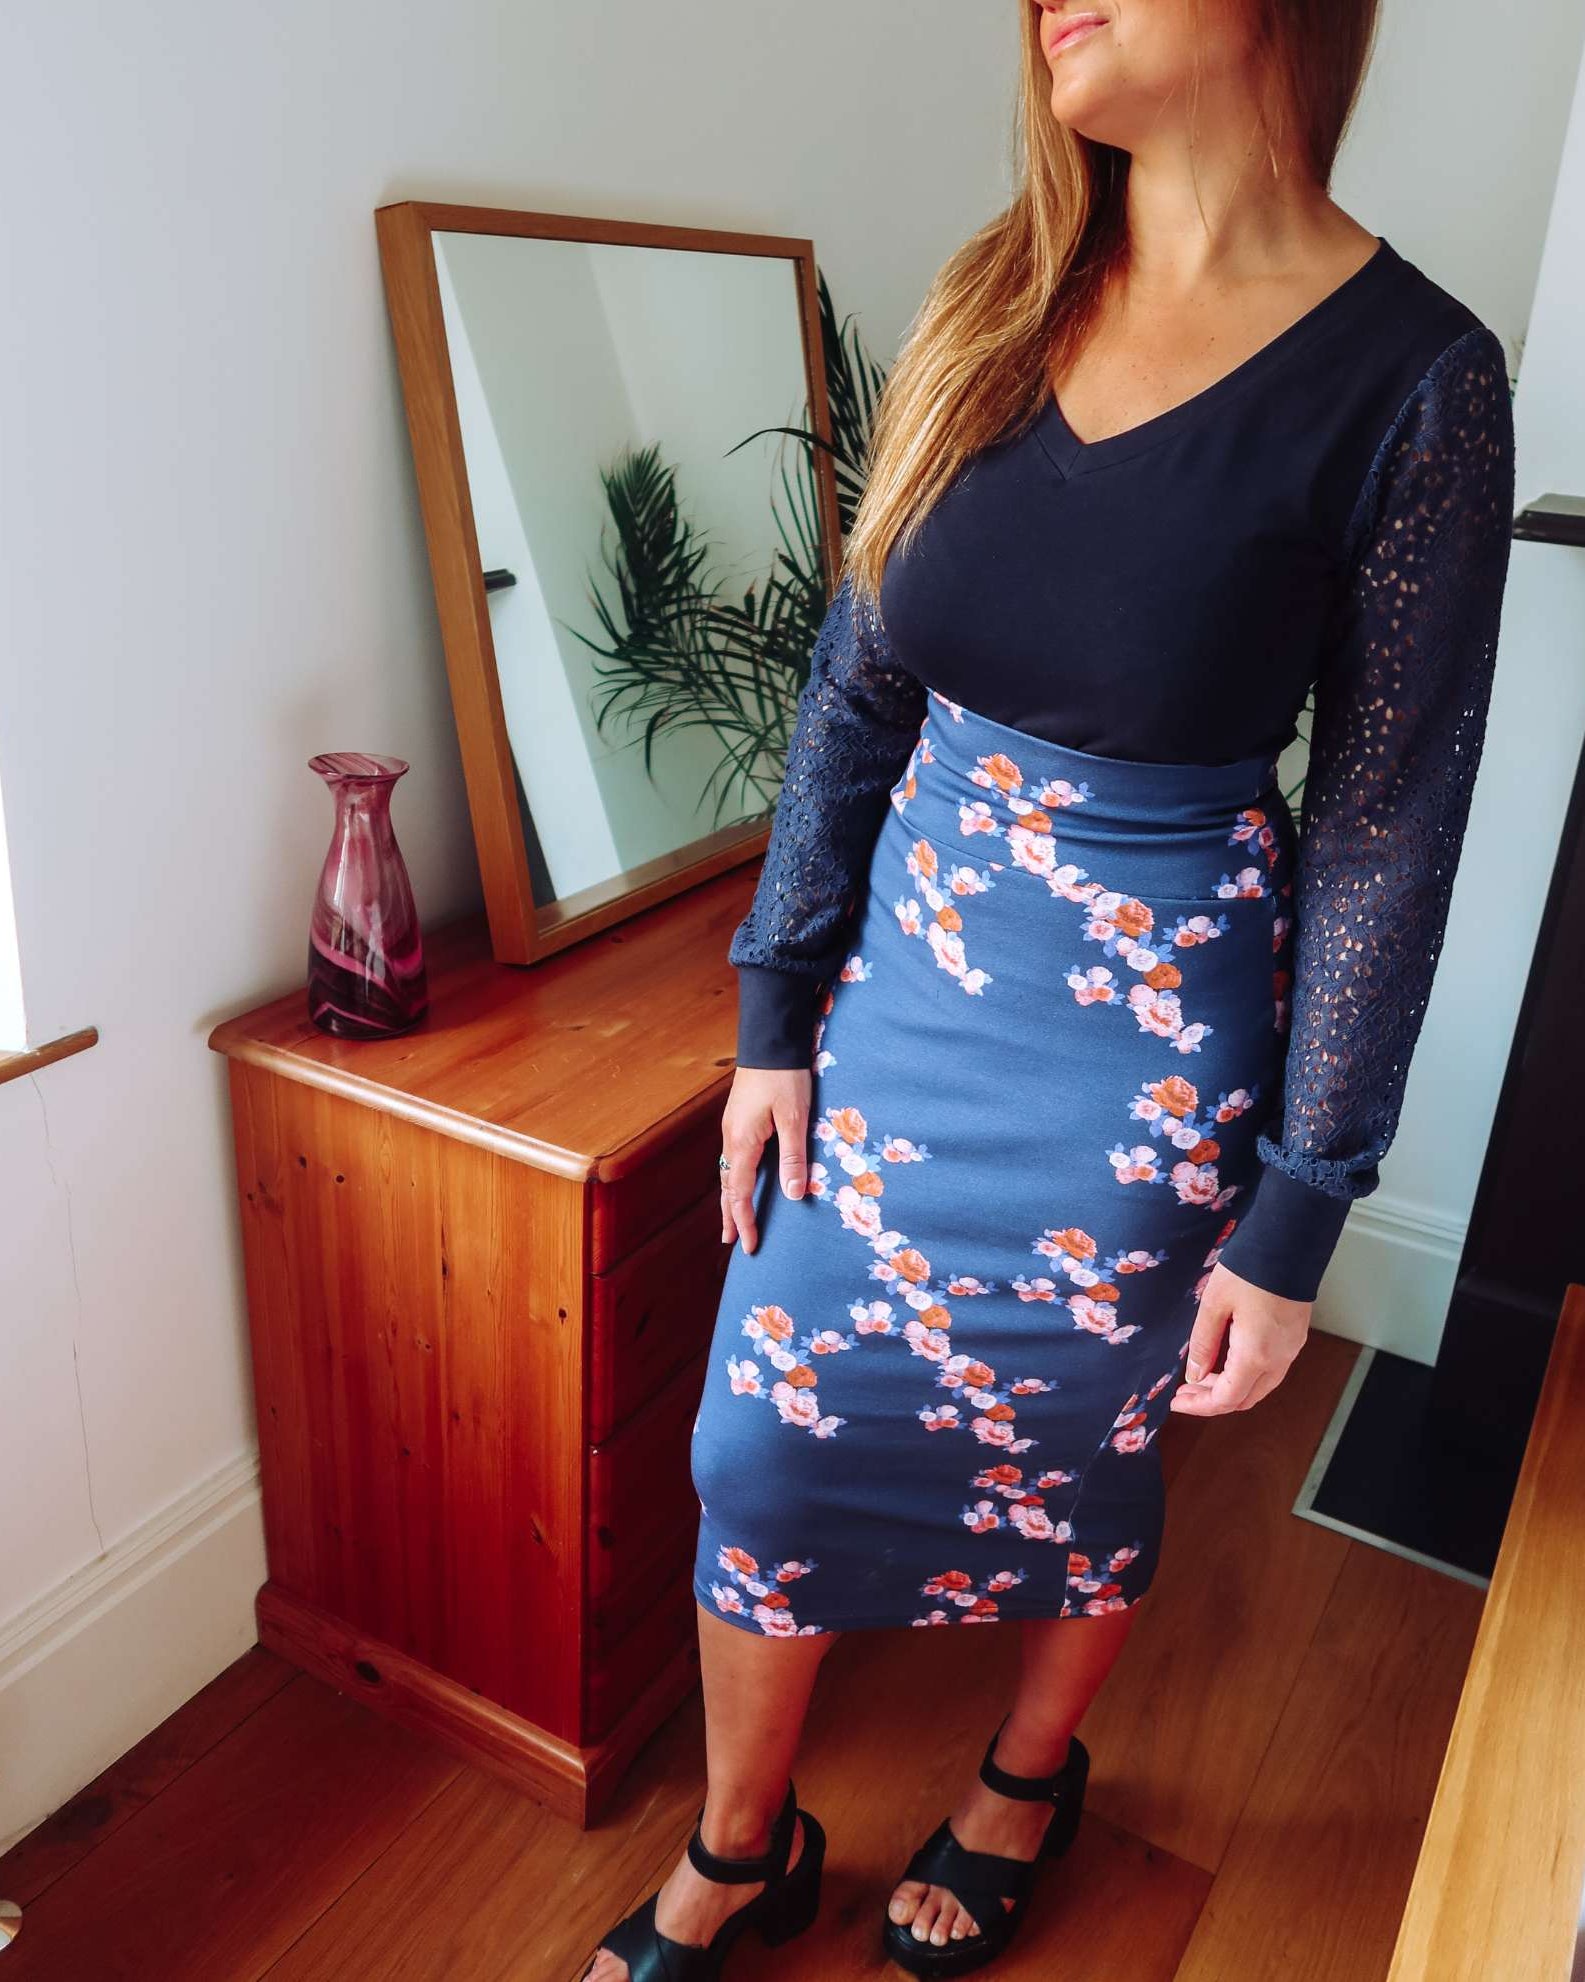
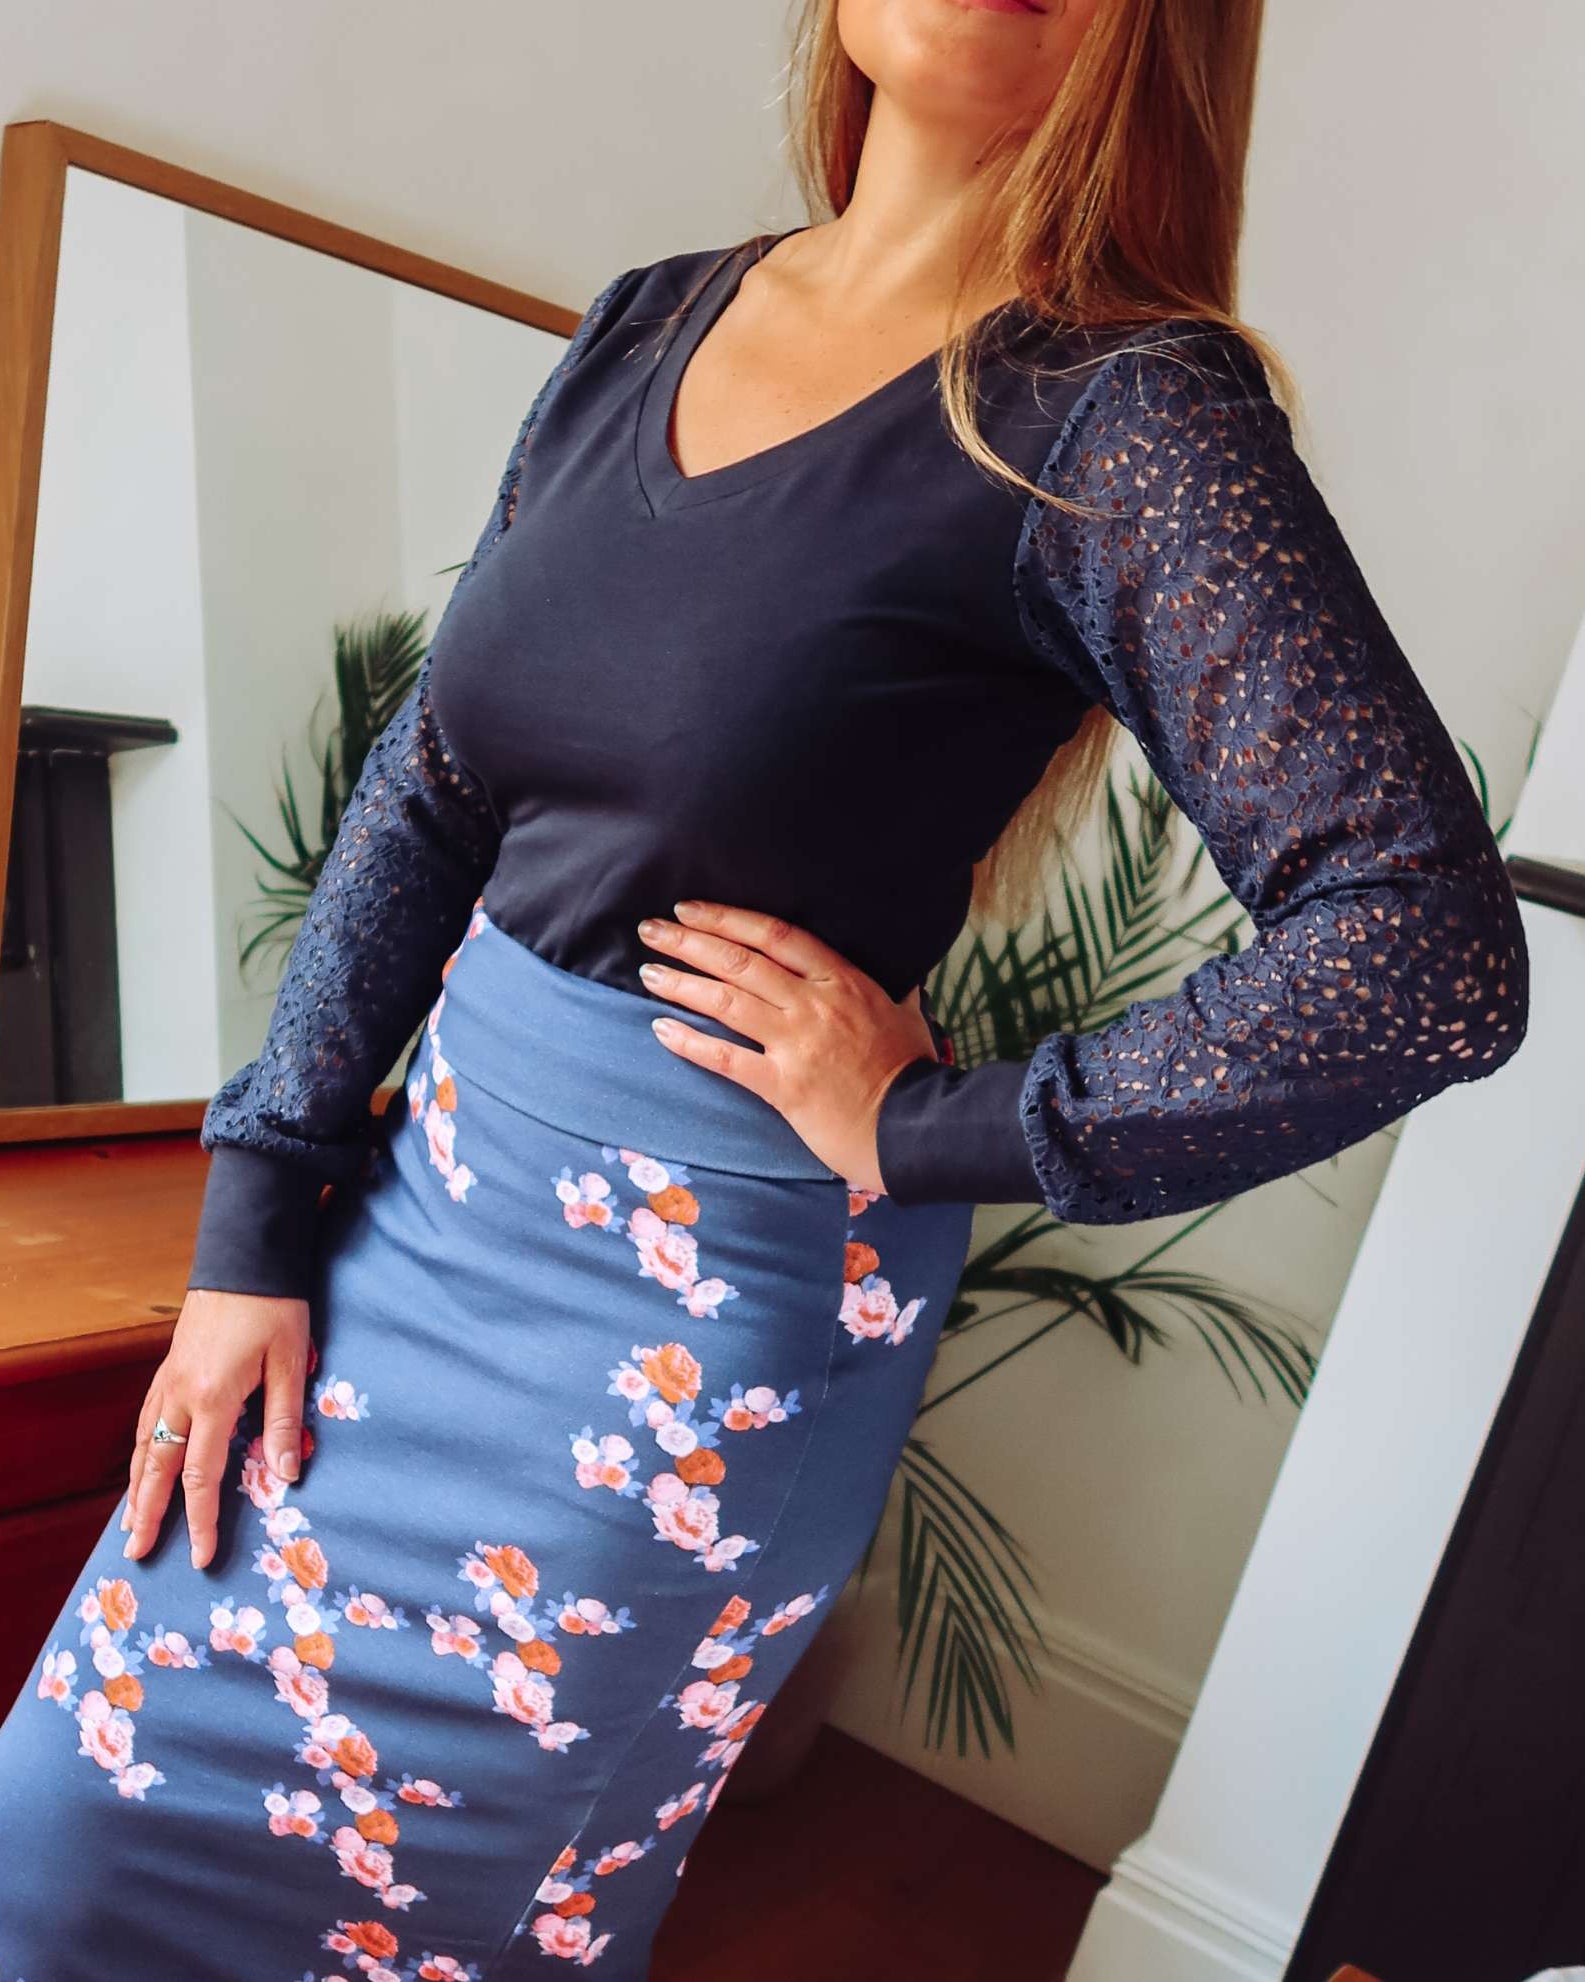
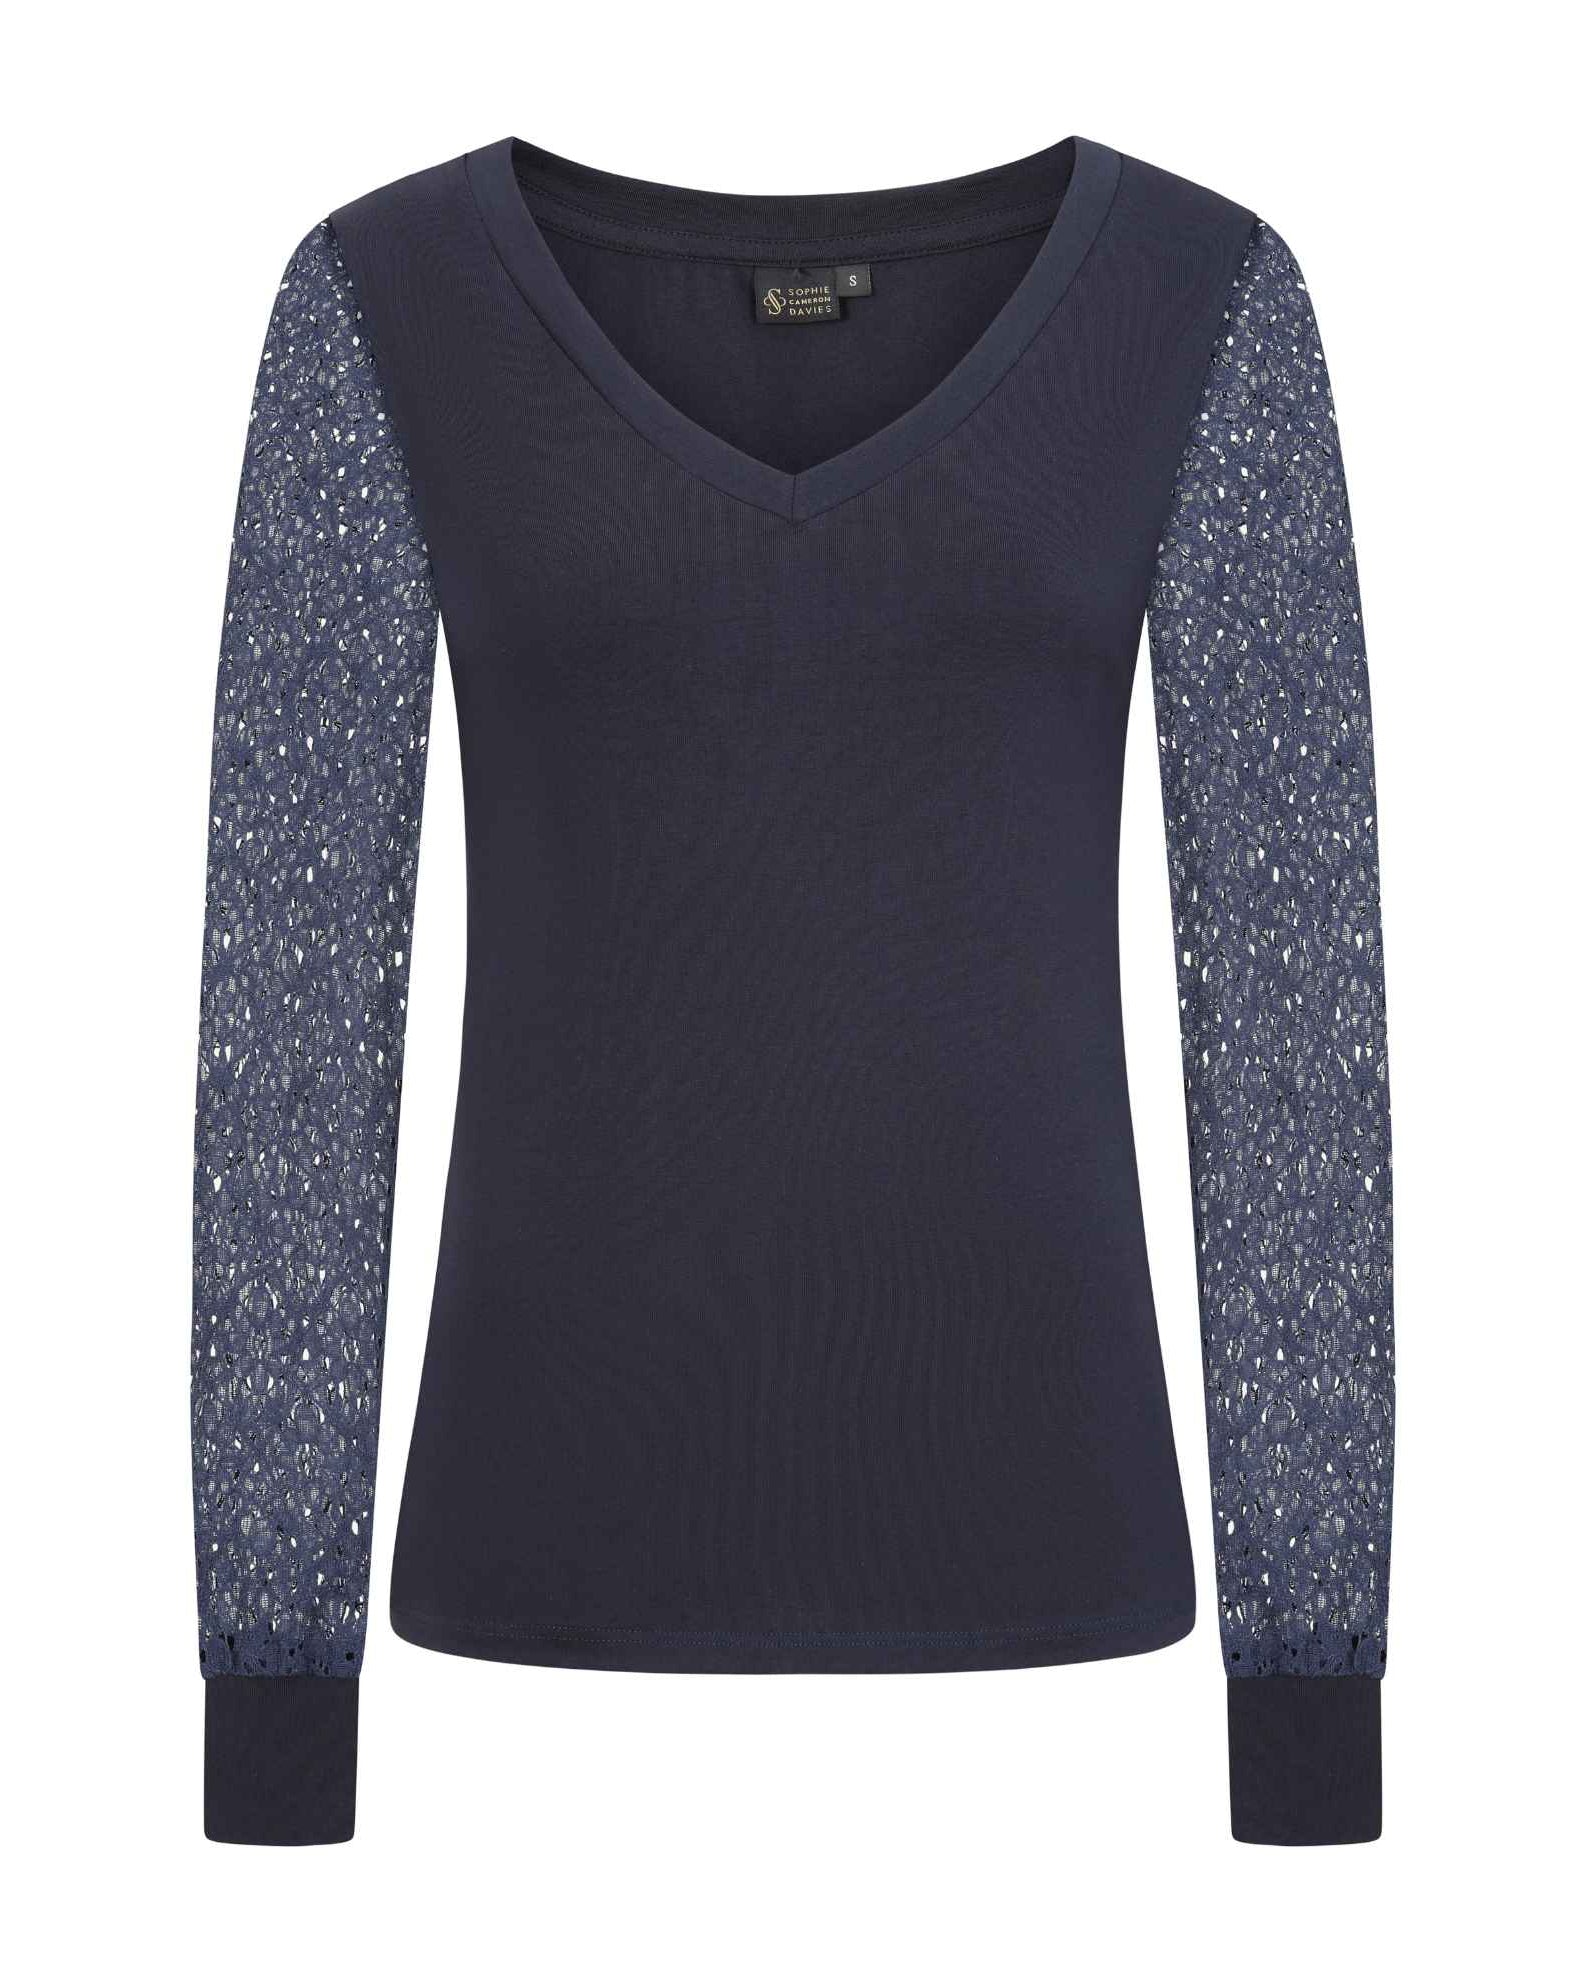
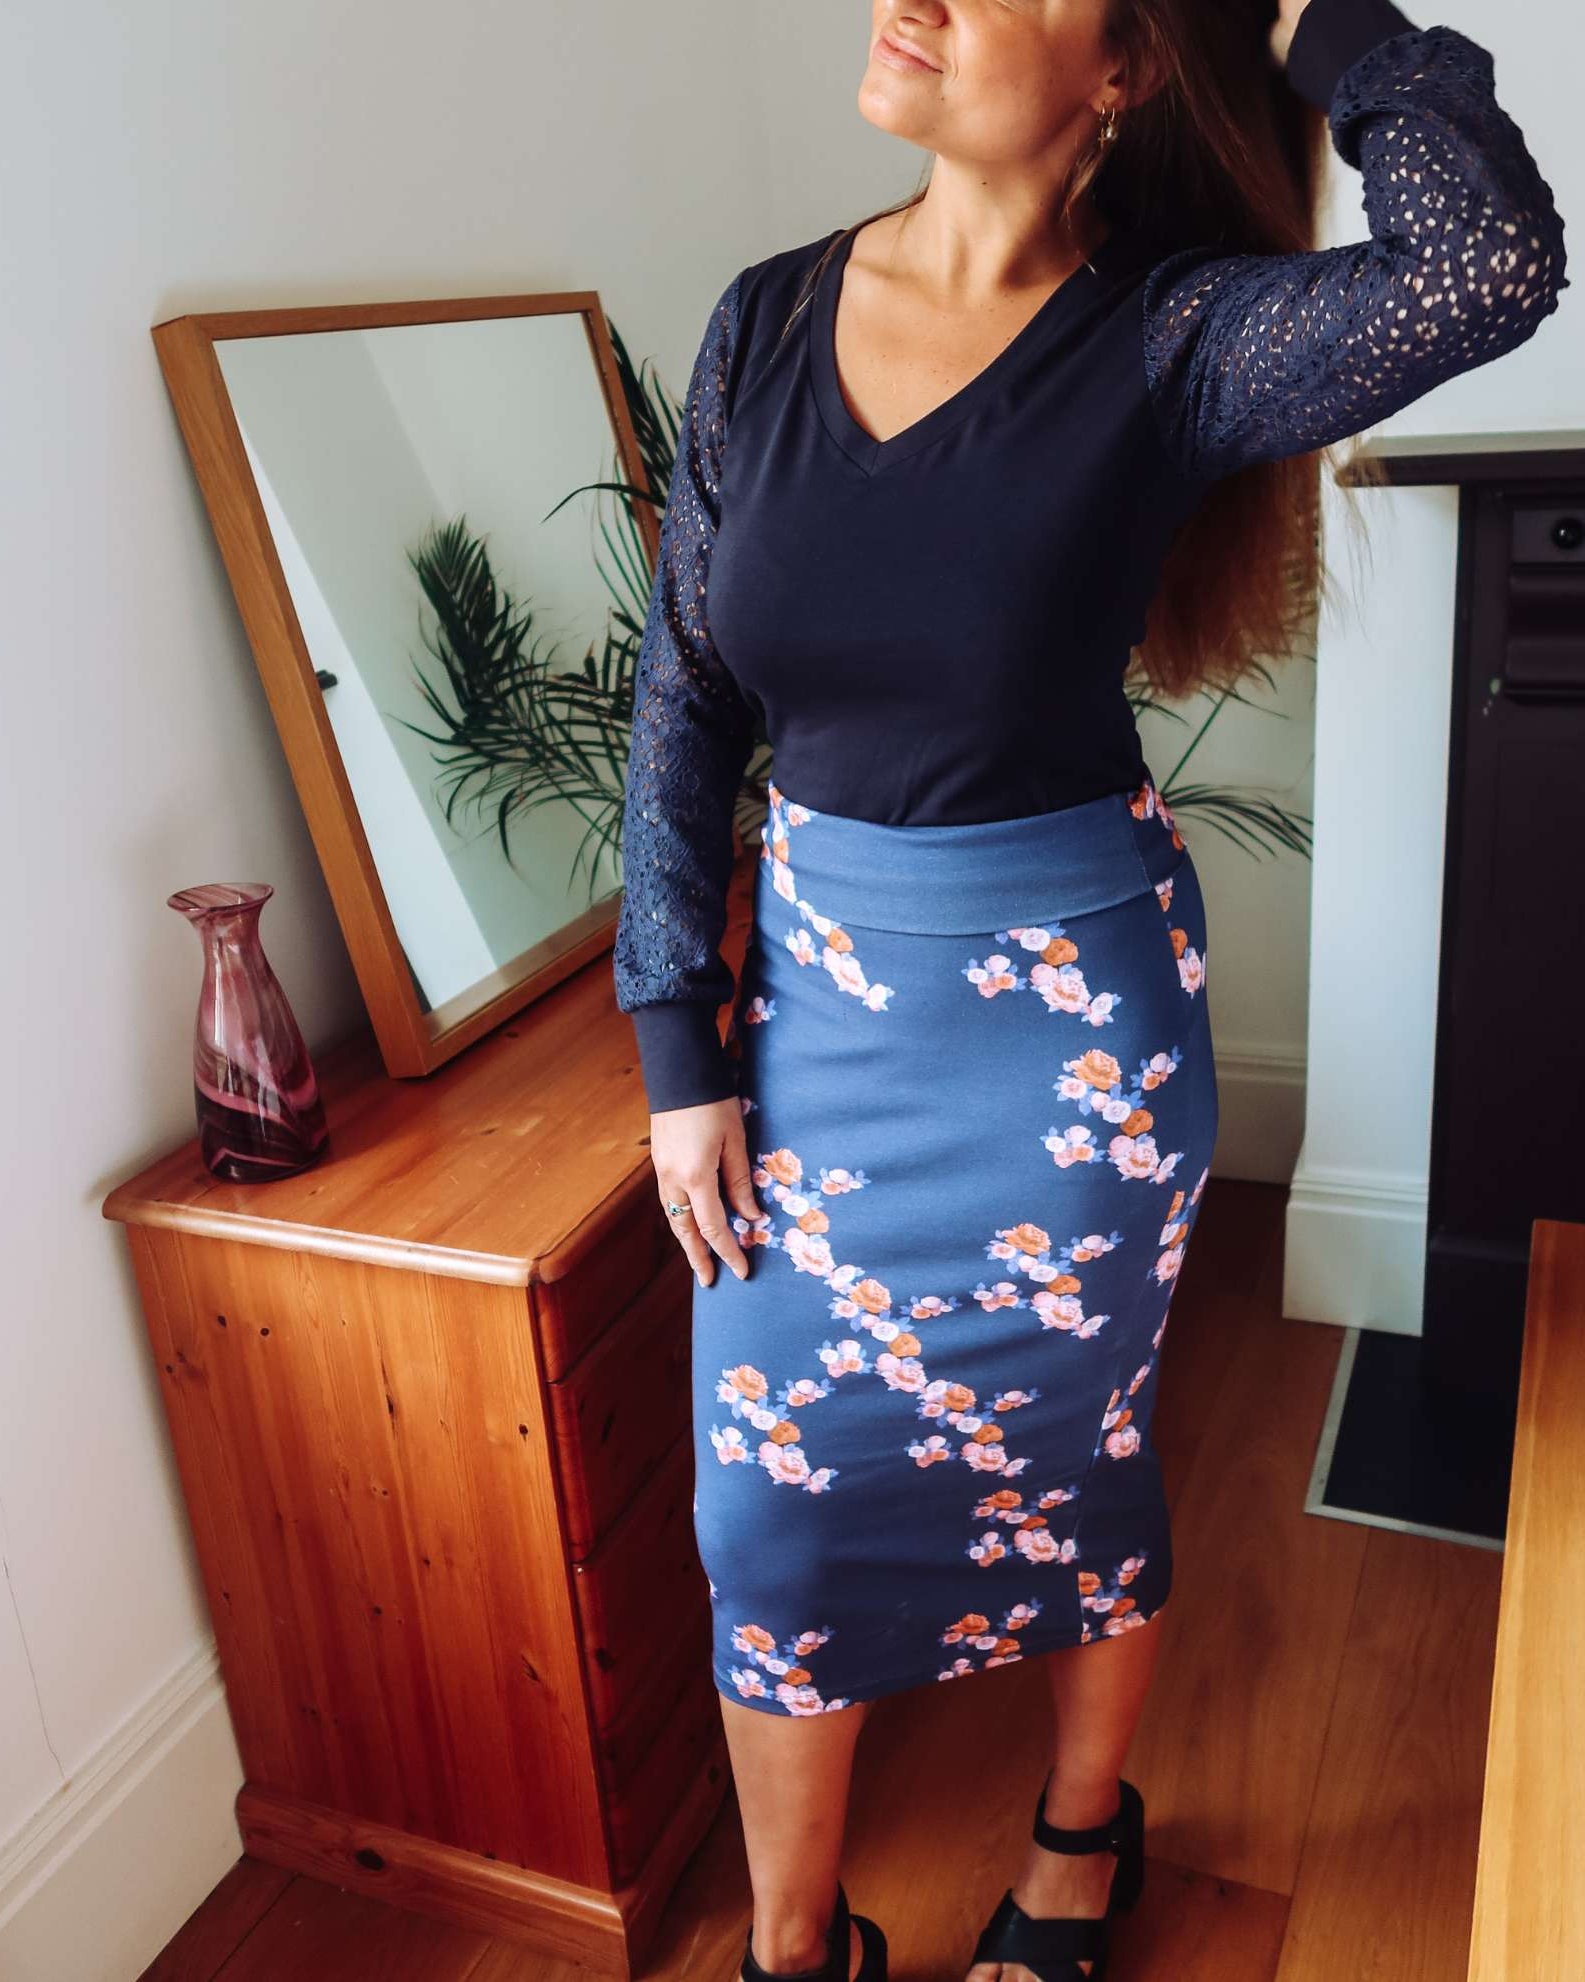
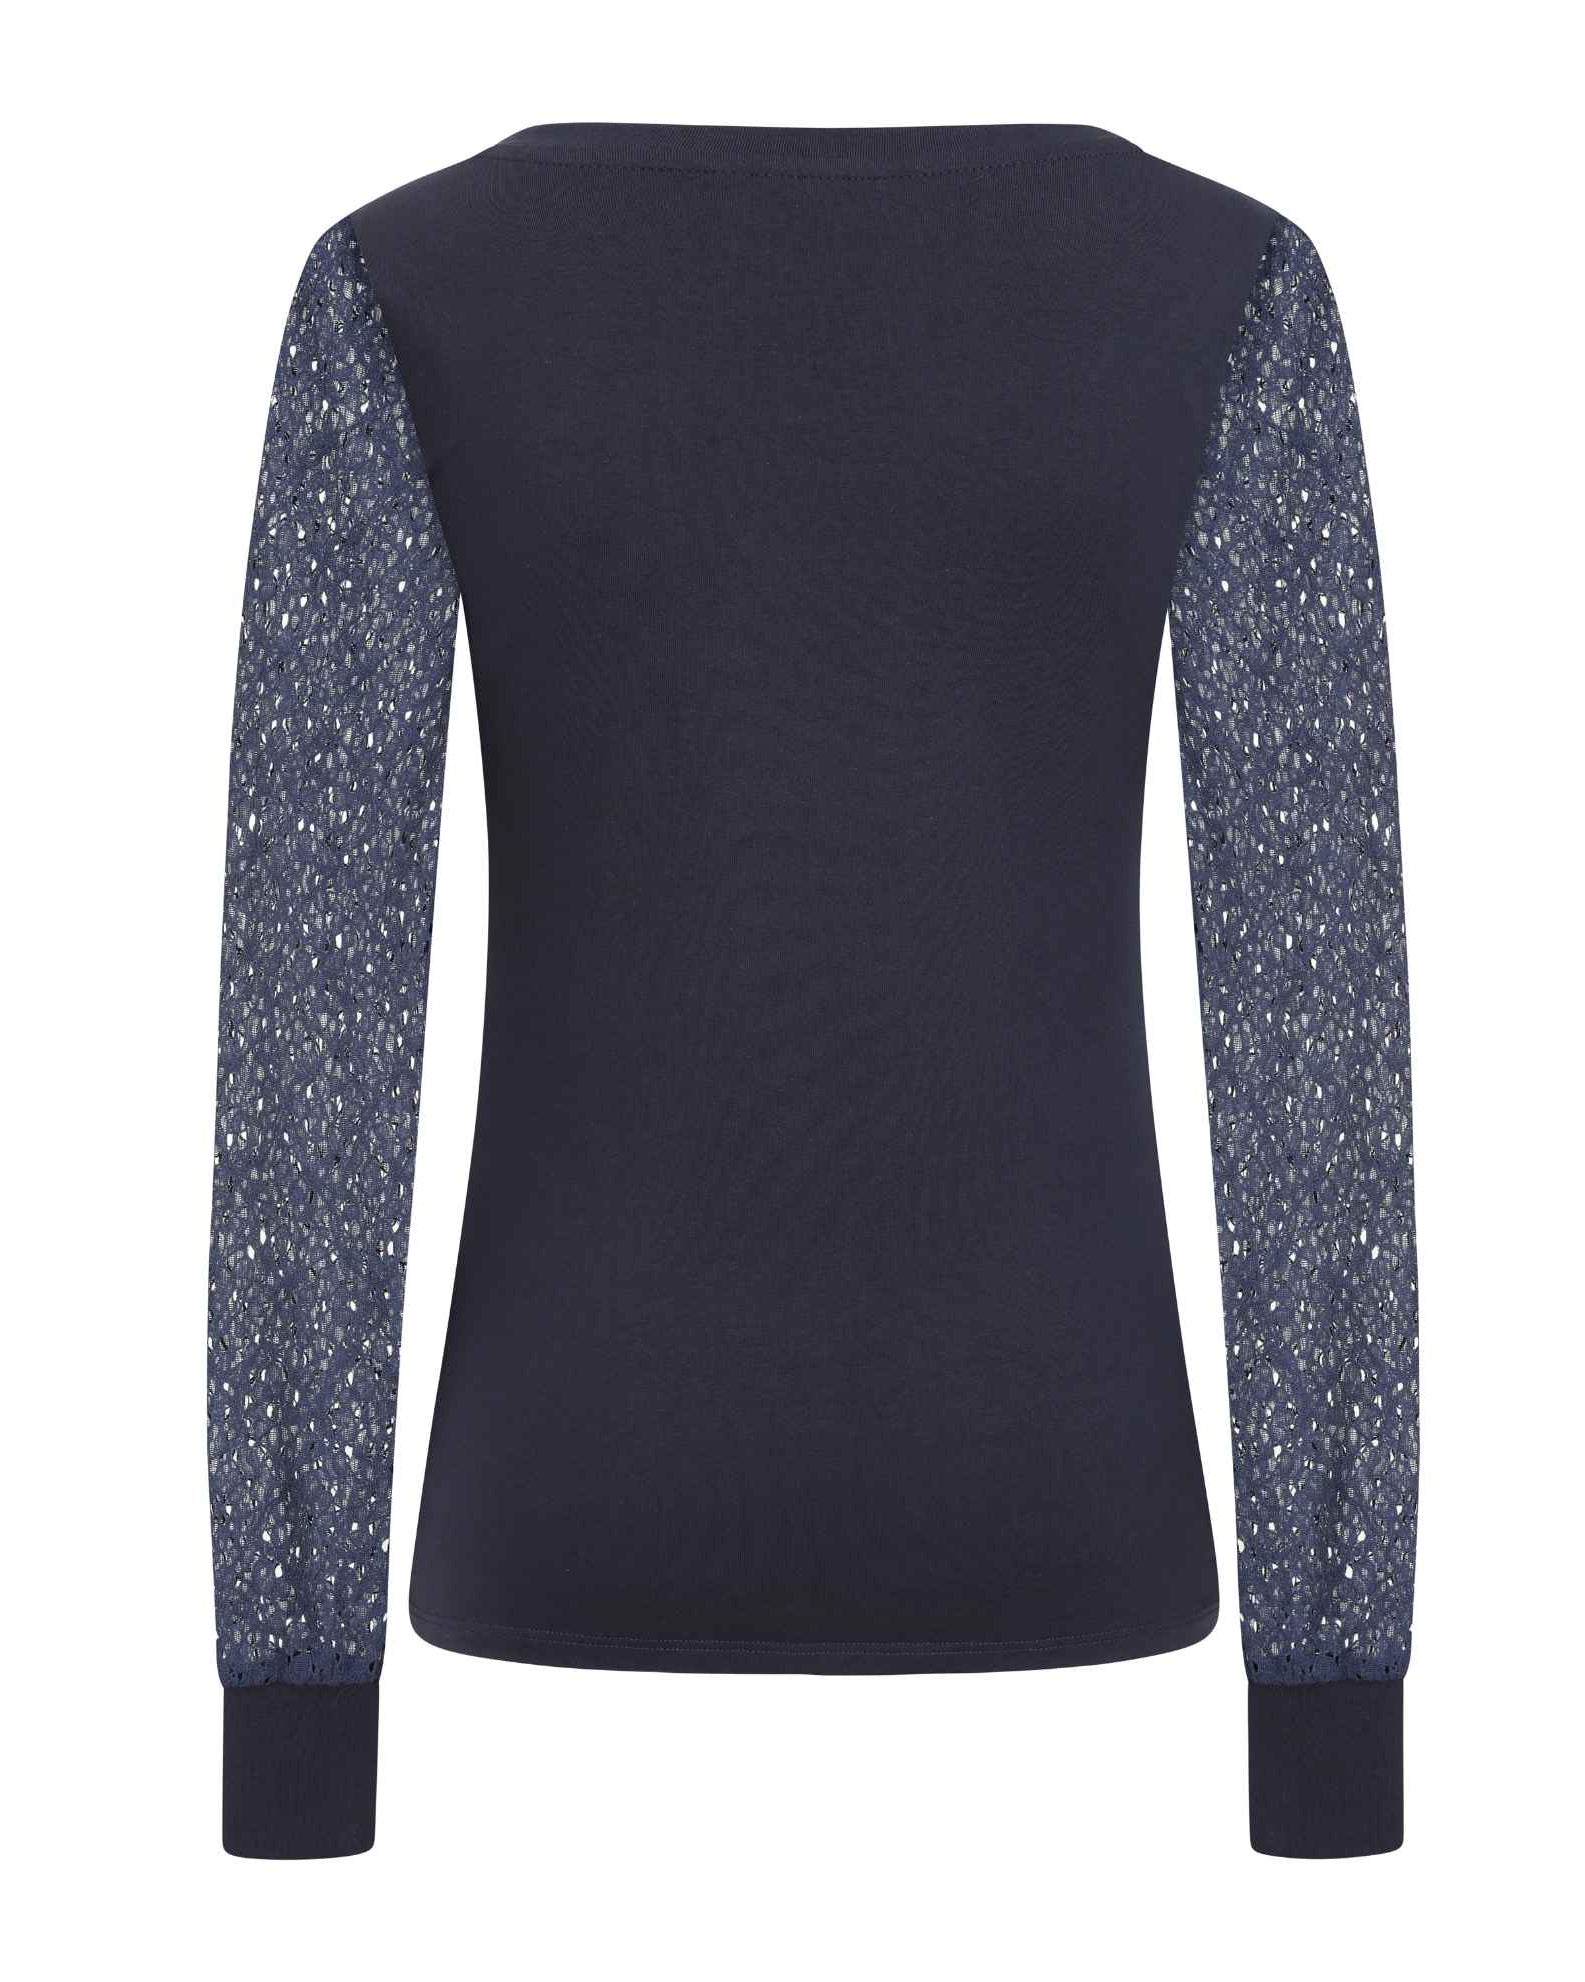
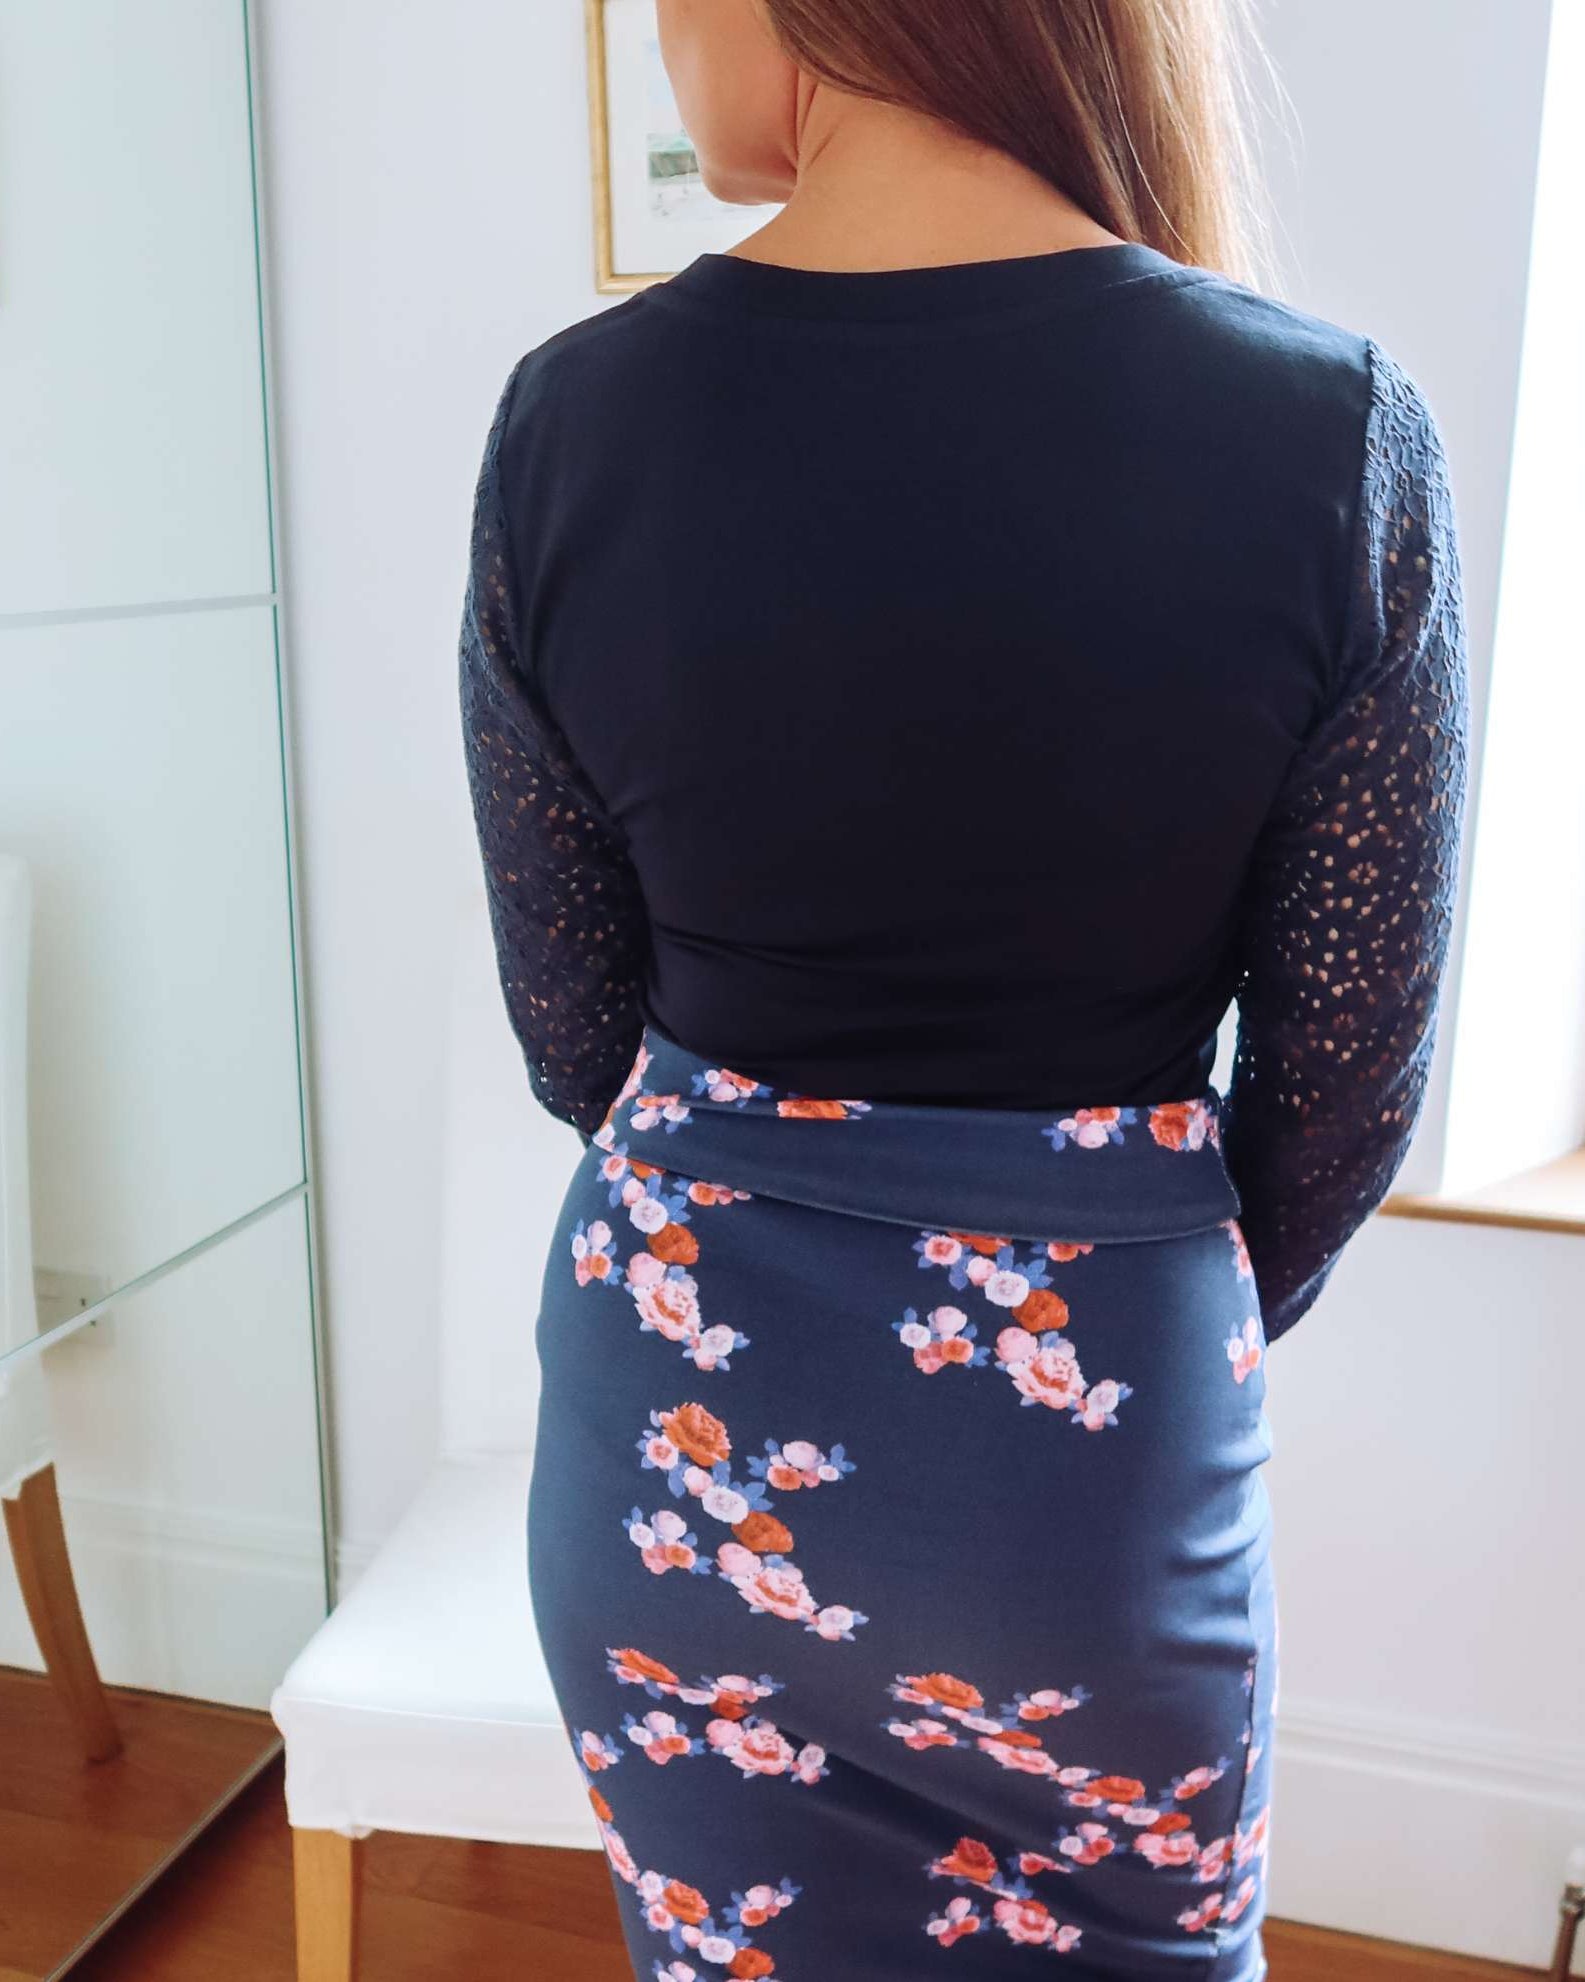
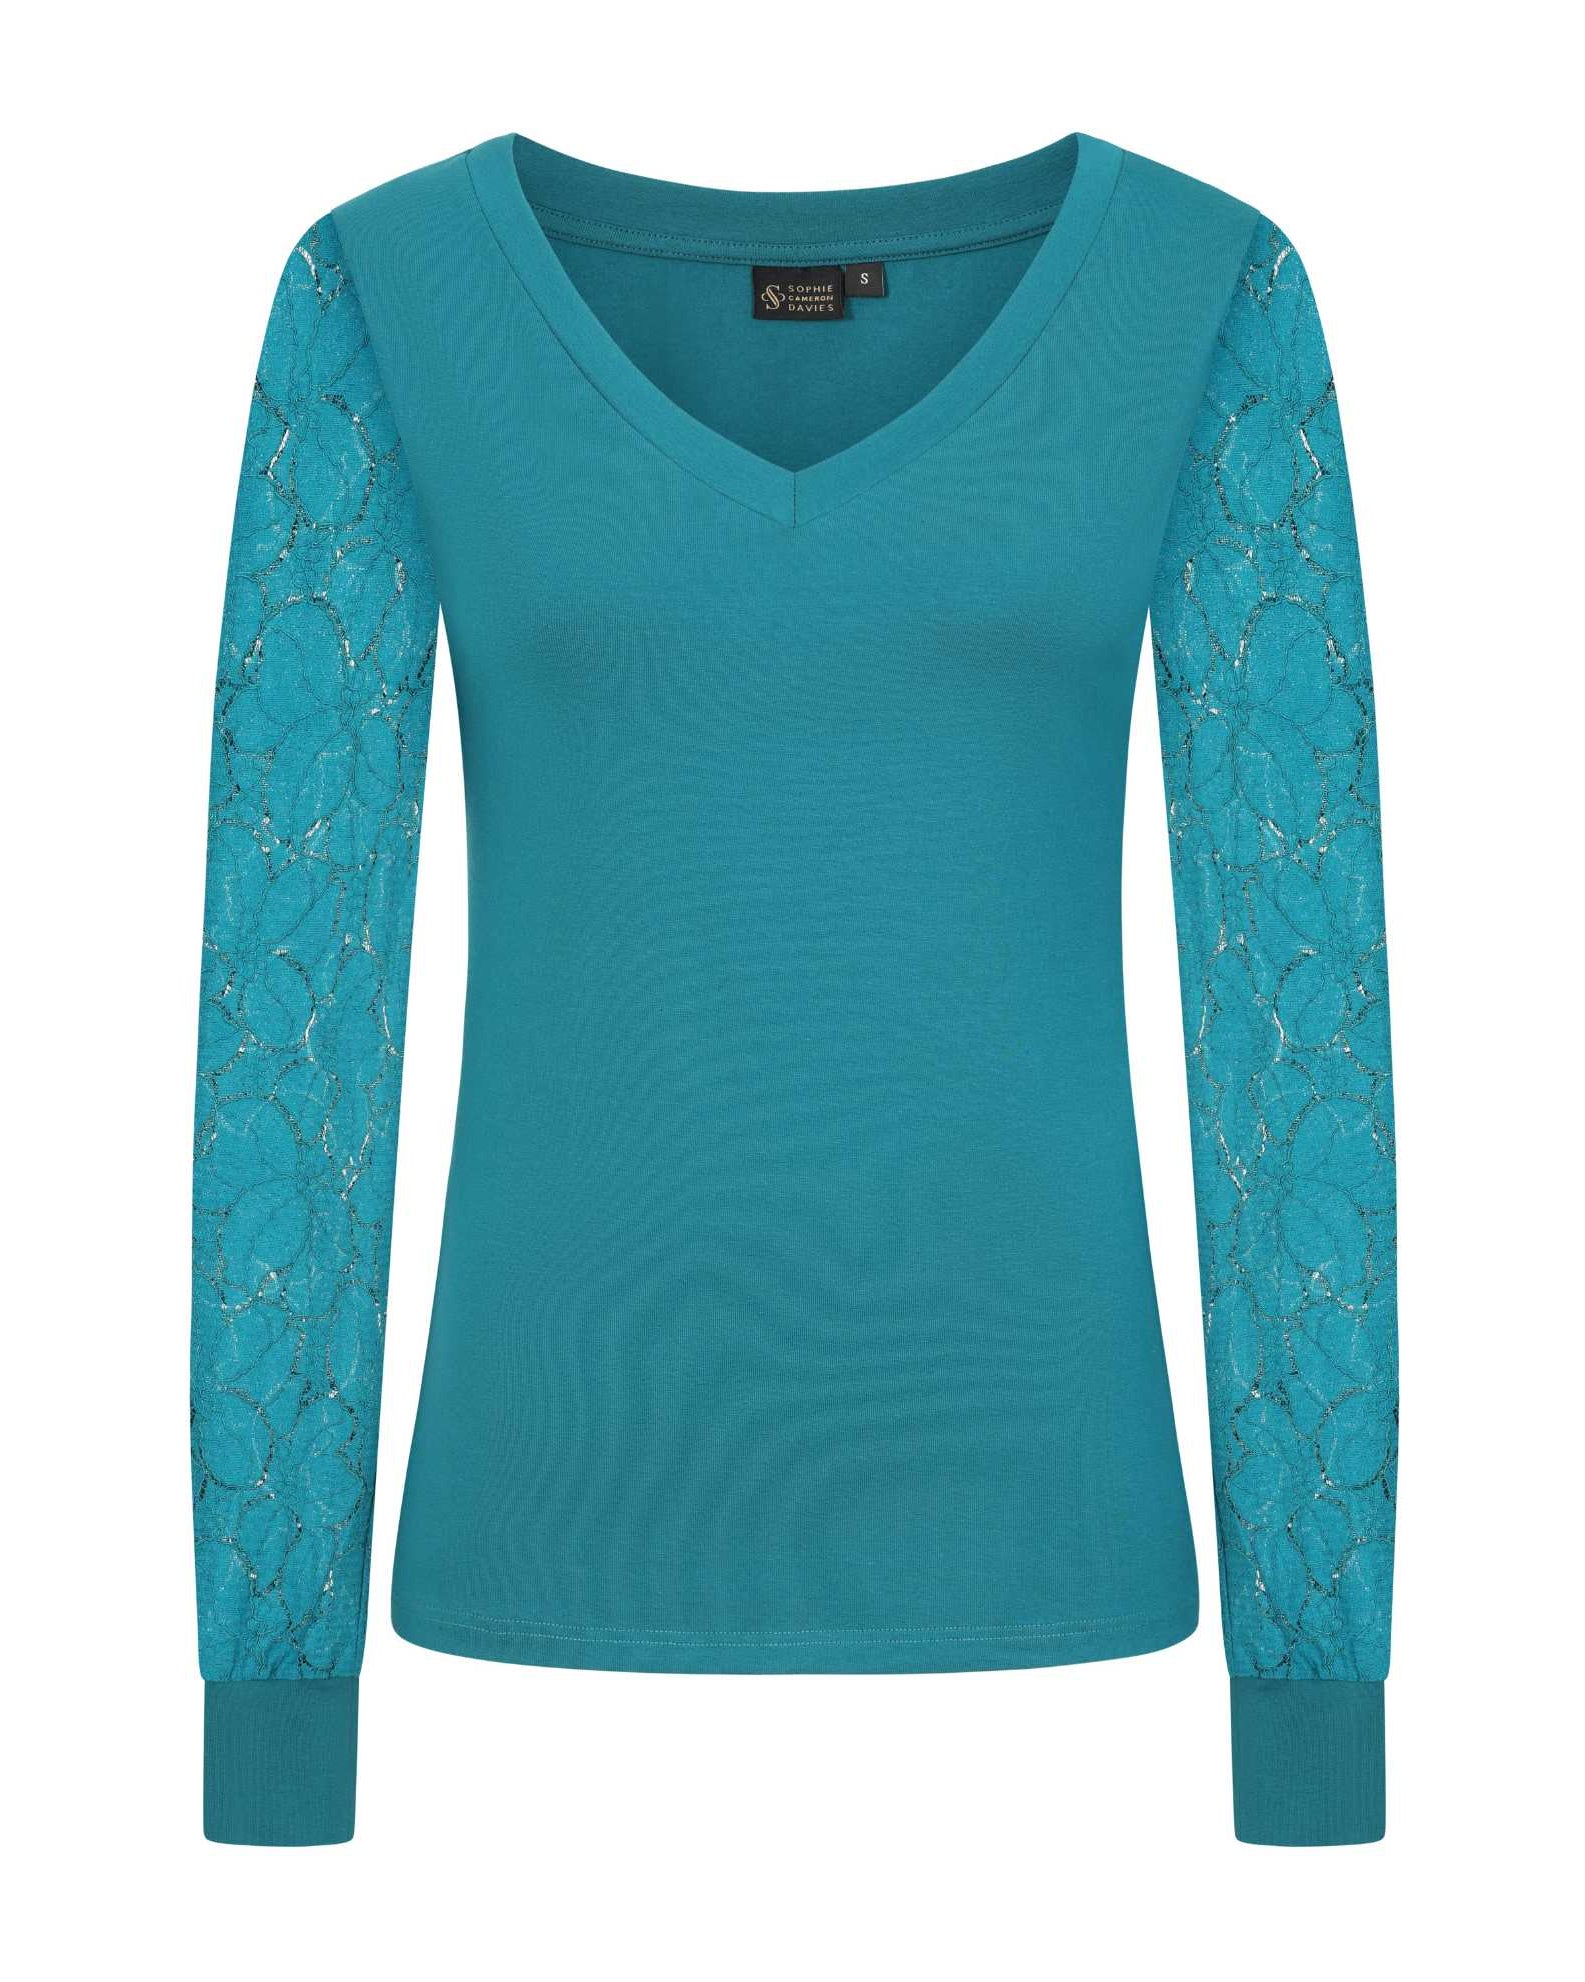
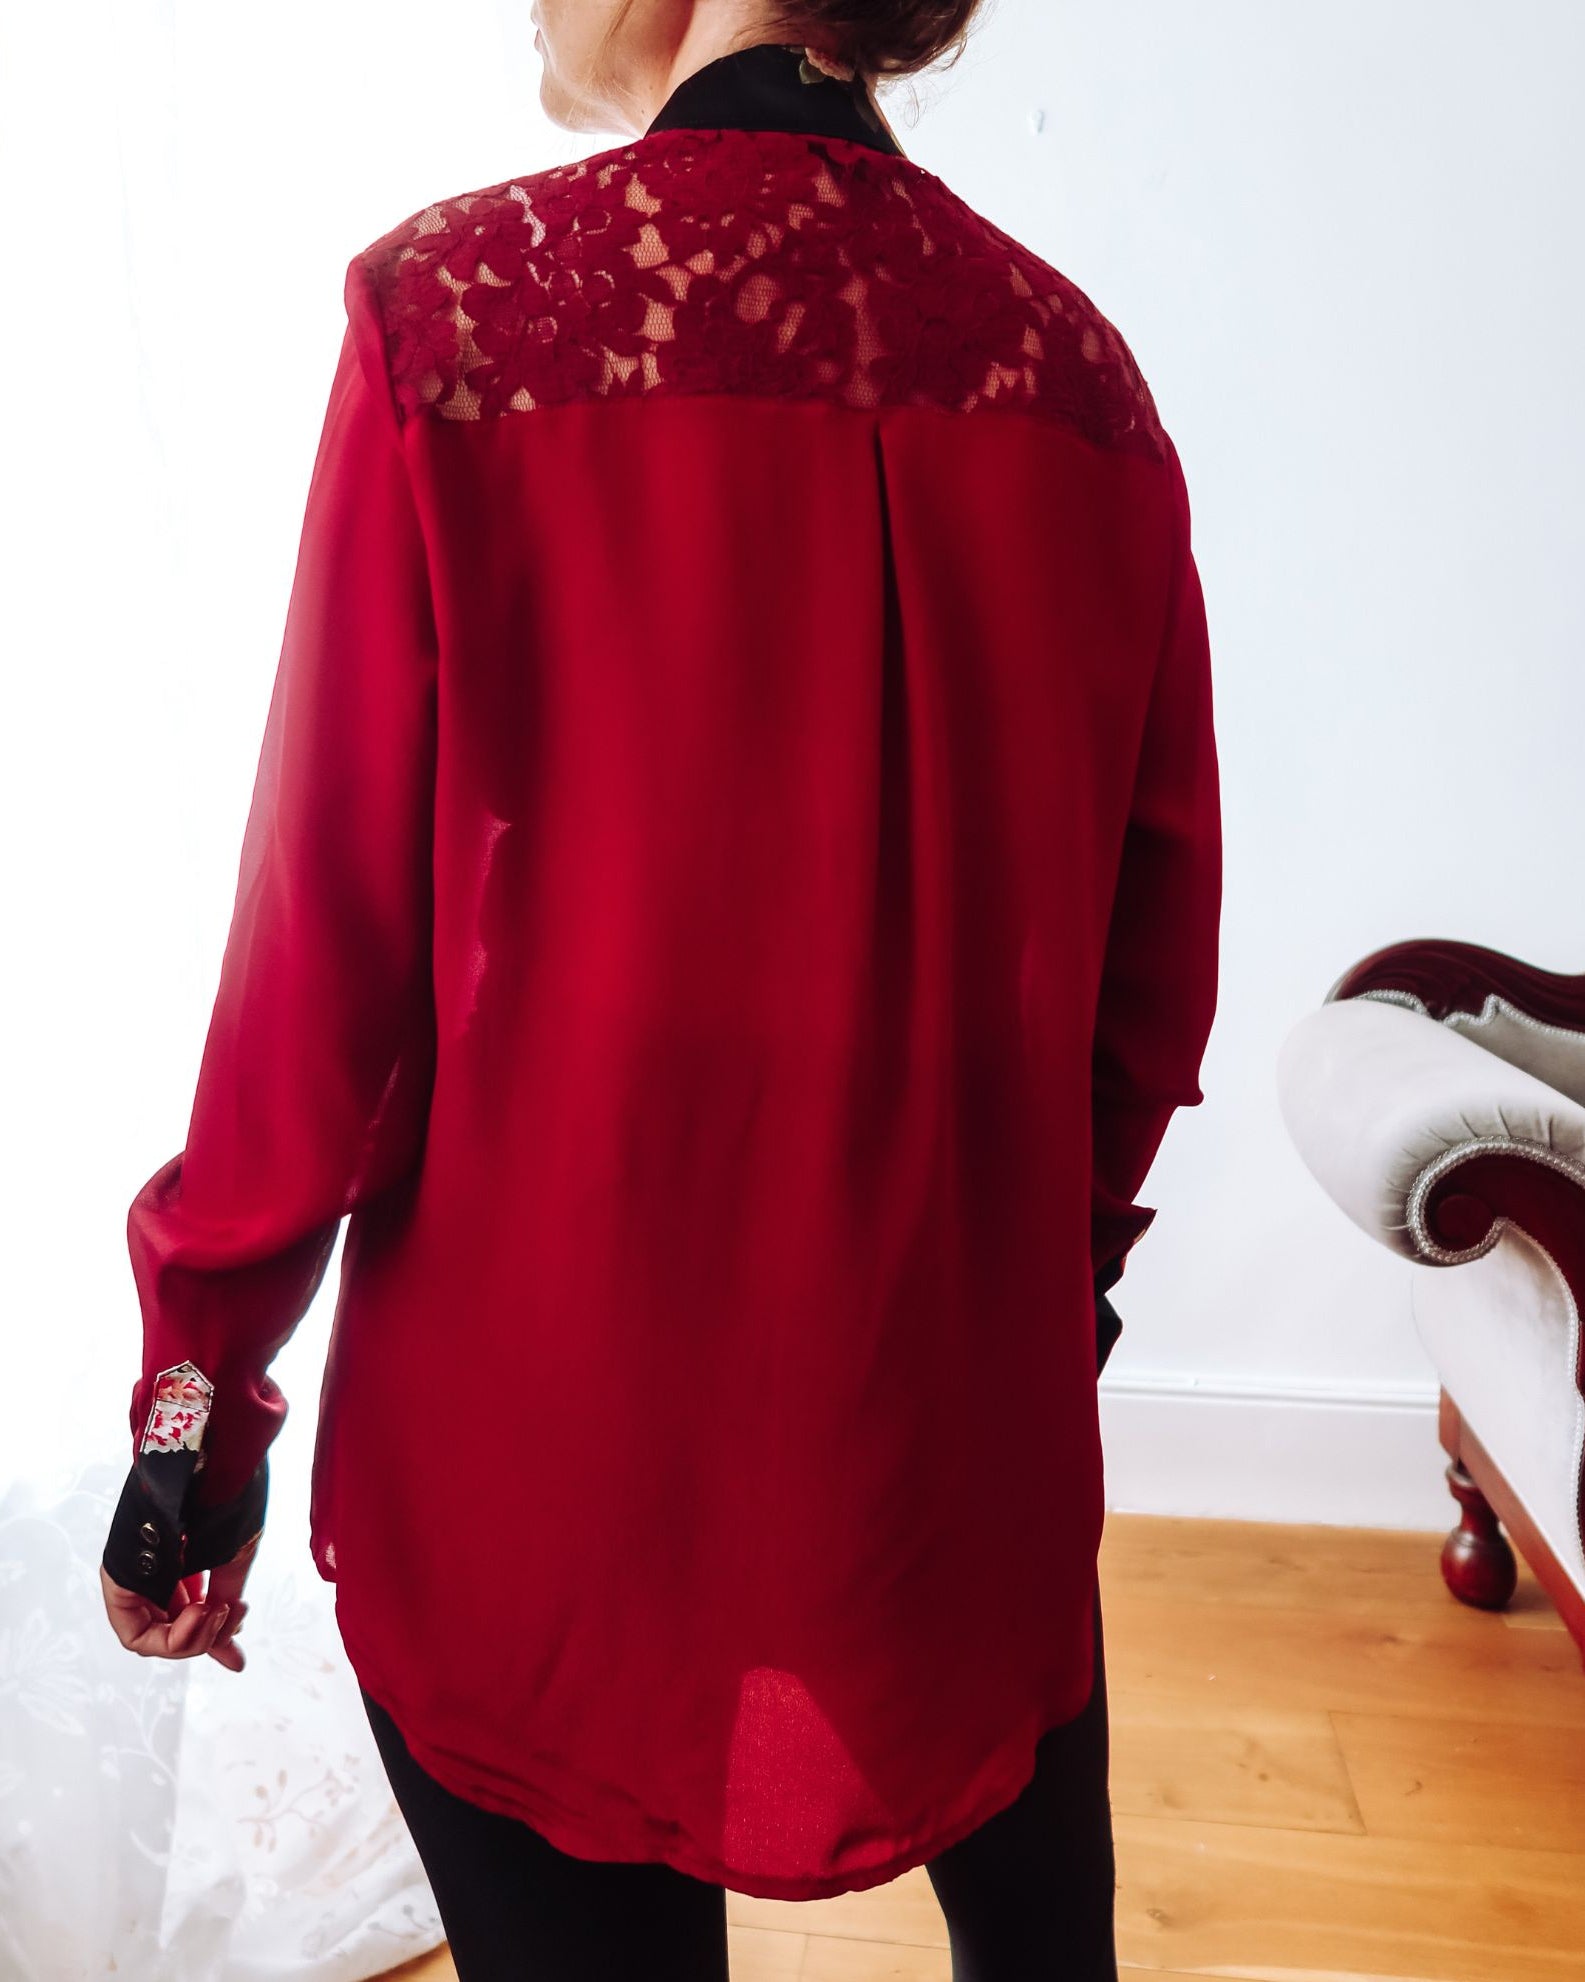
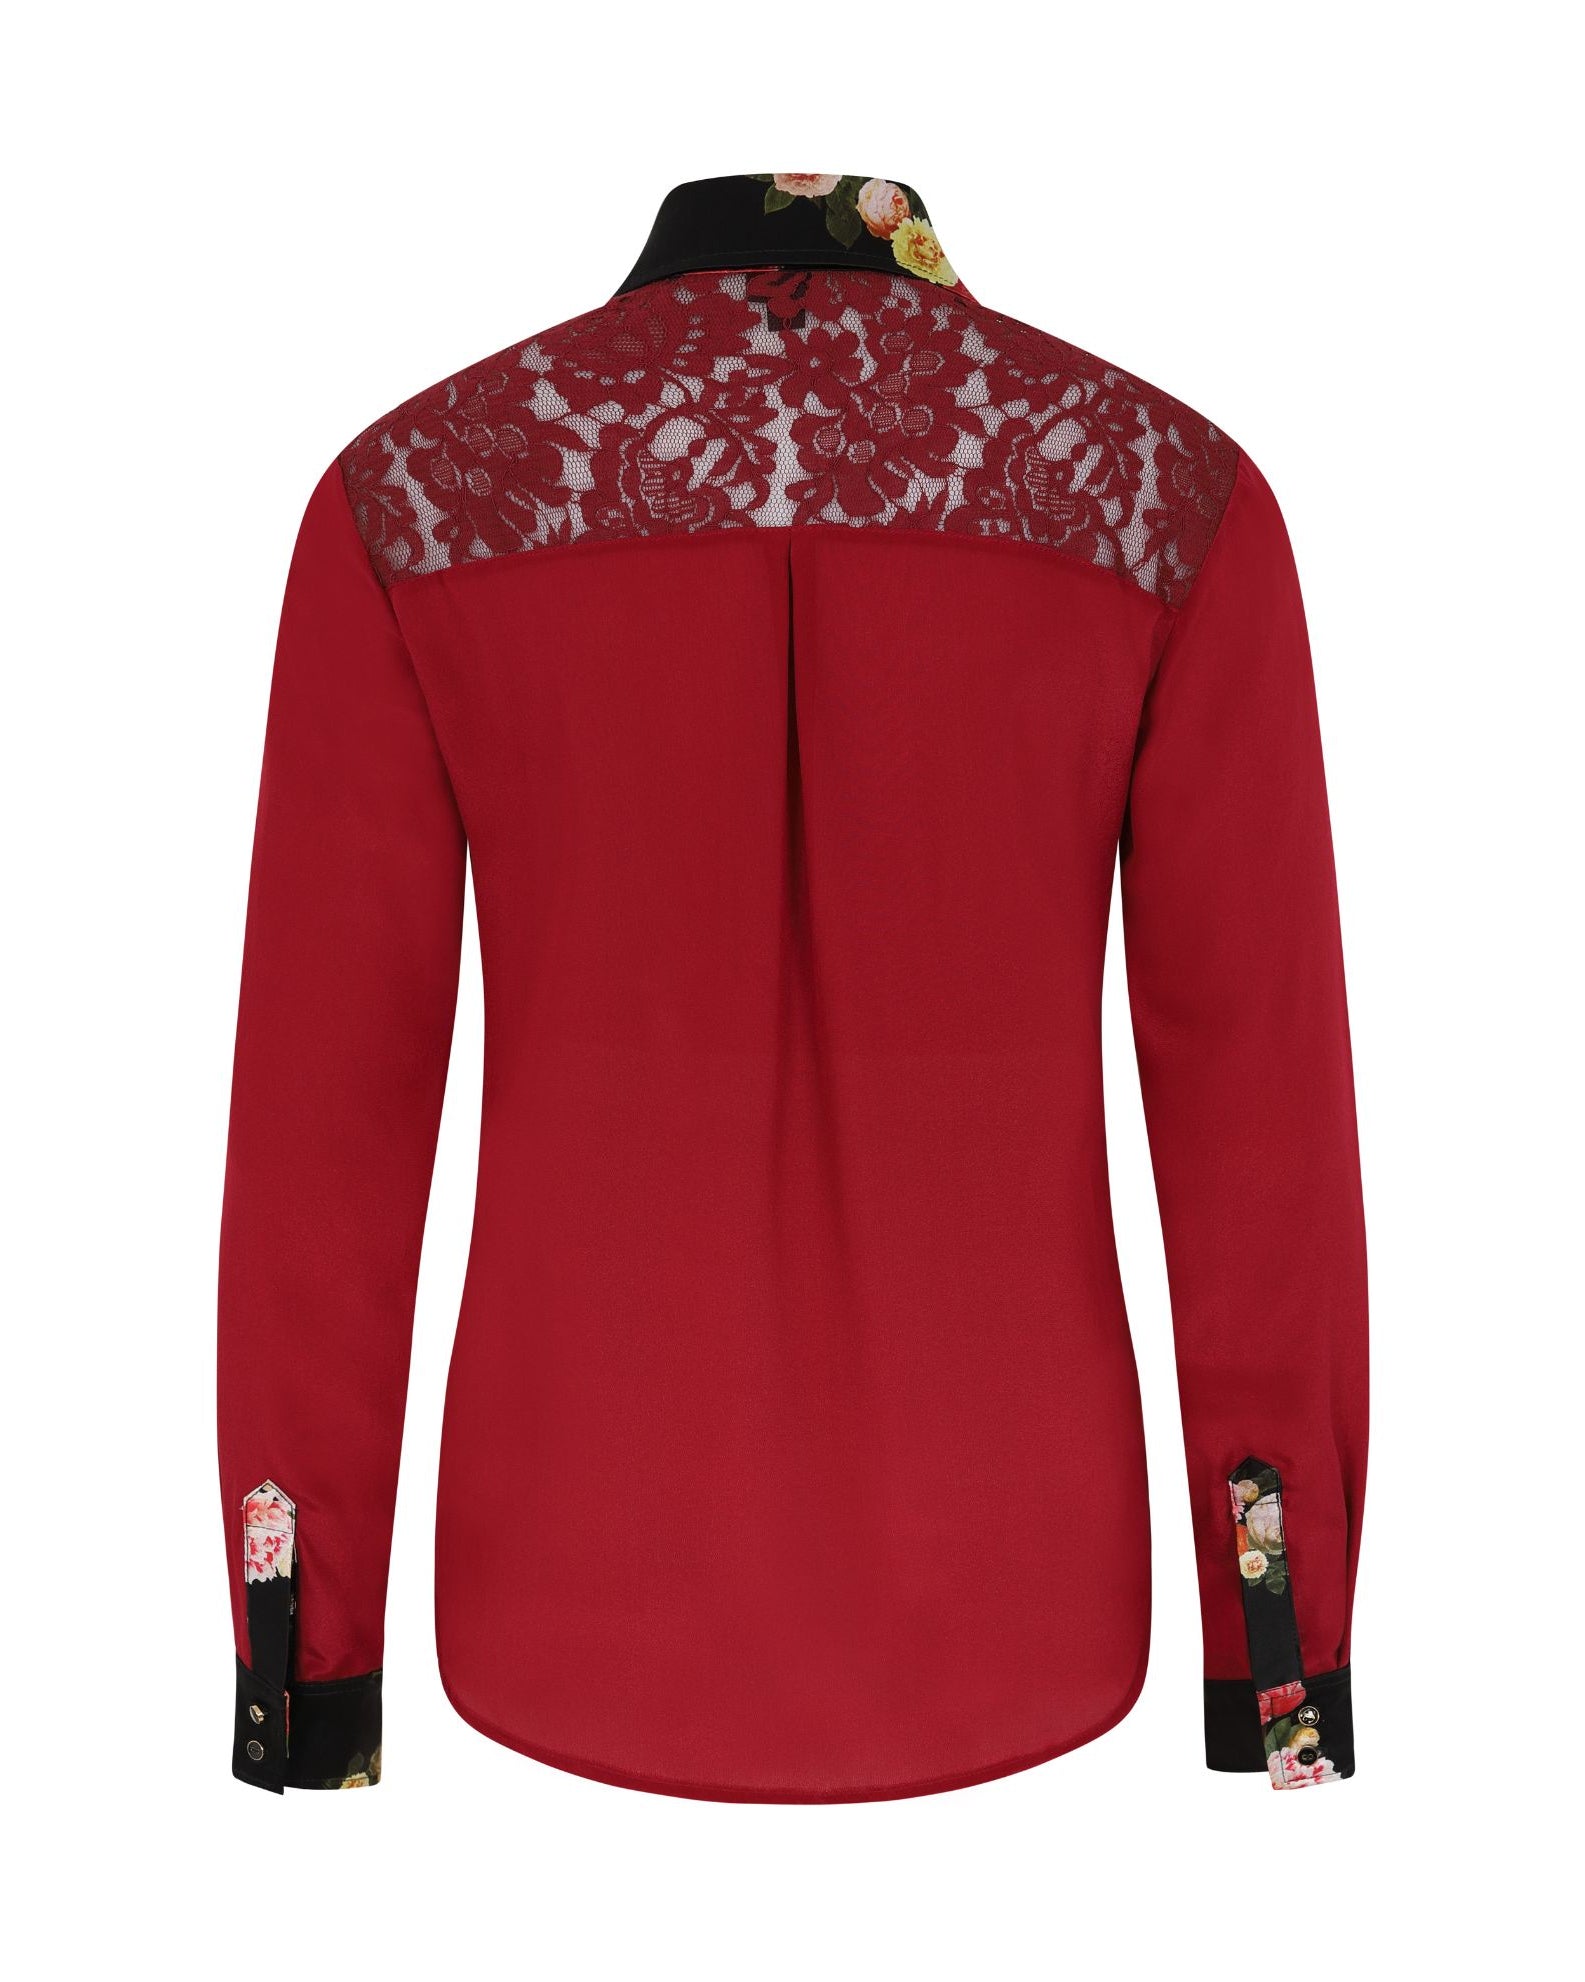
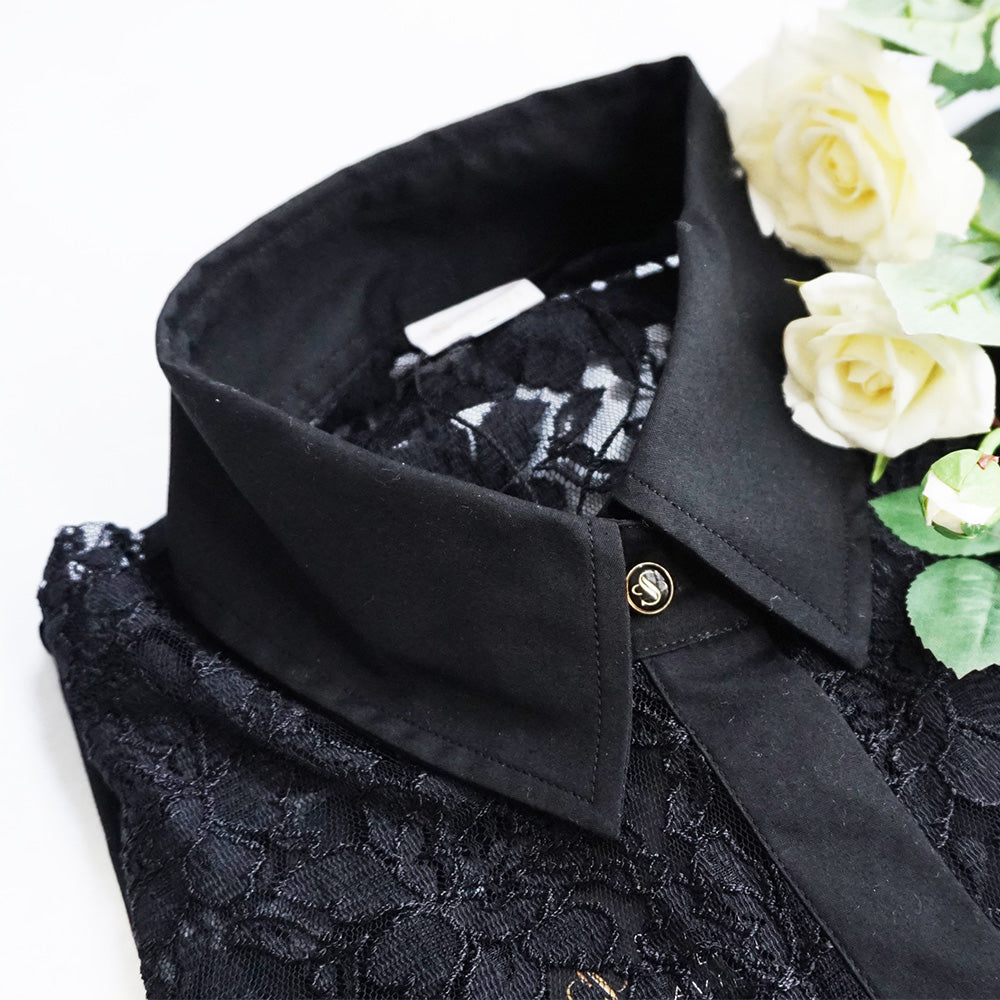
Note: For Sophie Cameron Davies’ shirts, keep the iron well away from the lace detailing while the iron is set to this high heat. The lace is made from different fibres and so those areas should only be ironed on a very low heat. Ensure the iron has cooled down before moving to the lace details.
Once hot, run the iron over the ironing board surface to remove any lingering dust. Also, ensure the steam is coming out correctly. Something to watch out for is that water is not dripping from the steam hole. You want plenty of steam coming out, as the hot moisture removes the toughest of wrinkles on cotton.
Why is water dripping from my iron?
This can be one of two reasons: the iron is not hot enough yet to steam; instead it spits or drips water. Secondly, this can be due to a build-up of limescale inside the iron or on the iron plate. To make sure this doesn’t happen, always empty the water from the iron after use and refill when in use.

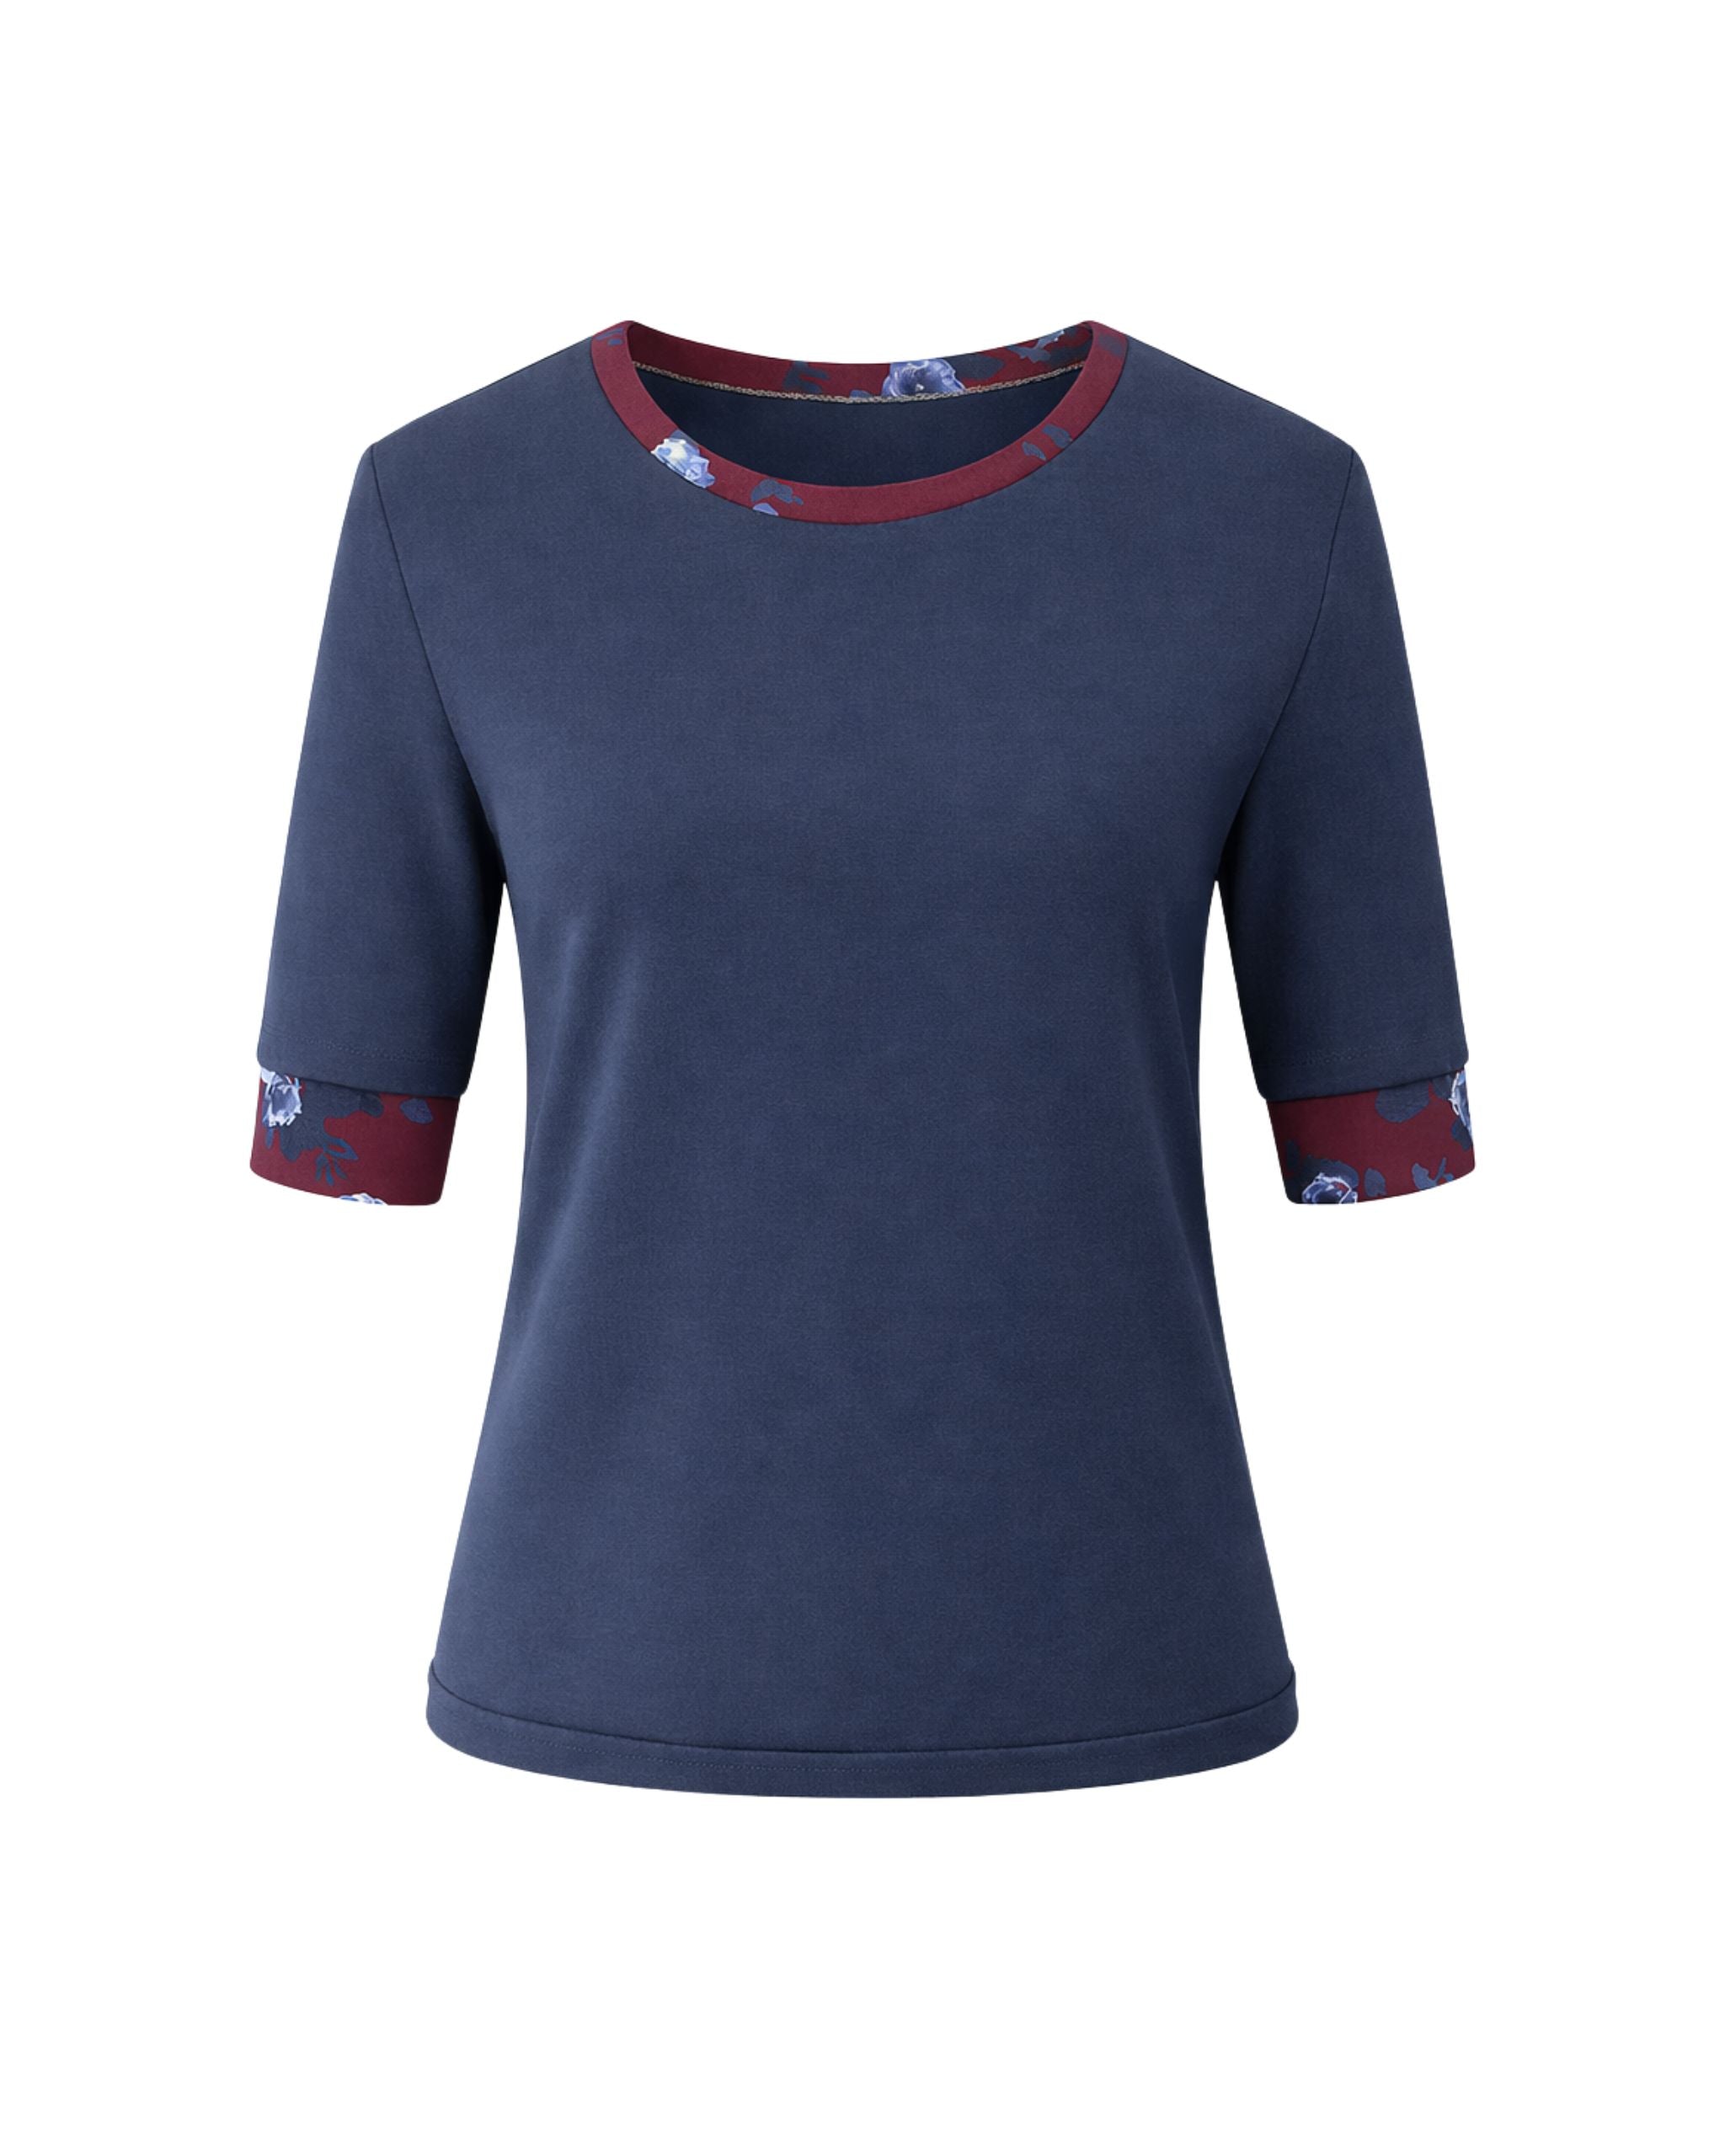
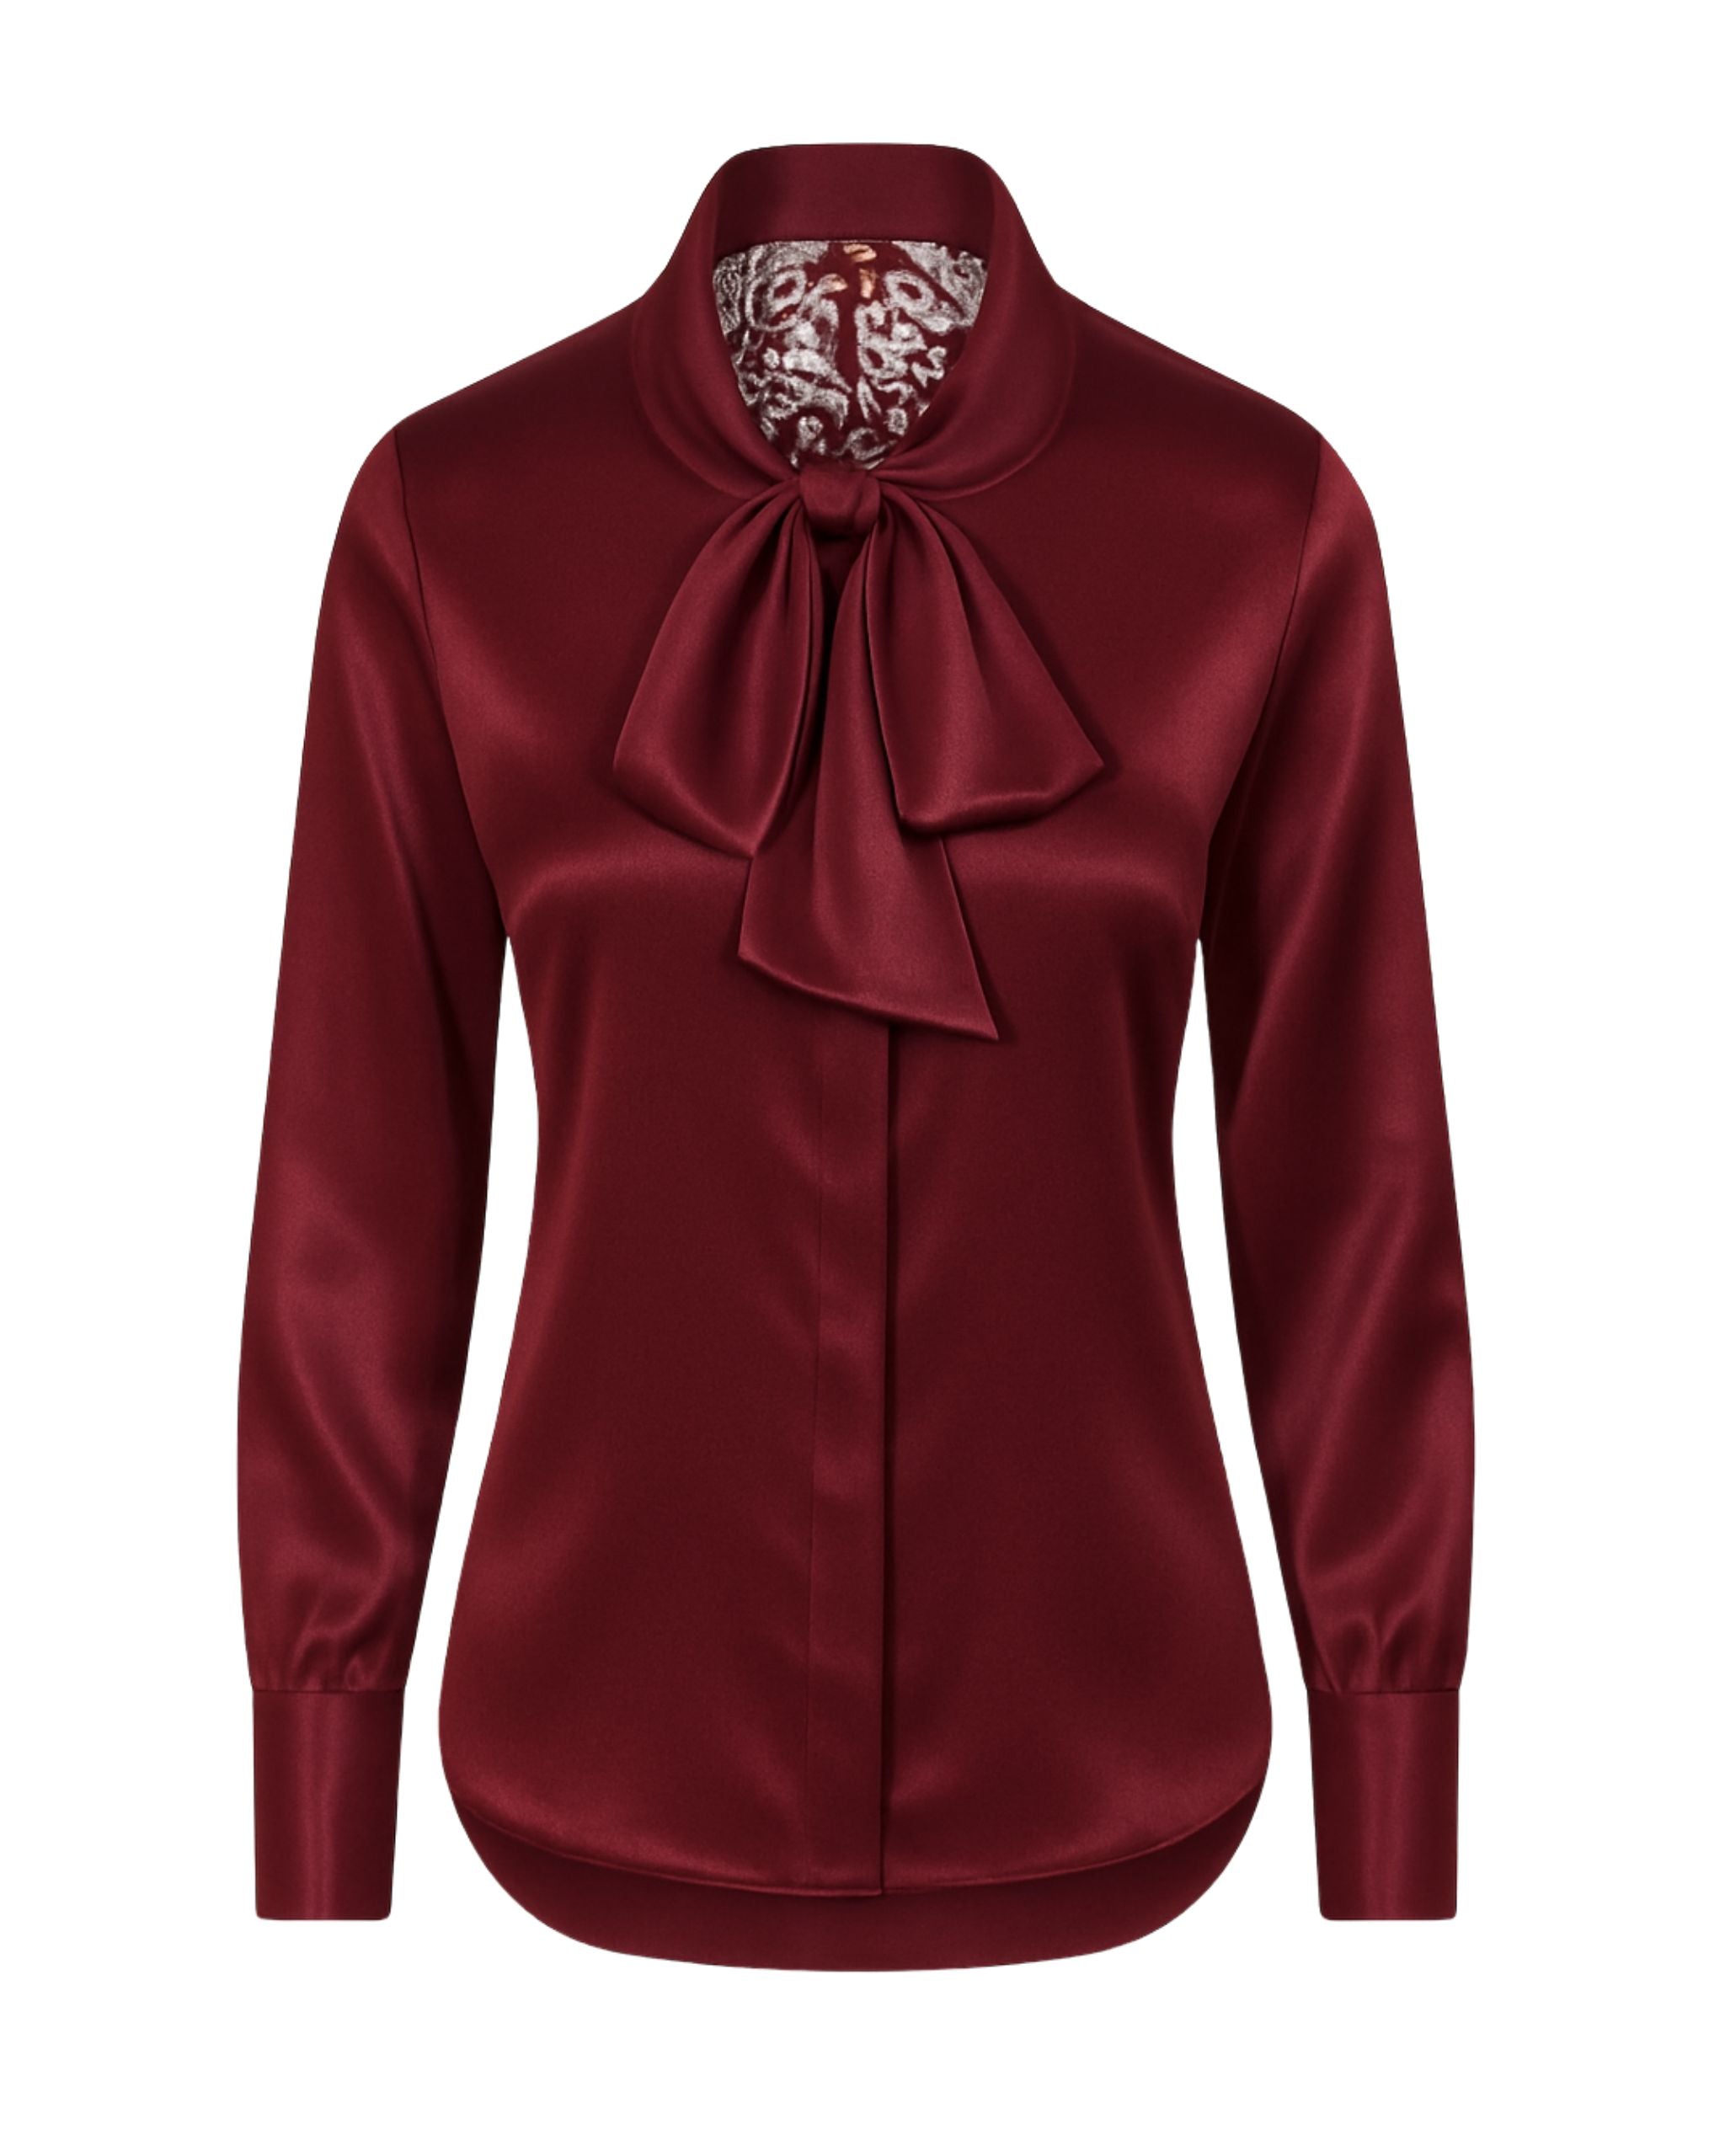
Preparing the cotton shirt
If you want a super crisp look, begin with turning the shirt inside out. Iron the inside of the shirt first before turning it in the correct way and ironing the outside of the shirt. This technique is particularly effective for heavyweight cottons.
Which part should I iron first?
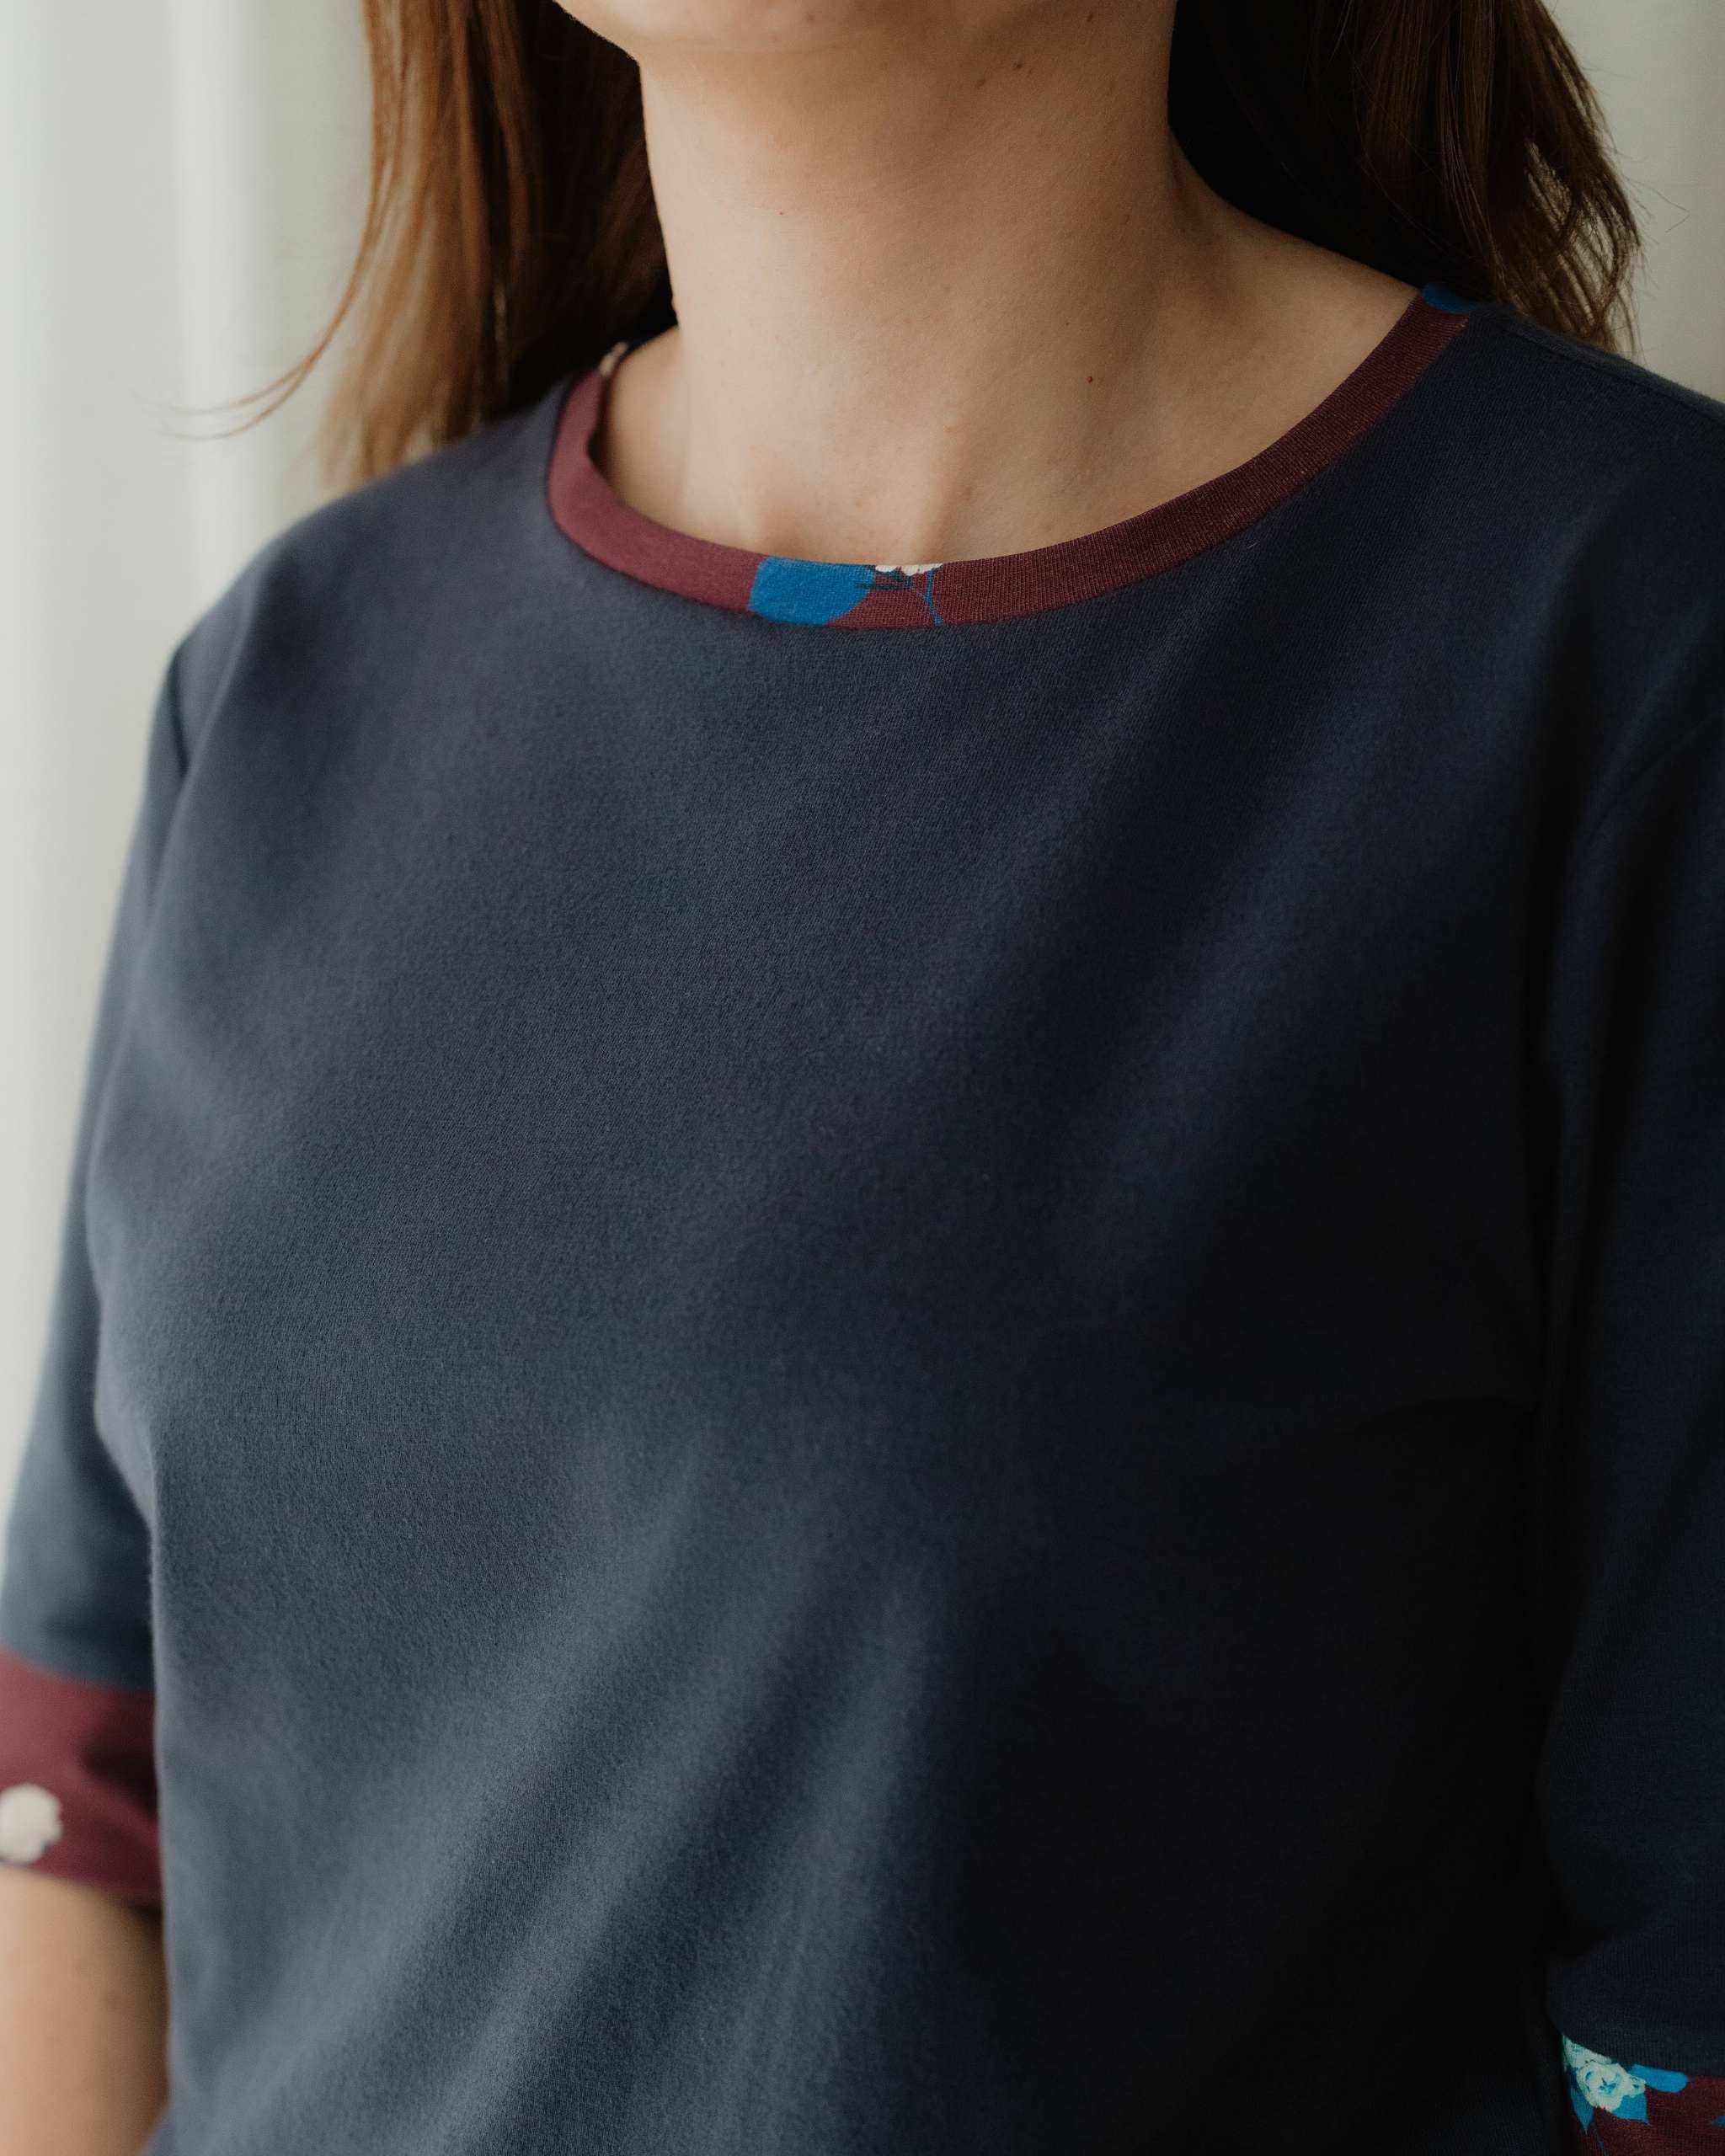
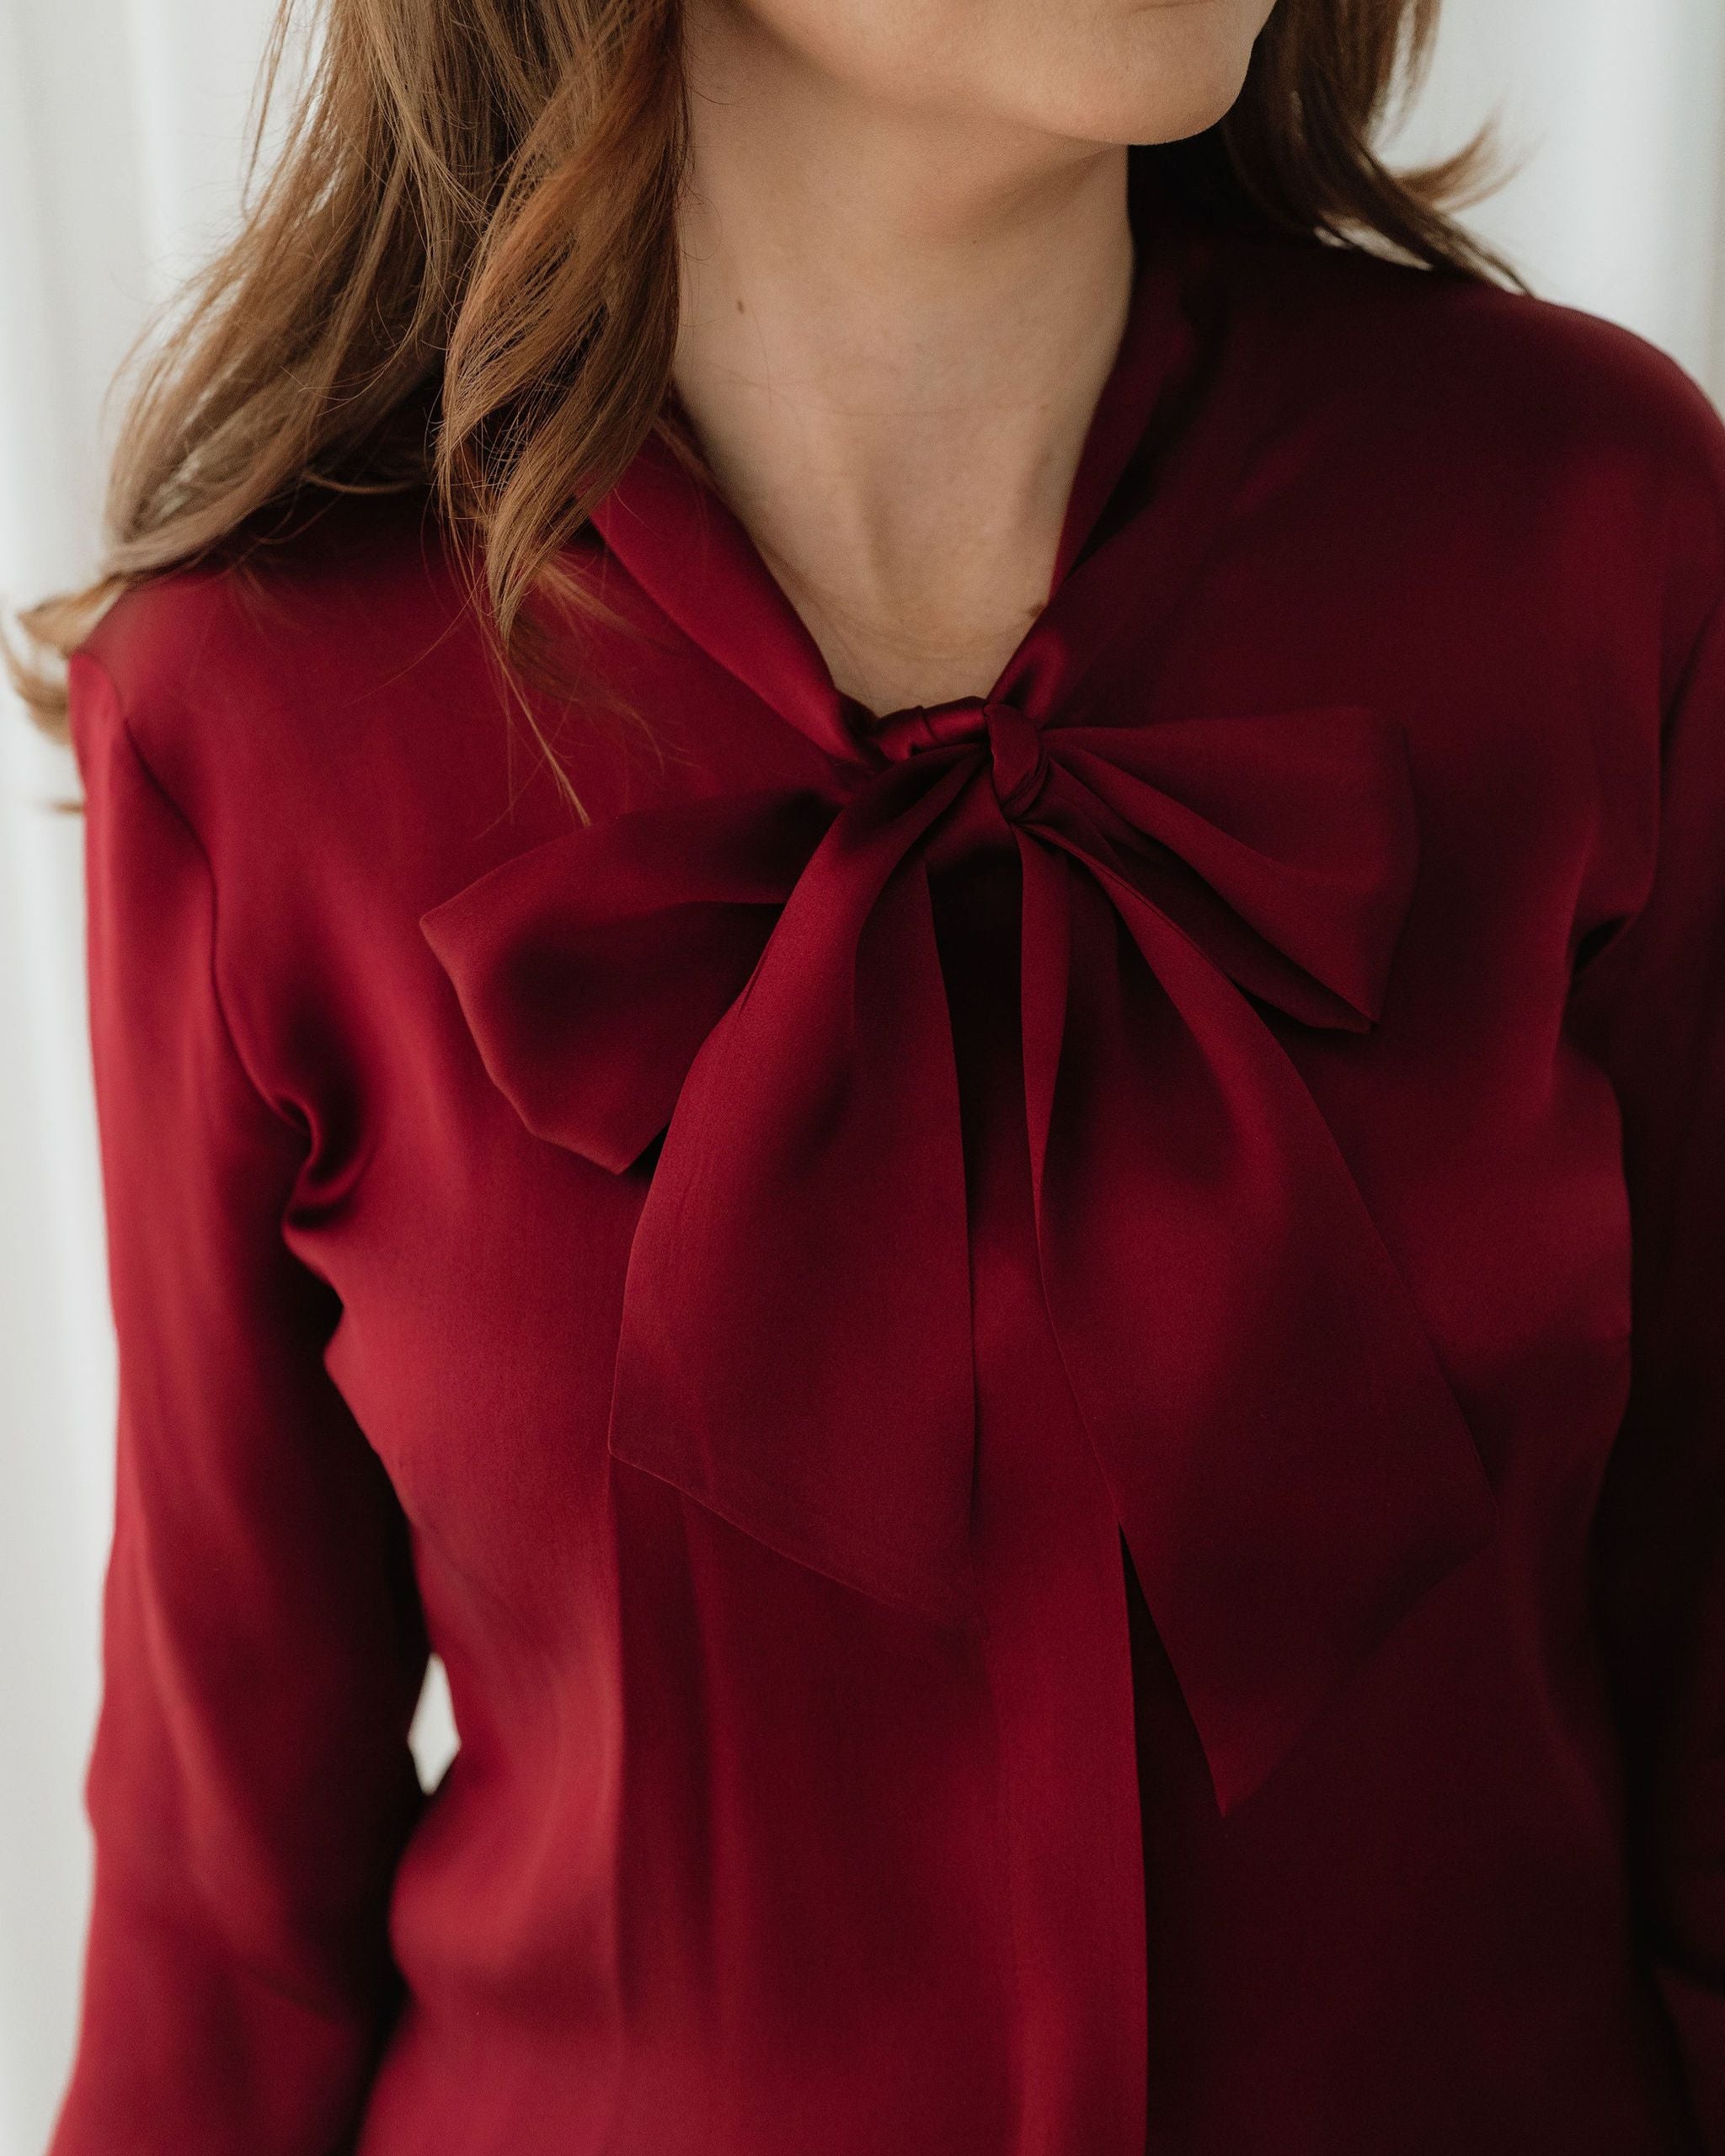
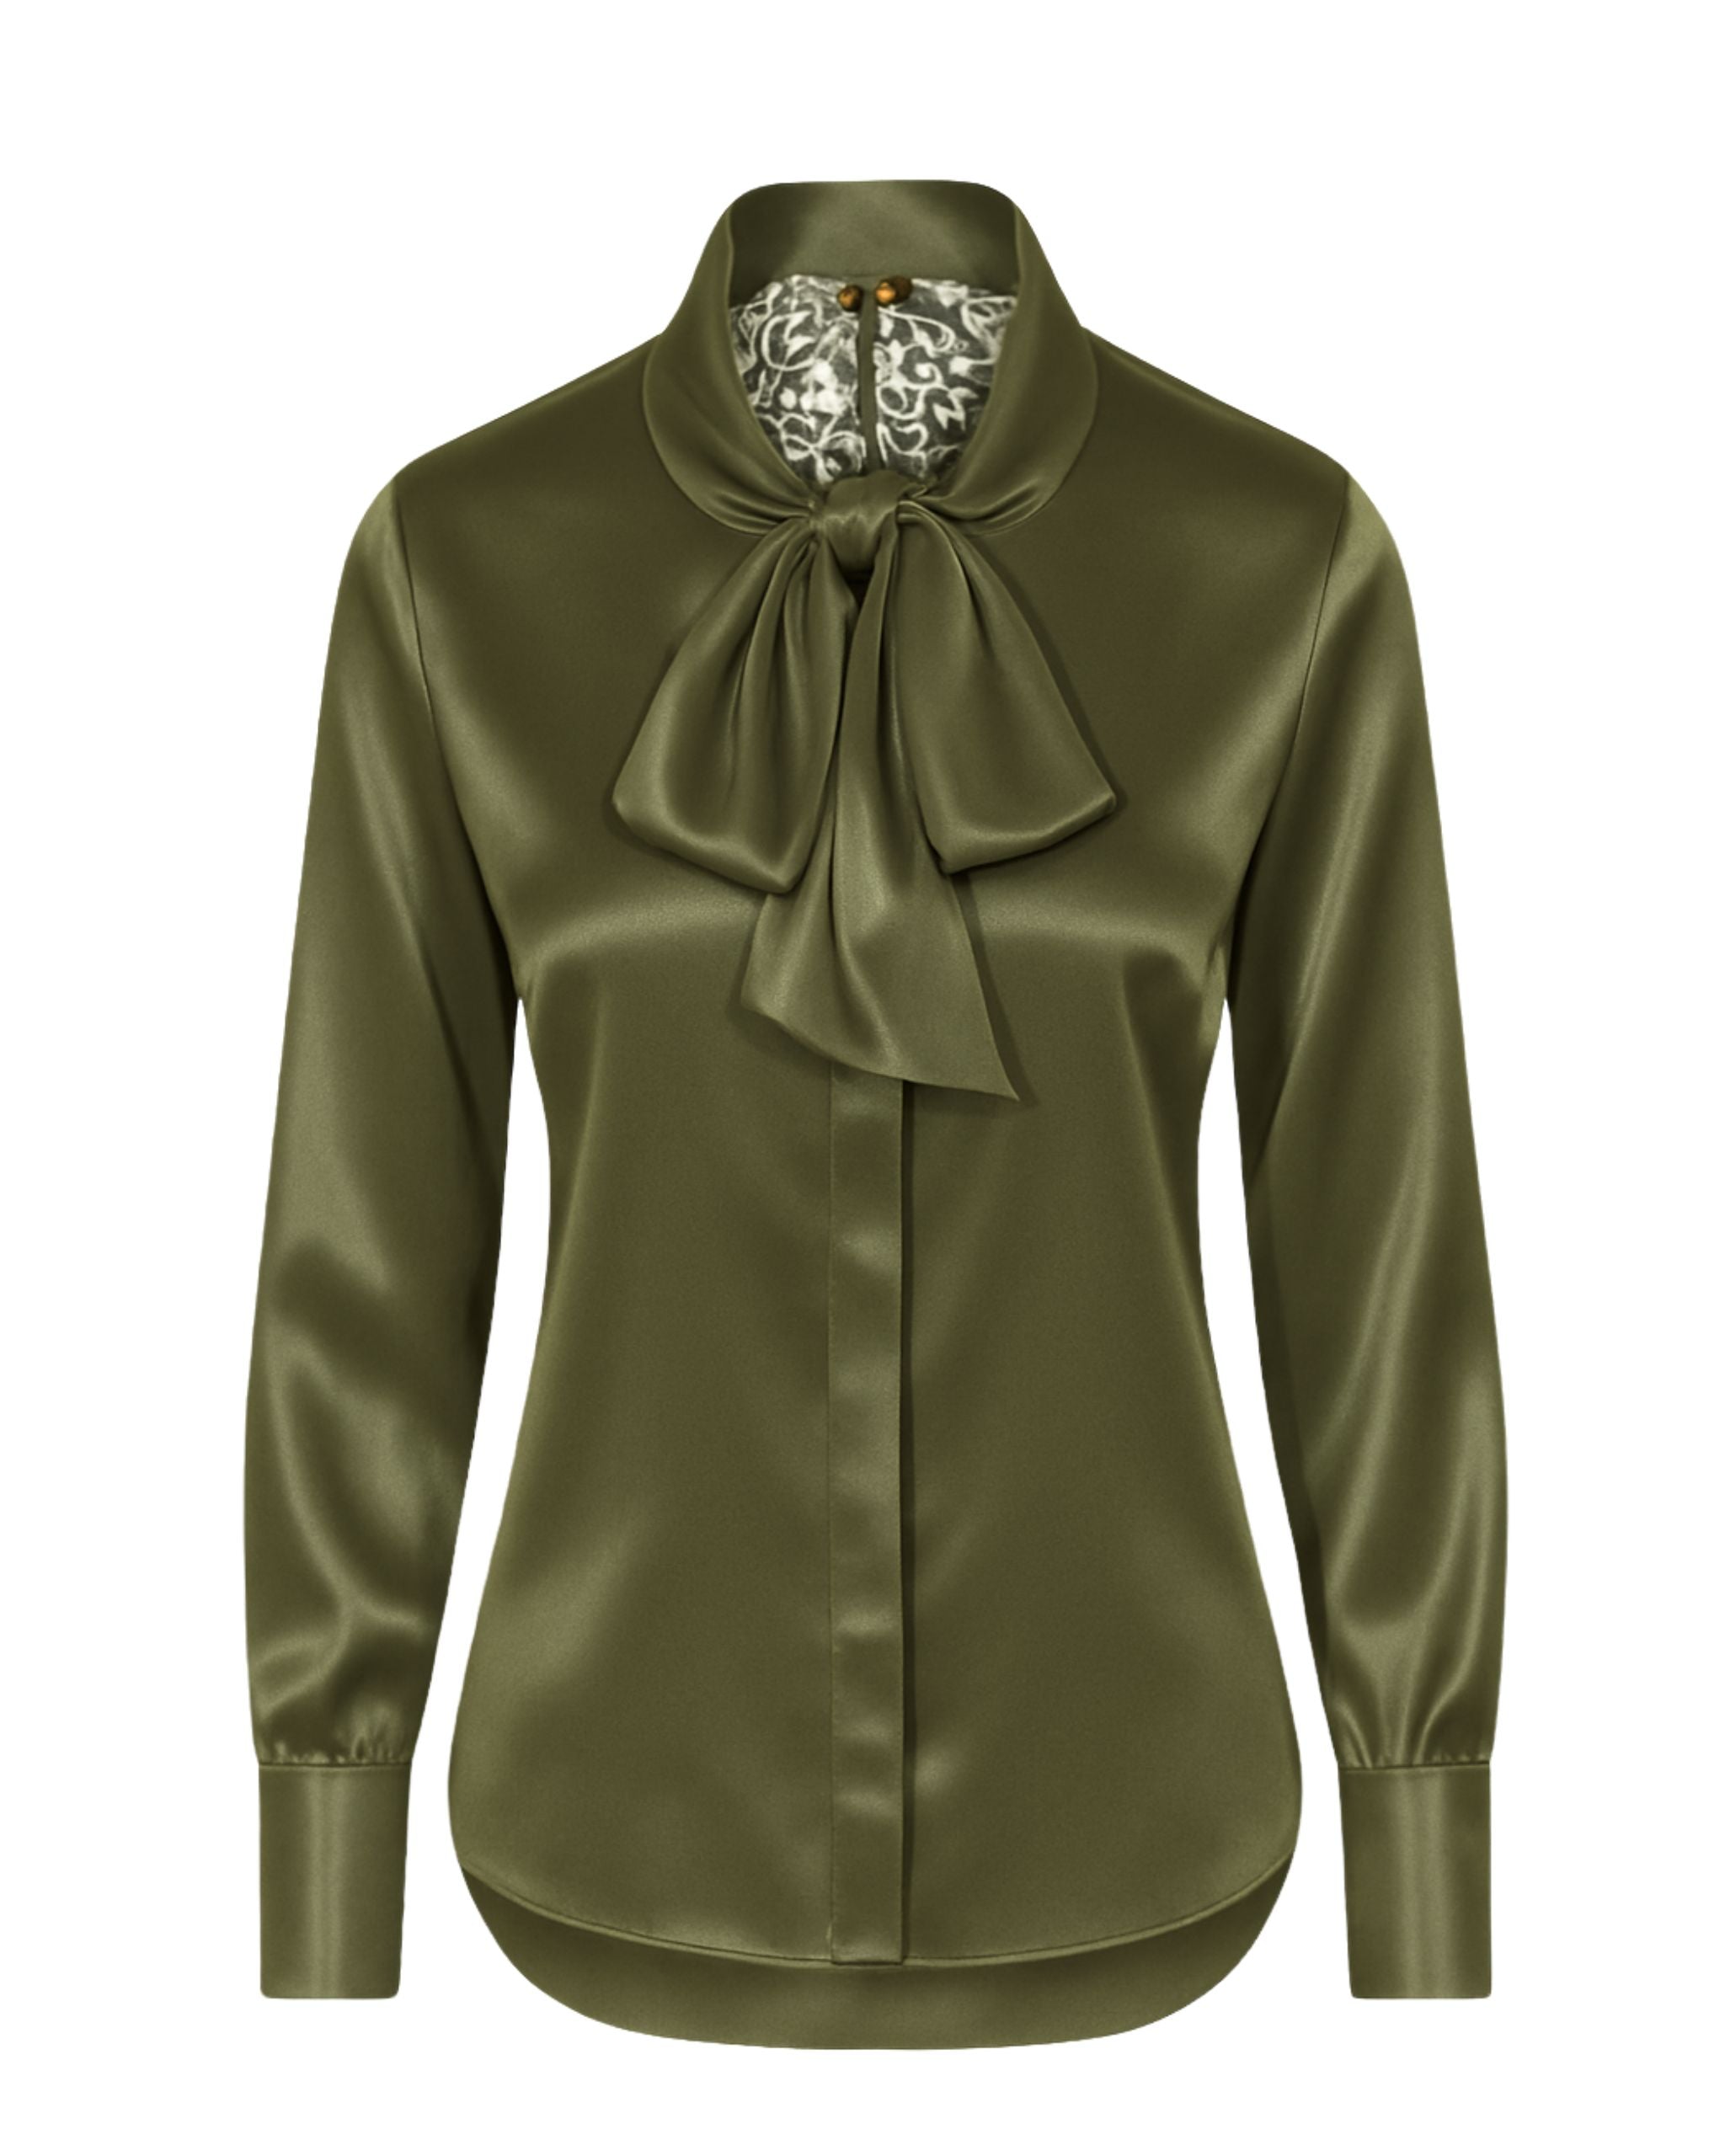
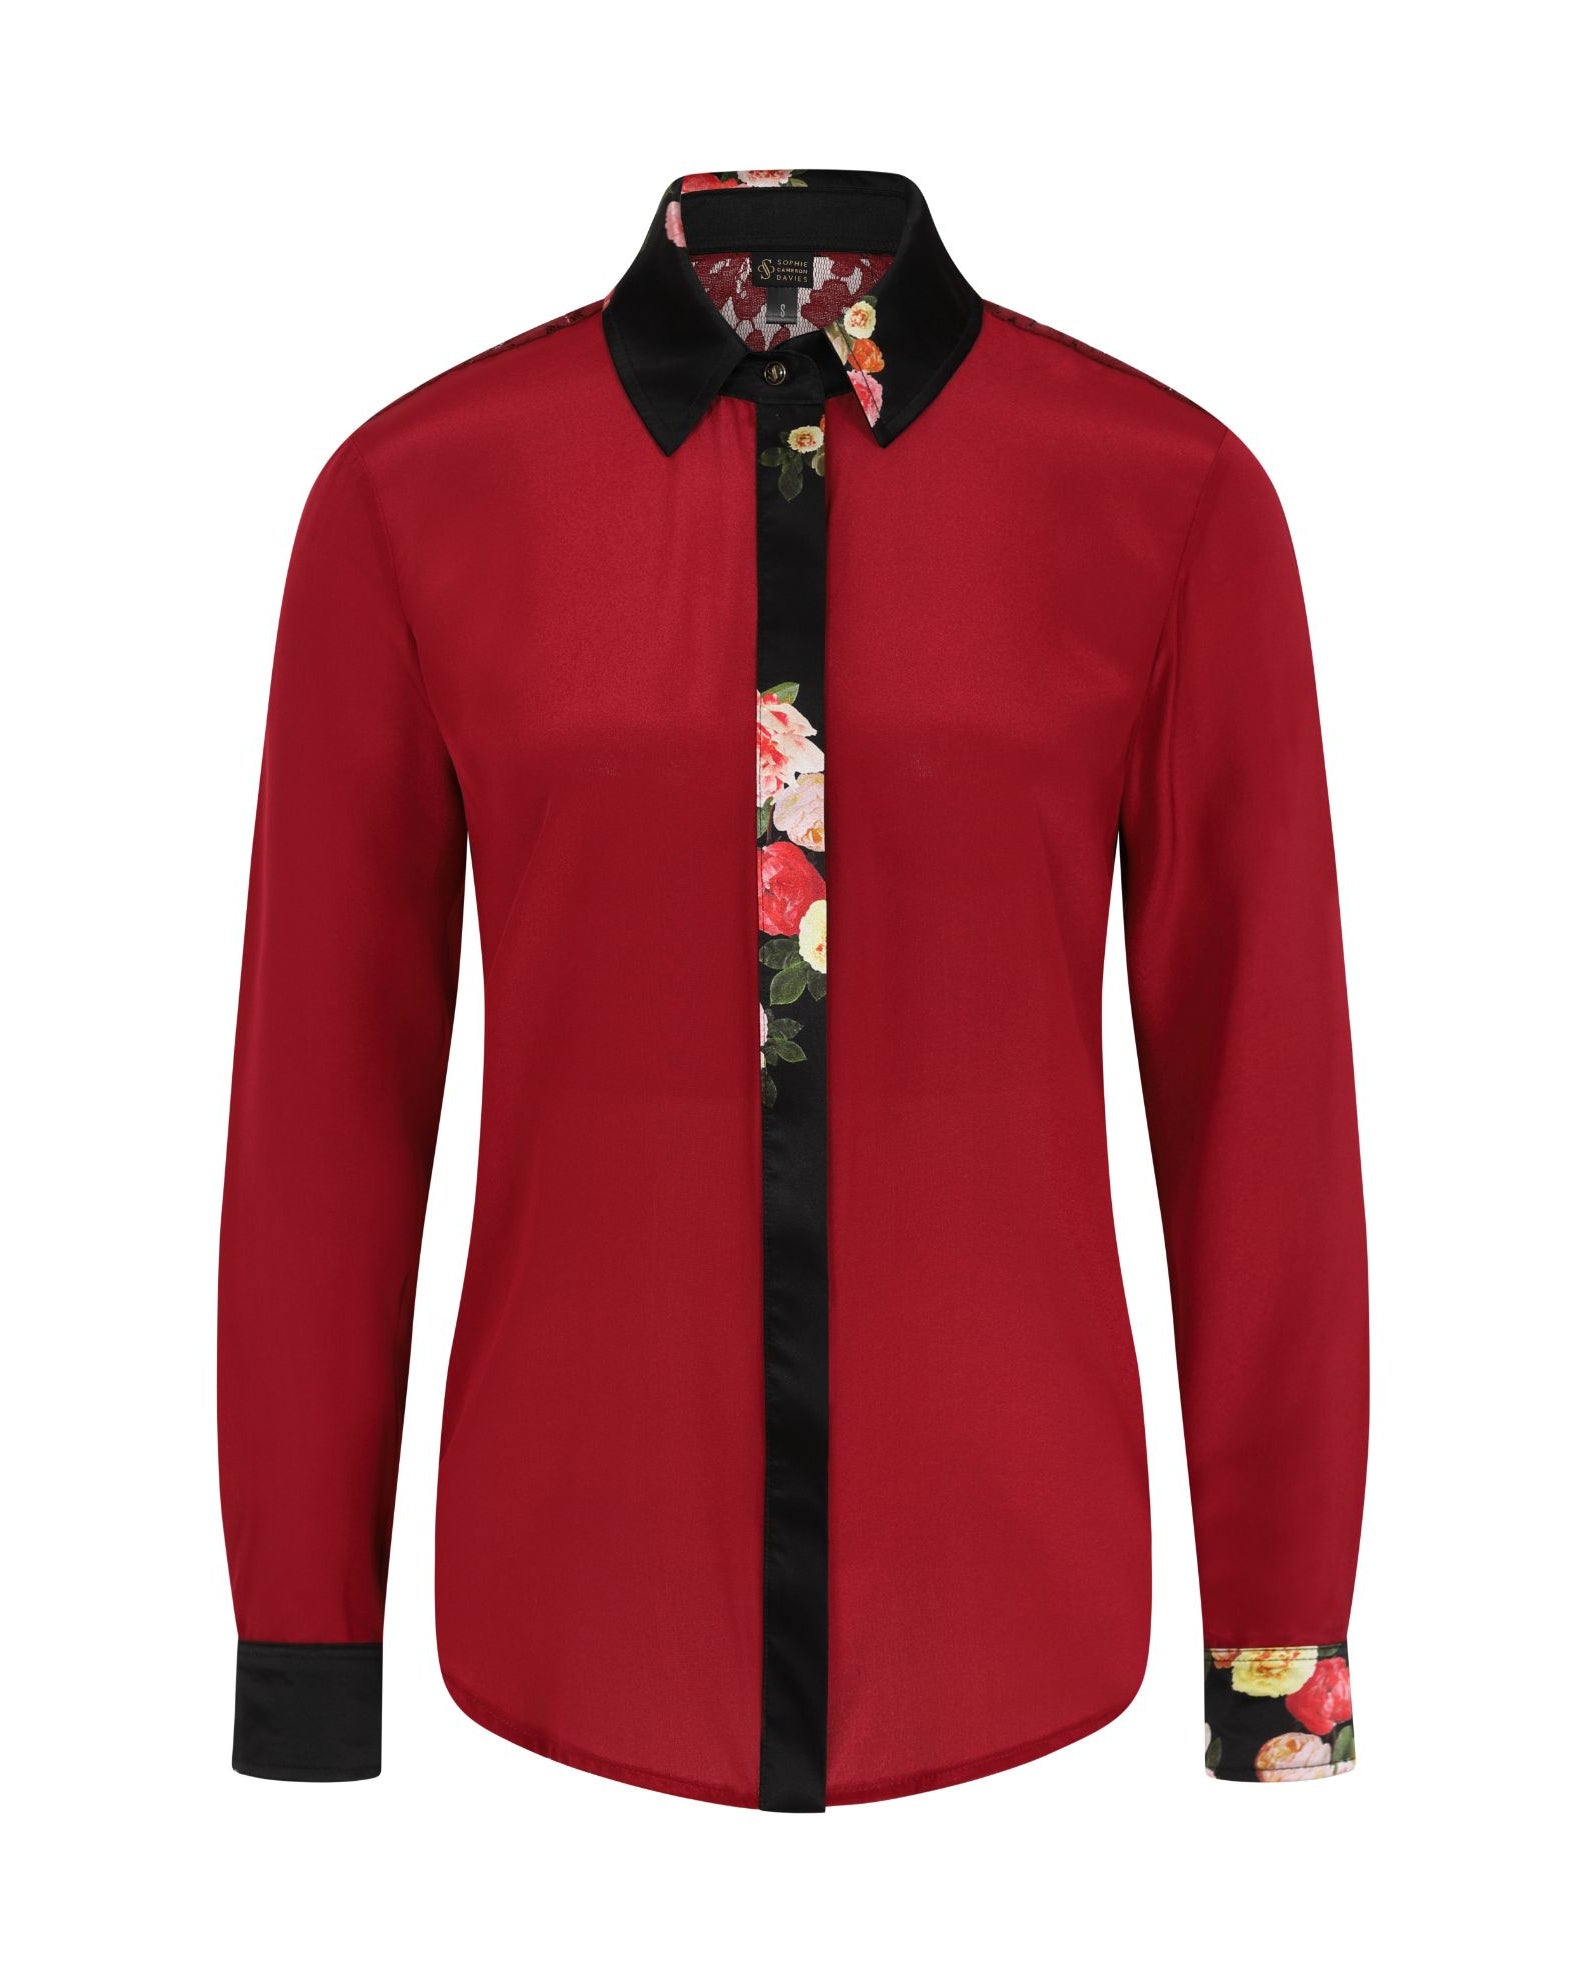
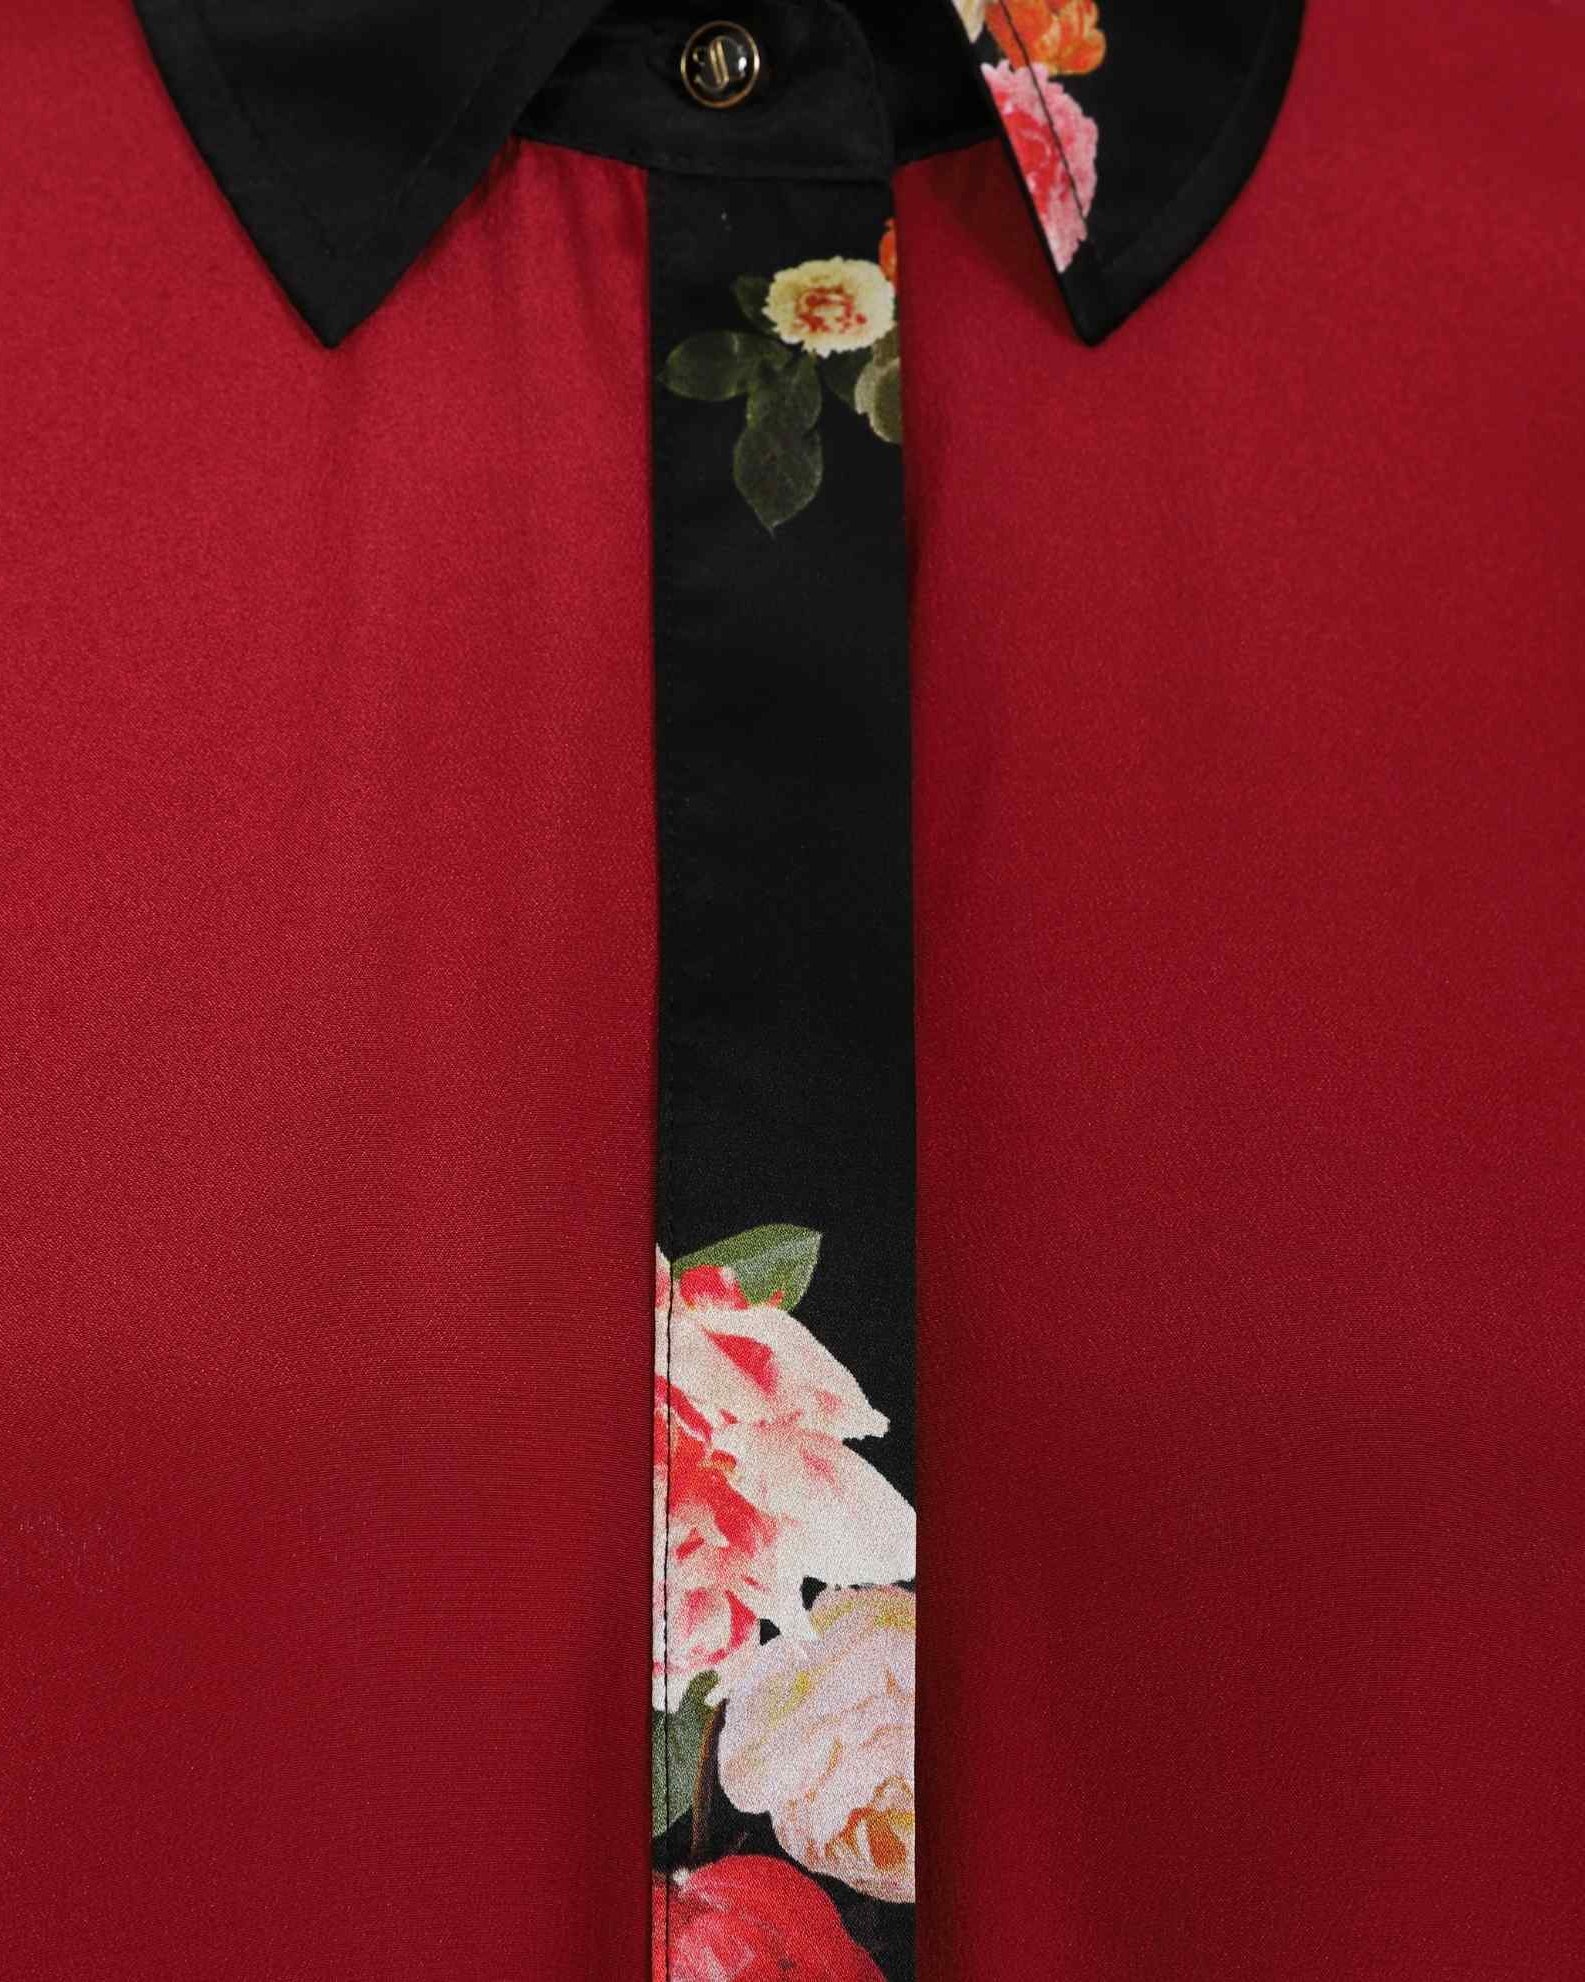
Start with the collar of the shirt. Place it on the ironing board and work from the point of the collar inwards, ironing both the underside and the inner side of the collar. When buttoned up, the collar becomes the focal point of the shirt so ensure this part is ironed carefully to remove all creases.
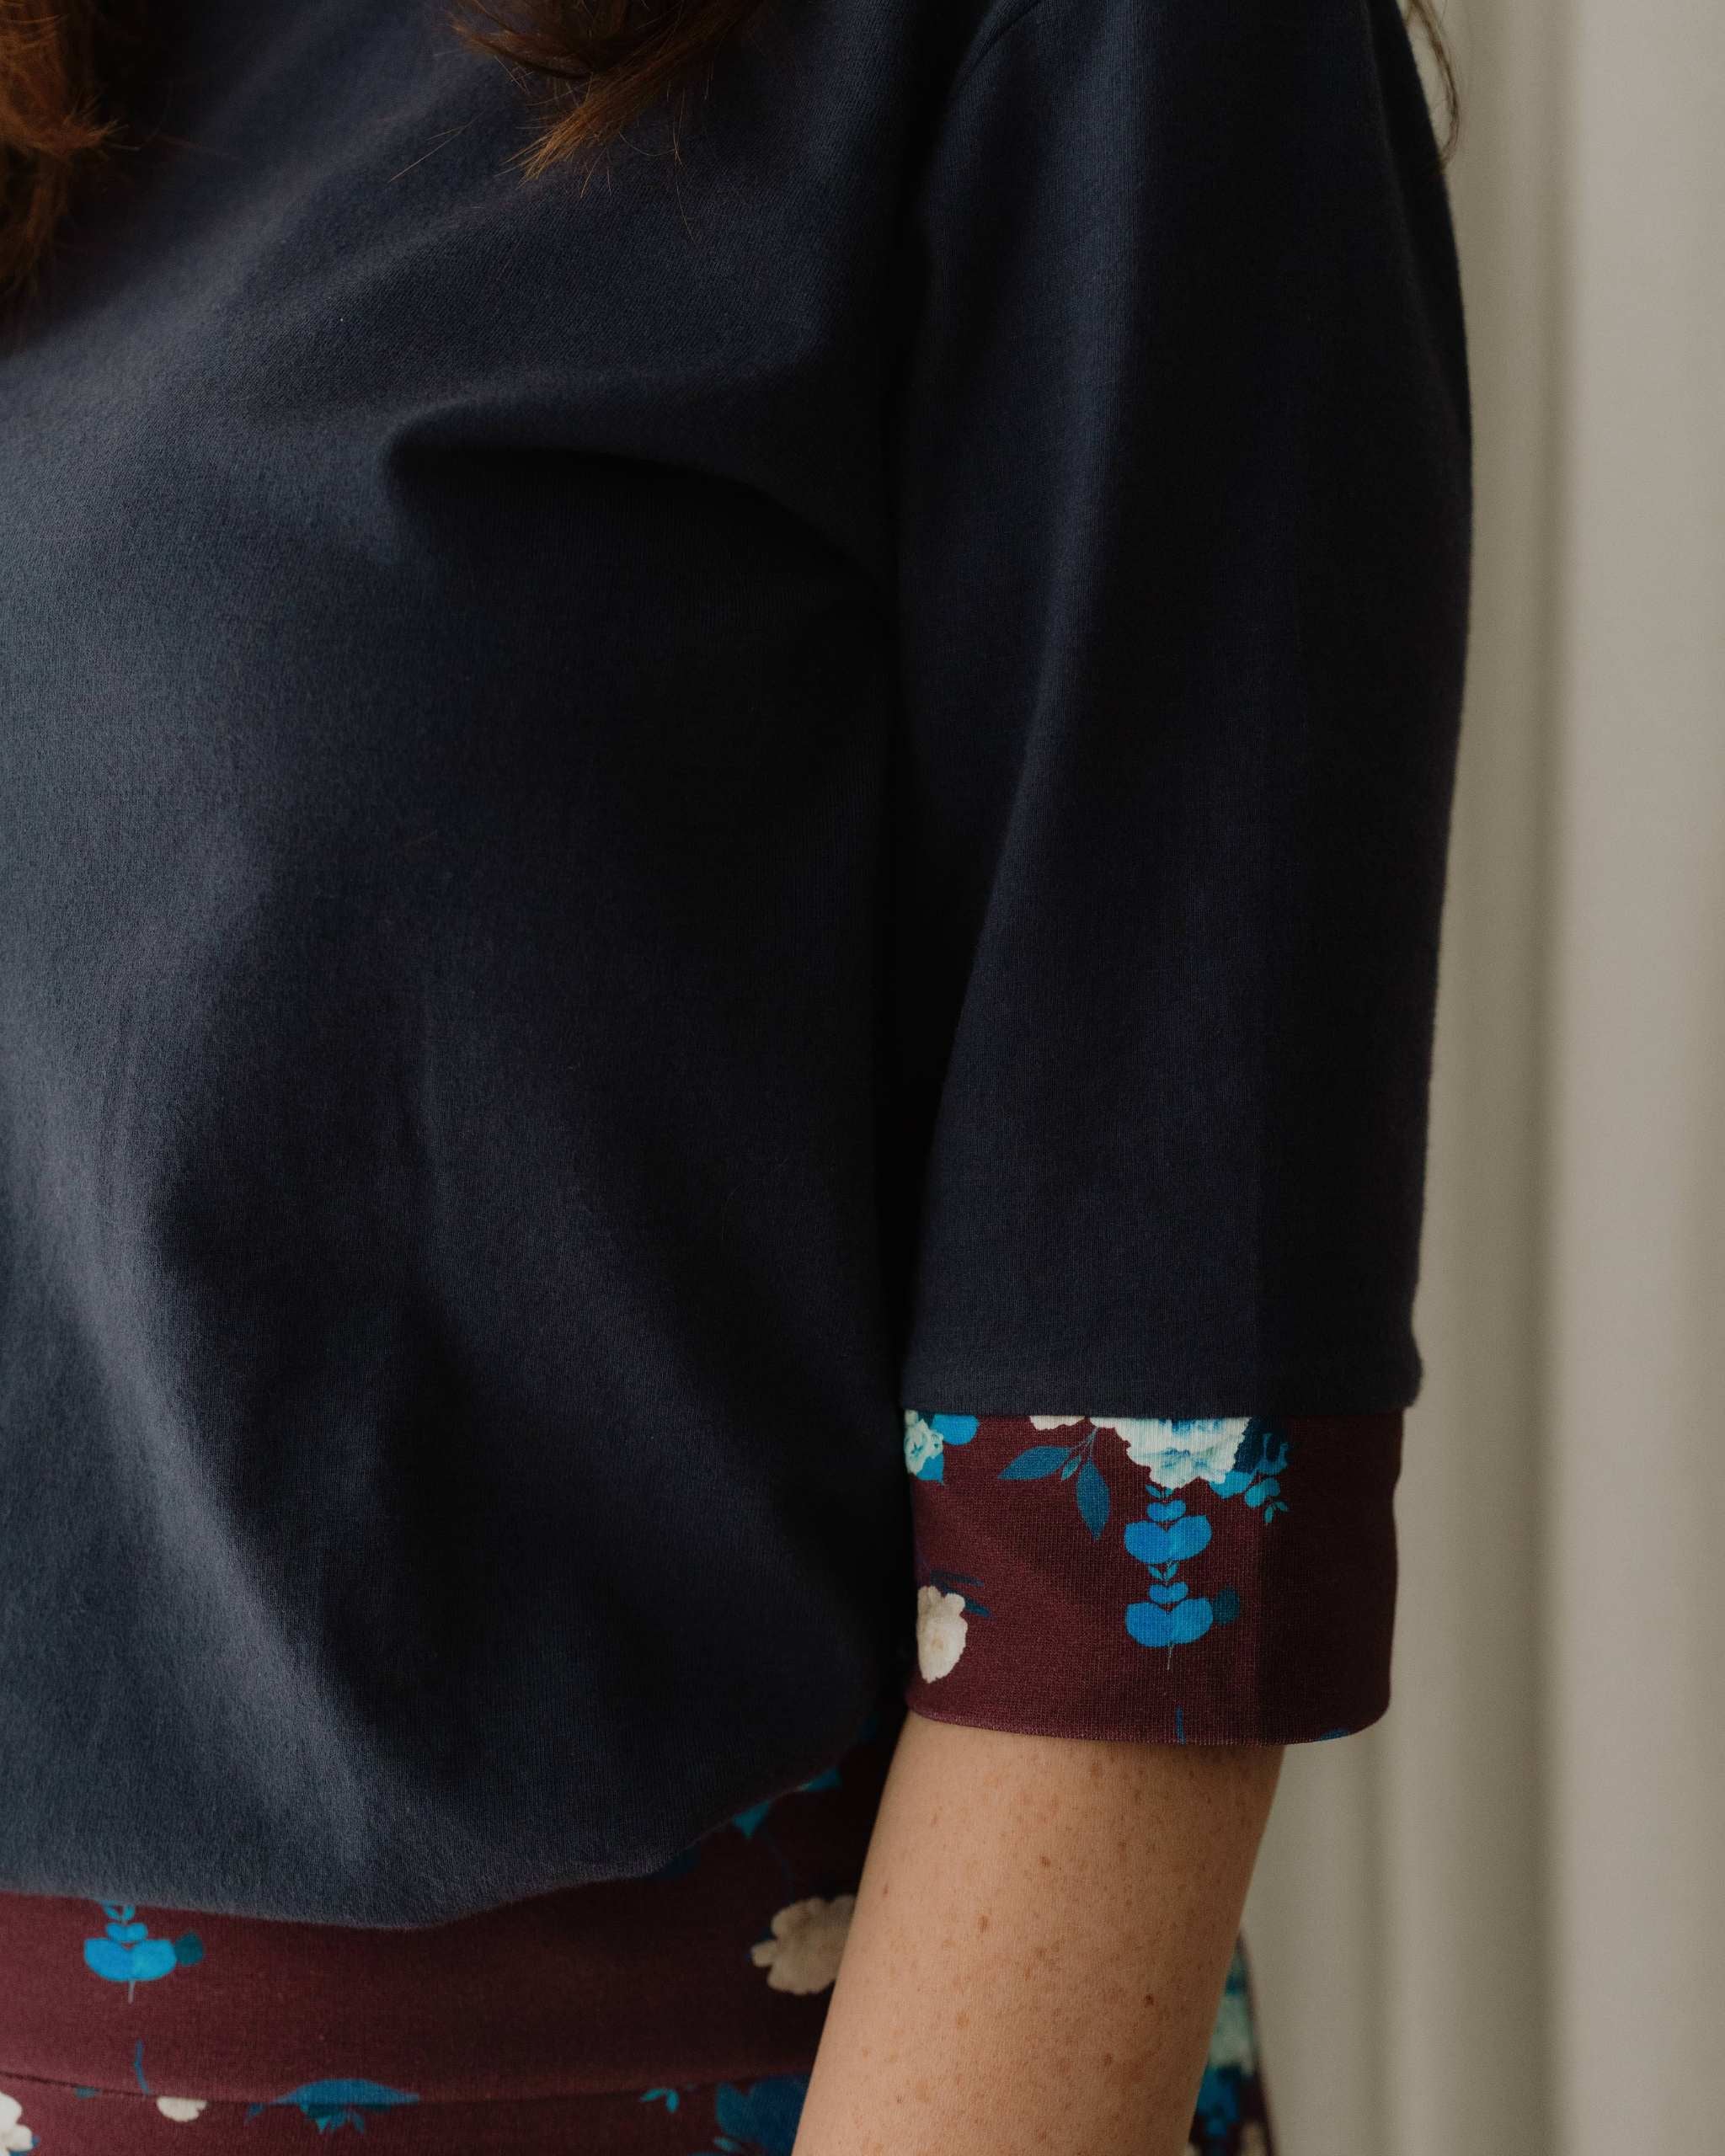
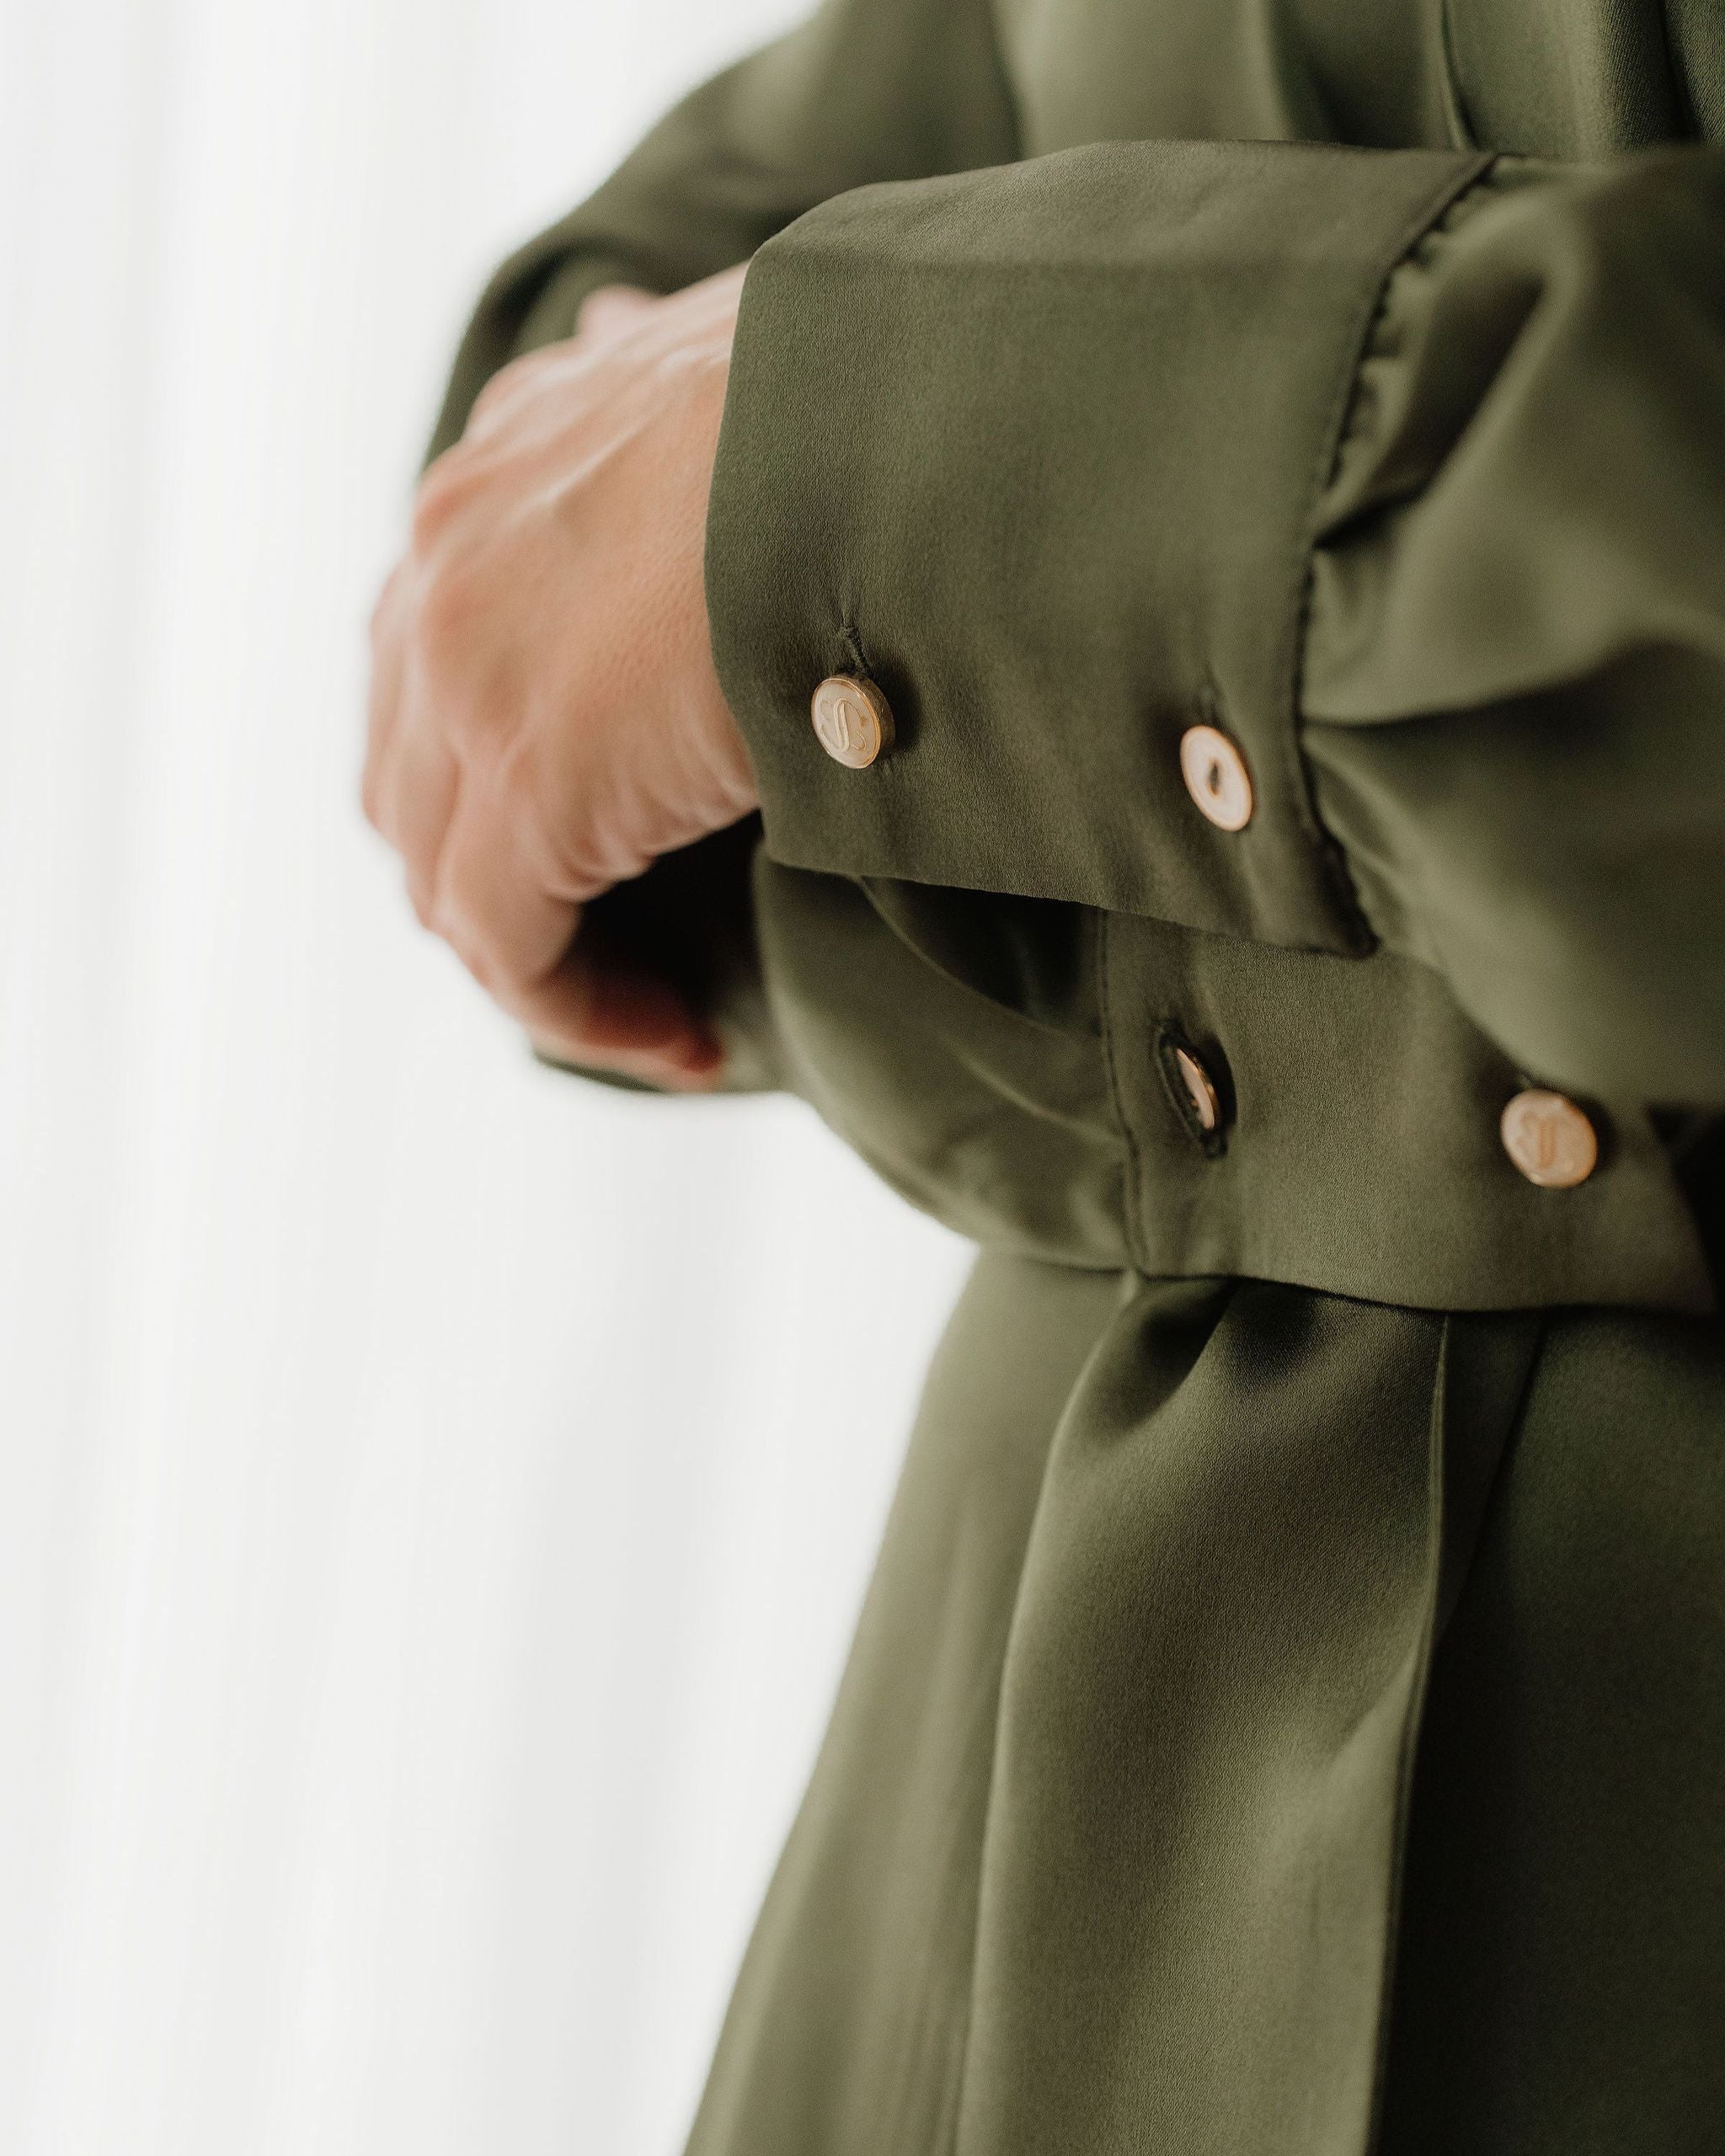
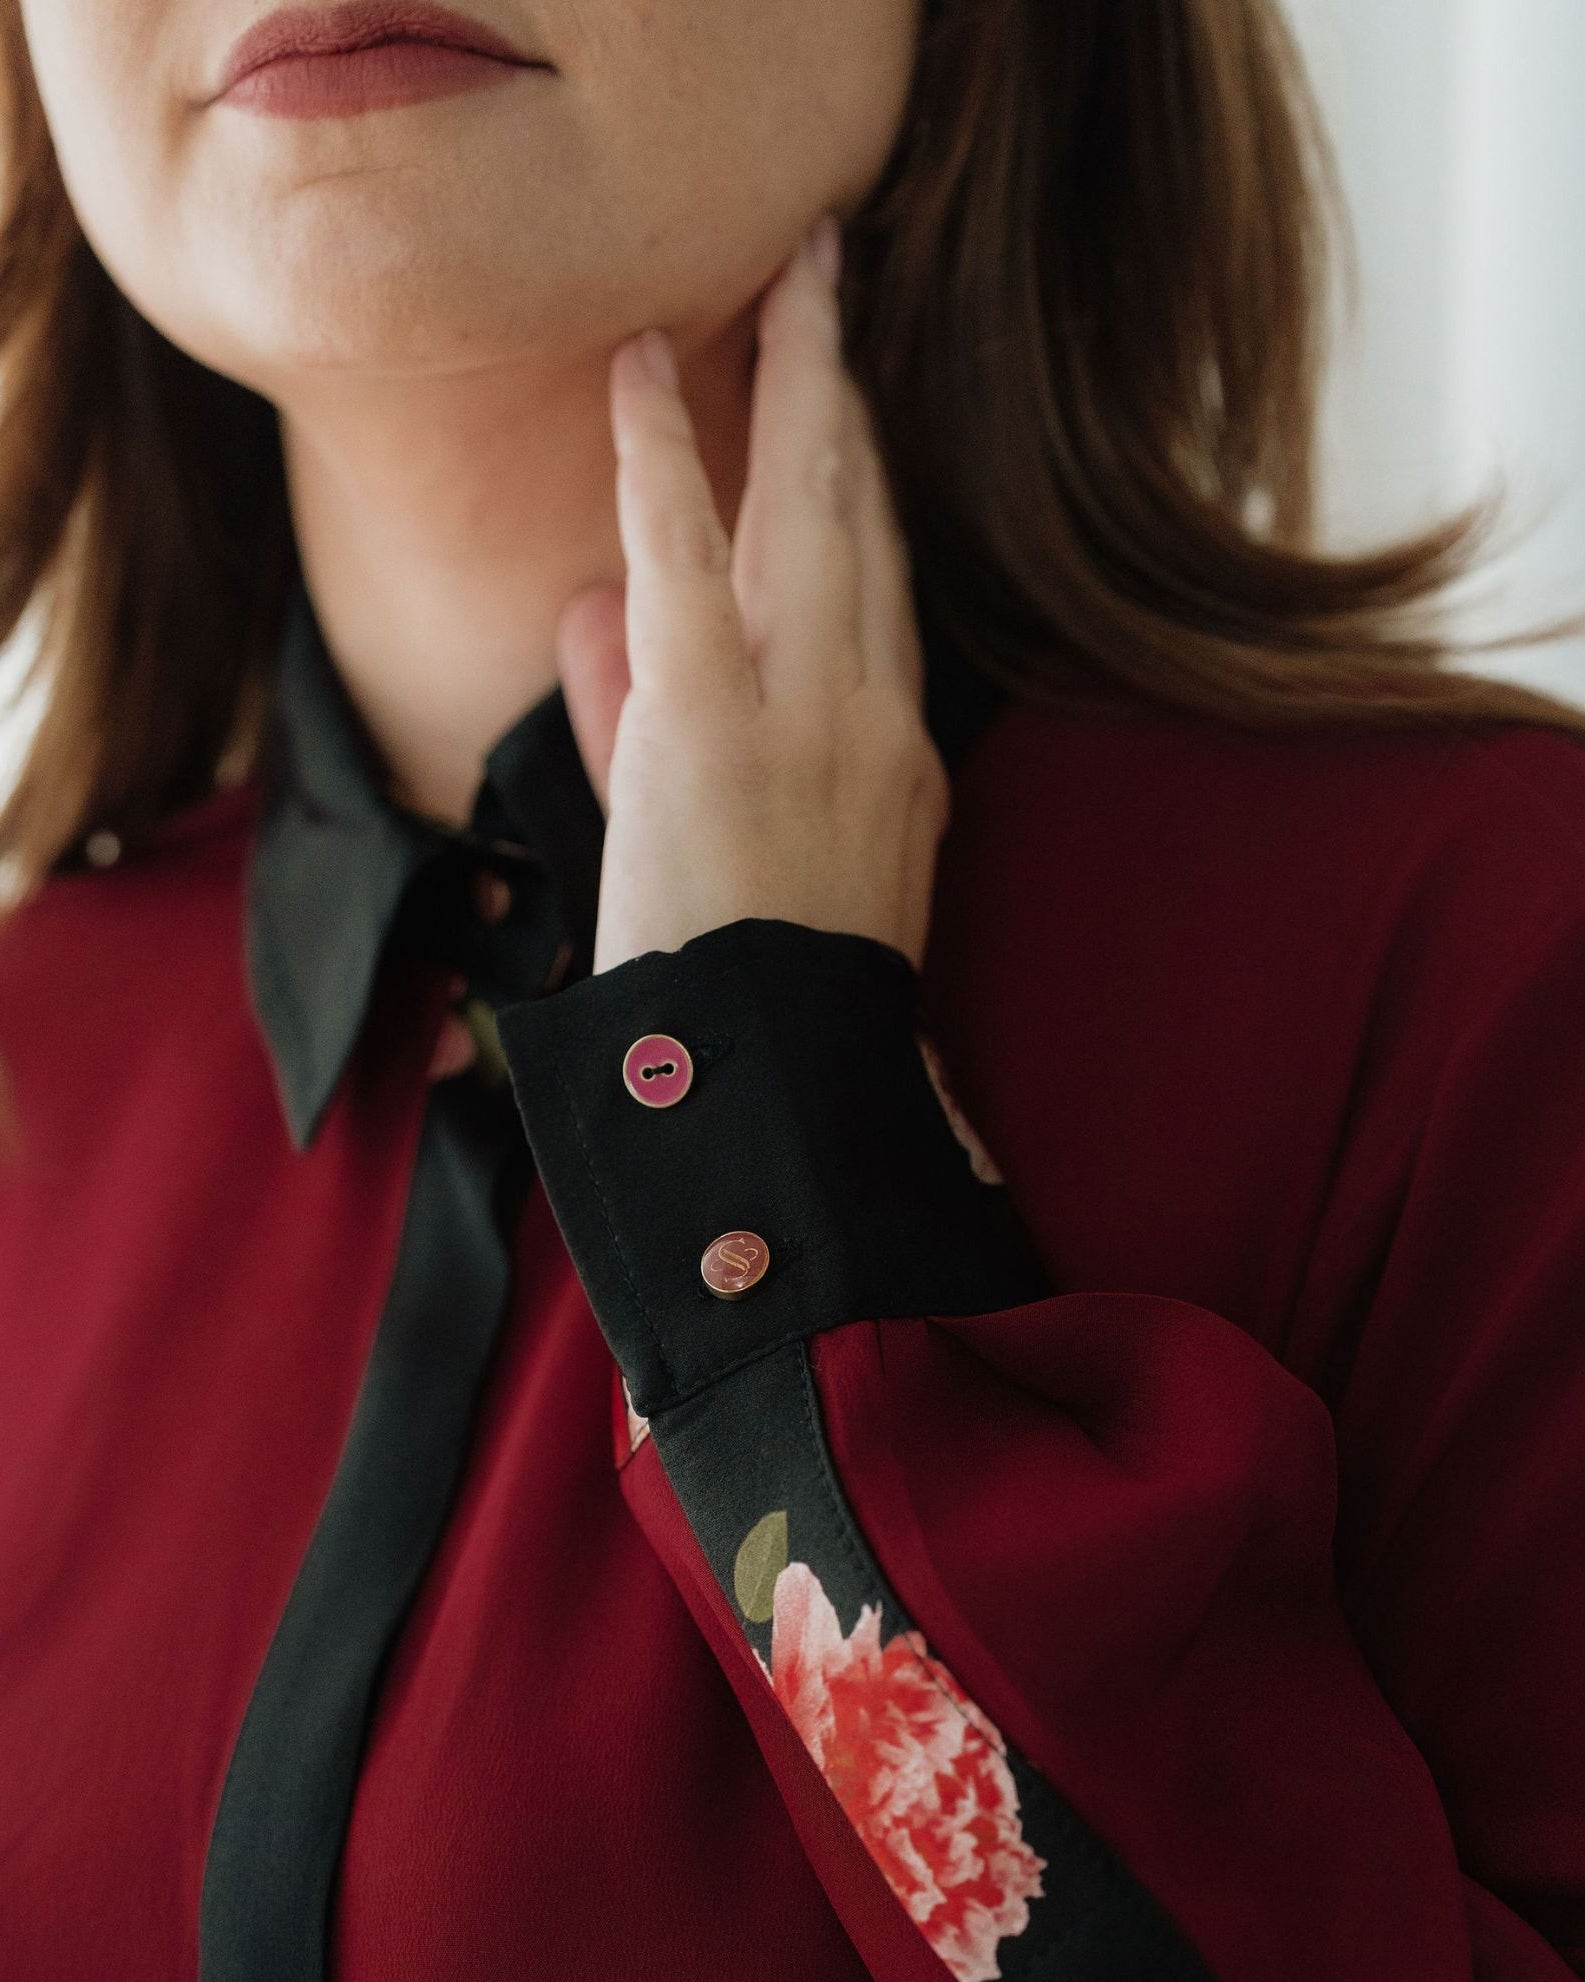
Next, iron the shoulders and sleeves using a small sleeve board. Start by opening the cuffs. It is much quicker and easier to iron over this flat surface when opened out, rather than when it is buttoned up. This also allows for better access to the rest of the sleeve. The same method applies to the cuffs as with the collar; first iron the inside of the cuff before ironing the outside for the crispest of finishes. Use the sleeve board to carefully press along the cotton sleeves.
Afterwards, iron the body of the shirt, beginning with the front button placket. Using the point of the iron, press in between the buttons – from the bottom moving upwards to the top collar. Never iron over the buttons. When ironing the cotton fabric, move the iron in long strokes lengthways rather than in a circular motion.
Don’t forget to pay attention to the hem. It is not just about removing the wrinkles; glide the point of iron over the hem to ensure there is a neat and crisp finish to the shirt.
Once the shirt is completely crease-free, it is important to hang it on a padded or thick wooden hanger to cool down. The shape of the shirt is set once cooled down; wearing it straight away may cause creases to return, as the fabric is still malleable when warm. Keeping the shirt hung up will ensure its shape is maintained and it is wrinkle-free until worn.
Store in a cool dark wardrobe or in a cotton garment bag.
Follow these simple tricks and techniques for cotton, and your treasured piece will remain crease-free.